RE1000 Range Extender
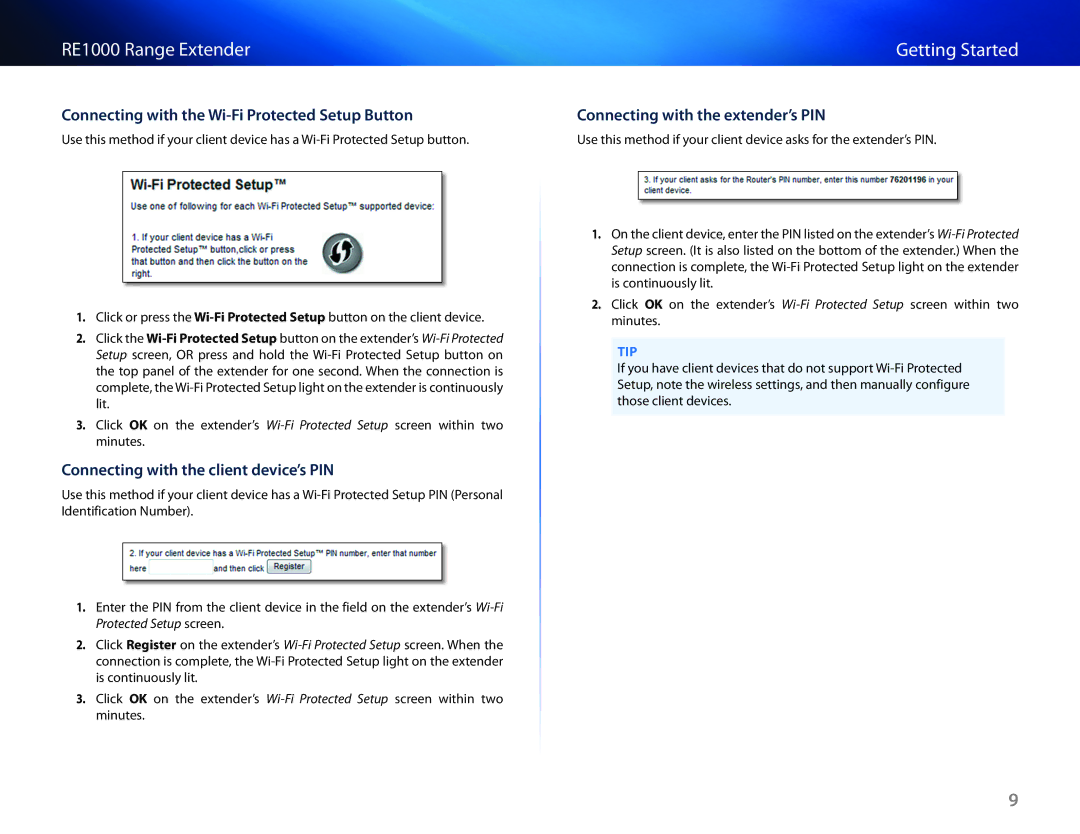
Connecting with the Wi-Fi Protected Setup Button
Use this method if your client device has a Wi-Fi Protected Setup button.
1.Click or press the Wi-Fi Protected Setup button on the client device.
2.Click the Wi‑Fi Protected Setup button on the extender’s Wi-Fi Protected Setup screen, OR press and hold the Wi-Fi Protected Setup button on the top panel of the extender for one second. When the connection is complete, the Wi-Fi Protected Setup light on the extender is continuously lit.
3.Click OK on the extender’s Wi-Fi Protected Setup screen within two minutes.
Connecting with the client device’s PIN
Use this method if your client device has a Wi-Fi Protected Setup PIN (Personal Identification Number).
1.Enter the PIN from the client device in the field on the extender’s Wi-Fi Protected Setup screen.
2.Click Register on the extender’s Wi-Fi Protected Setup screen. When the connection is complete, the Wi-Fi Protected Setup light on the extender is continuously lit.
3.Click OK on the extender’s Wi-Fi Protected Setup screen within two minutes.
Getting Started
Connecting with the extender’s PIN
Use this method if your client device asks for the extender’s PIN.
1.On the client device, enter the PIN listed on the extender’s Wi-Fi Protected Setup screen. (It is also listed on the bottom of the extender.) When the connection is complete, the Wi-Fi Protected Setup light on the extender is continuously lit.
2.Click OK on the extender’s Wi-Fi Protected Setup screen within two minutes.
TIP
If you have client devices that do not support Wi-Fi Protected Setup, note the wireless settings, and then manually configure those client devices.