RE1000 Range Extender
Connecting with the Wi-Fi Protected Setup Button
Use this method if your router or access point has a Wi-Fi Protected Setup button.
1.Click or press the Wi-Fi Protected Setup button on the extender.
2.Click the Wi‑Fi Protected Setup button on the router’s Wi-Fi Protected Setup screen (if available), OR press and hold the Wi-Fi Protected Setup button on the router for one second. When the connection is complete, the Wi-Fi Protected Setup light on the extender is continuously lit.
3.If you used the extender’s Wi-Fi Protected Setup screen, click OK in that screen within two minutes.
Connecting with the range extender’s PIN
The Wi-Fi Protected Setup PIN (Personal Identification Number) can be found on the product label of the extender. You can use this method only if your router’s administration utility has a Wi-Fi Protected Setup menu.
1.Enter the extender’s PIN into the appropriate field on the router’s Wi- Fi Protected Setup screen, then click Register. When the connection is complete, the Wi-Fi Protected Setup light on the extender is continuously lit.
2.Click OK.
Getting Started
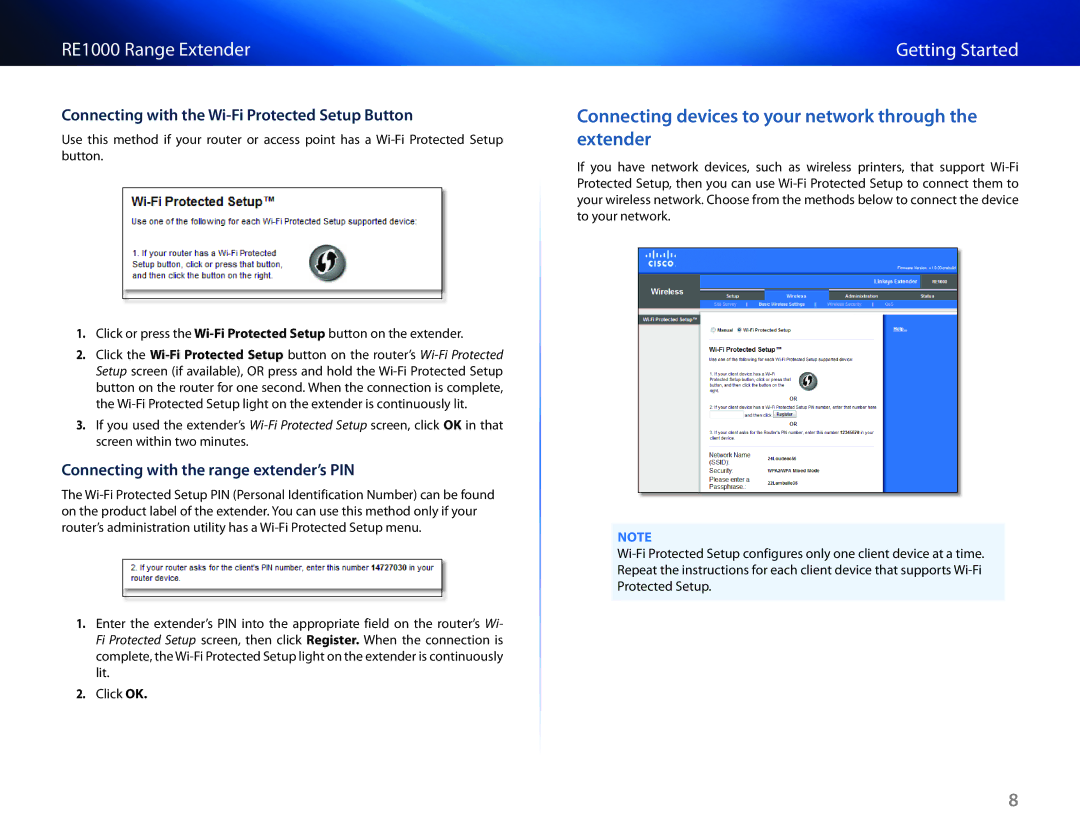
Connecting devices to your network through the extender
If you have network devices, such as wireless printers, that support Wi-Fi Protected Setup, then you can use Wi-Fi Protected Setup to connect them to your wireless network. Choose from the methods below to connect the device to your network.
NOTE
Wi-Fi Protected Setup configures only one client device at a time. Repeat the instructions for each client device that supports Wi-Fi Protected Setup.