Release the lock lever of the right tractor and open the tractor paper guide. Place the paper on the sprocket pins, then close the paper guide.
Slide the right tractor to left to take up any slack in the paper, then fasten the lock lever to fix the tractor in position as shown.
Align the paper with the print start position.
Release the lock lever of left tractor and move the tractor to the left edge of the tractor paper. Fasten the lock lever to lock the tractor in position.
Open the tractor paper guide and place the paper on the sprocket pins as shown. If you are using
Ensure the tractor paper is in line with the print start position. If the paper is not aligned with the print start position, release the tractor lock levers of the left and right tractors, align the paper, and then fasten the lock lever to lock the tractors.
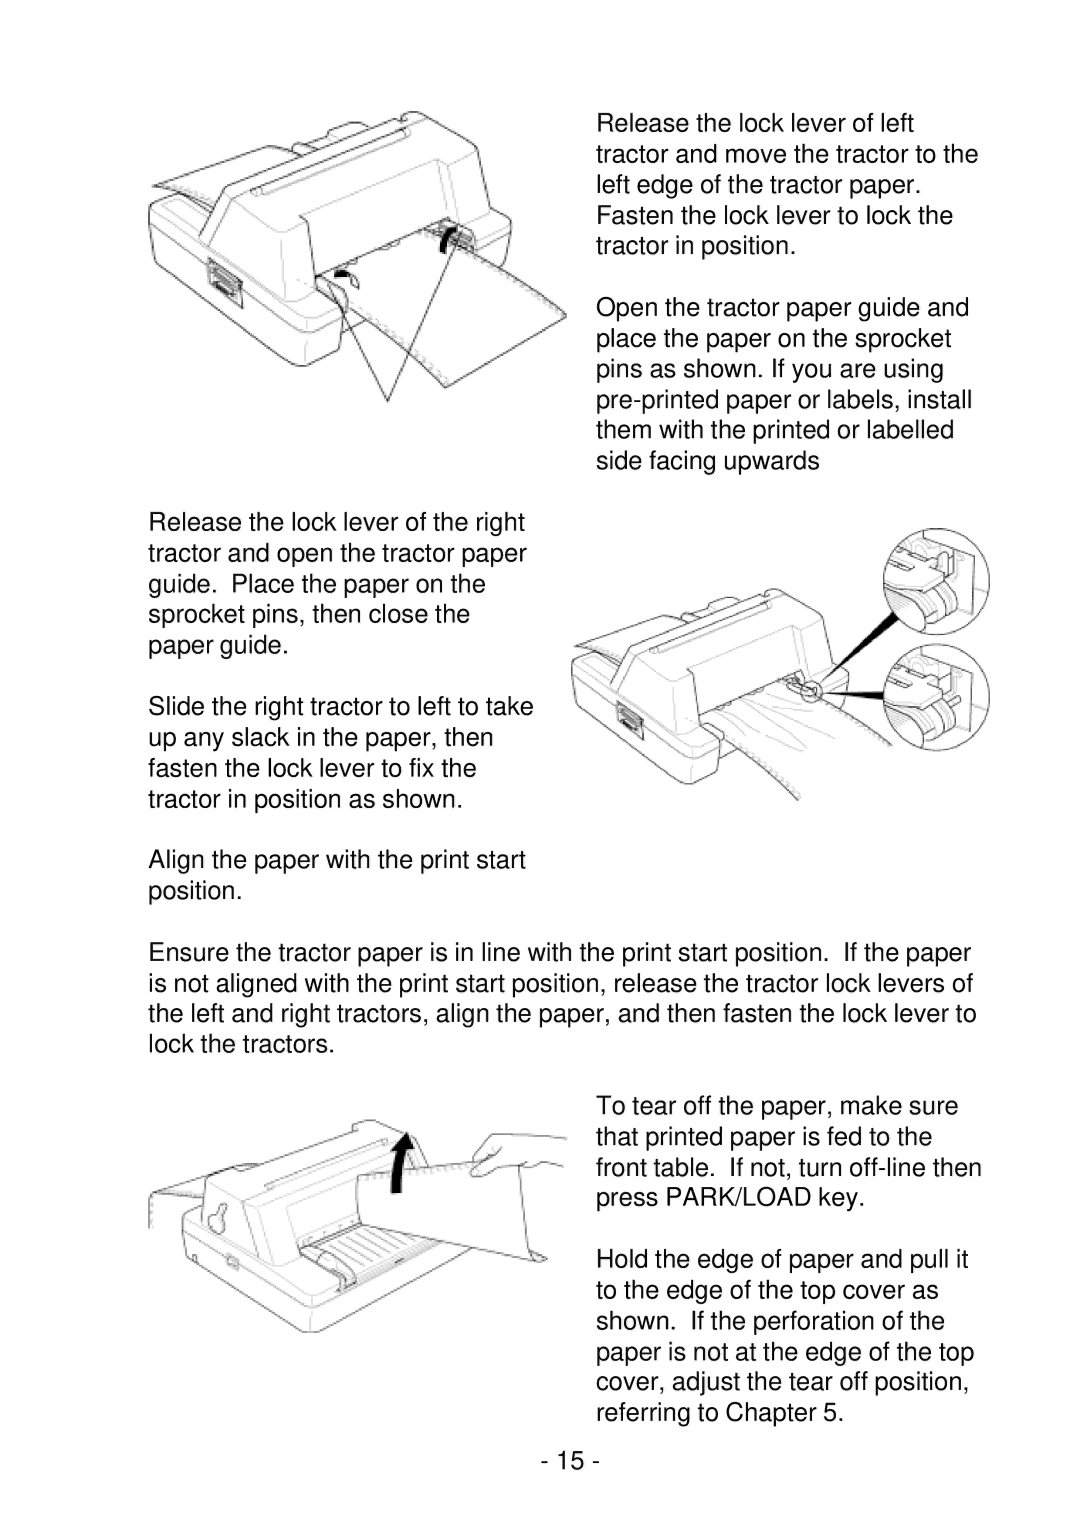
To tear off the paper, make sure that printed paper is fed to the front table. If not, turn
Hold the edge of paper and pull it to the edge of the top cover as shown. If the perforation of the paper is not at the edge of the top cover, adjust the tear off position, referring to Chapter 5.
- 15 -