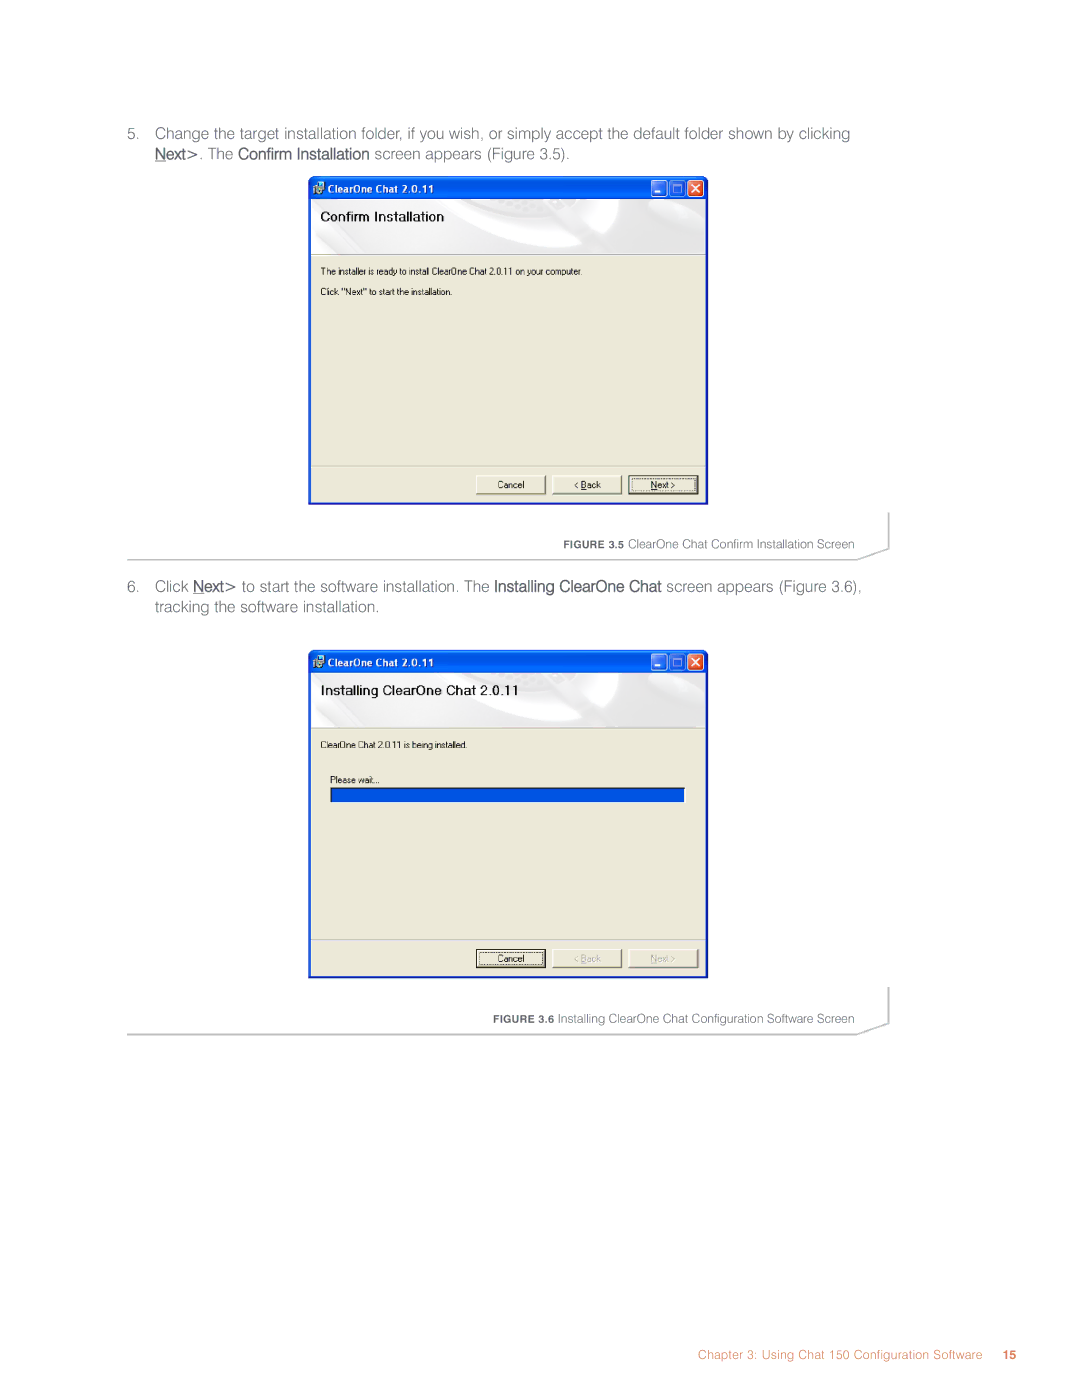
5.Change the target installation folder, if you wish, or simply accept the default folder shown by clicking Next>. The Confirm Installation screen appears (Figure 3.5).
FIGURE 3.5 ClearOne Chat Confirm Installation Screen
6.Click Next> to start the software installation. The Installing ClearOne Chat screen appears (Figure 3.6), tracking the software installation.
