Chapter 3 Configuring NetPassage 15B
4.For Known Server, select the Server Type from the drop down menu and specify the private IP address of your Virtual Server.
For Custom Server, specify the IP address of the Virtual Server, select the Protocol used by this application from the drop down menu, specify the TCP/UDP port used by this application, and enter your preferred reference name in the Server Type field.
5.Press the Add button to add this new Virtual Server into the list.
6.Press the Save or Reset Settings URL from the Command Menu and press the Save button.
3.3.3Defining Virtual Server based on IP Forwarding
If you have configured your NetPassage 15B with Static IP WAN type, you have the option to define Virtual Server based on IP Forwarding.
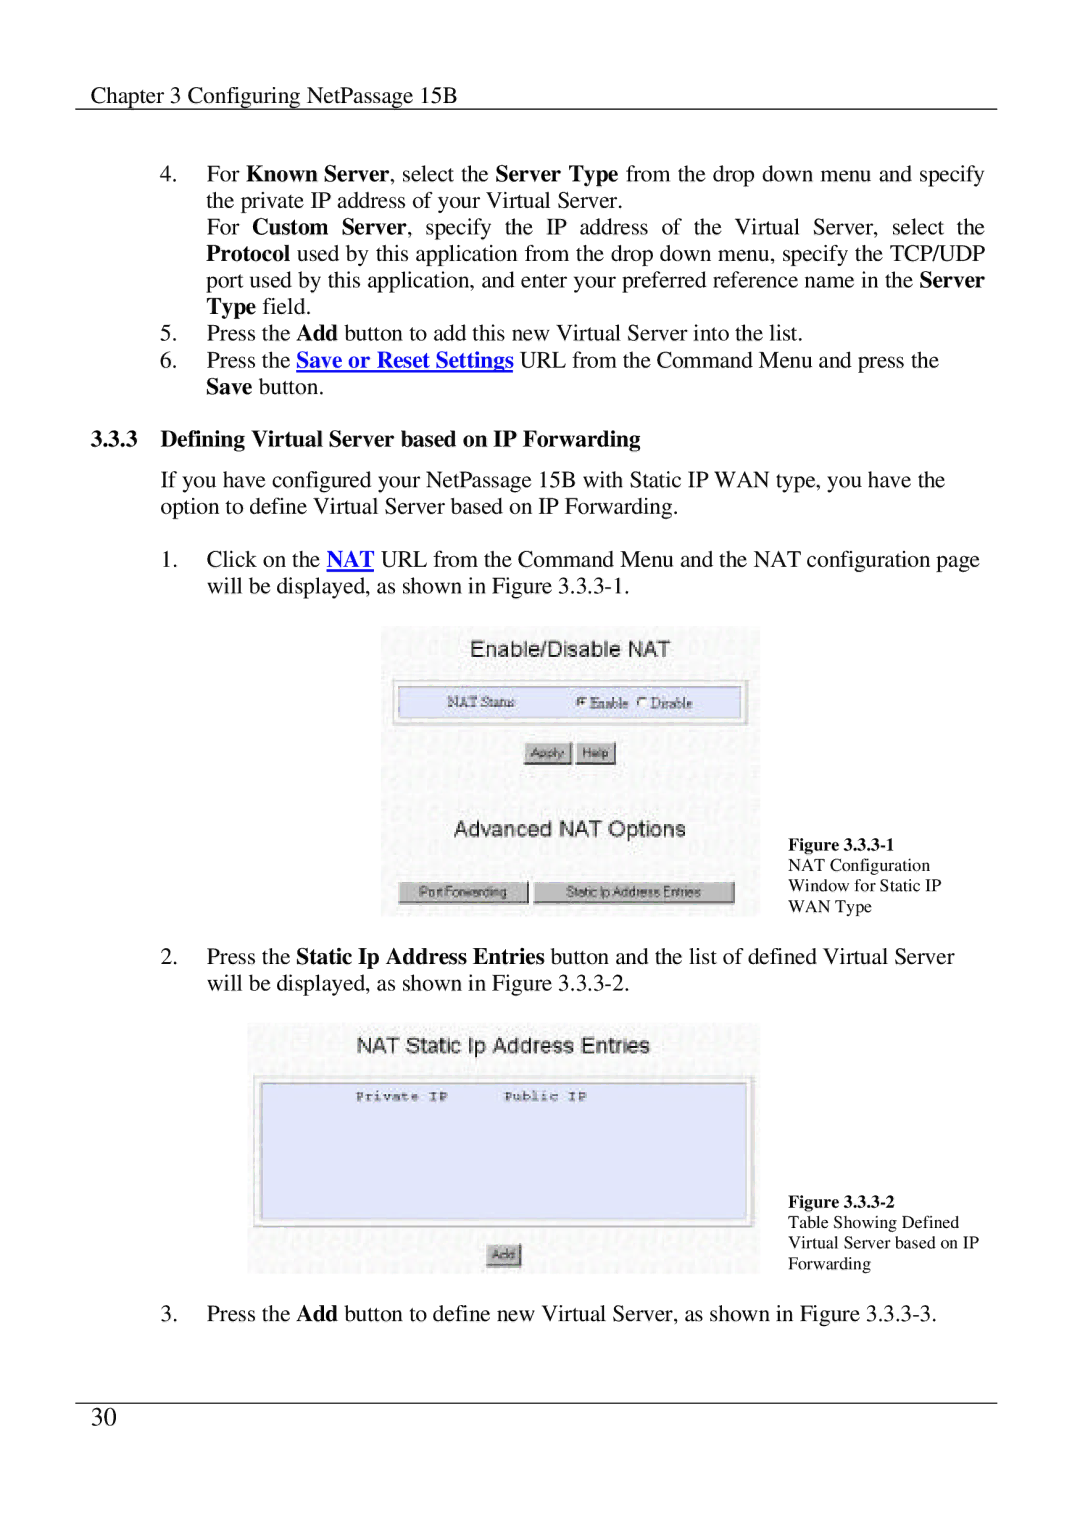
1.Click on the NAT URL from the Command Menu and the NAT configuration page will be displayed, as shown in Figure
Figure
NAT Configuration
Window for Static IP
WAN Type
2.Press the Static Ip Address Entries button and the list of defined Virtual Server will be displayed, as shown in Figure
Figure
Table Showing Defined
Virtual Server based on IP
Forwarding
3.Press the Add button to define new Virtual Server, as shown in Figure
30
