En
TV MODE
CHANGING TV MODE SETTING
The camera allows you to view individual files and record clips on the television. To begin, check your television documentation to determine what video standard you should set your camera to either NTSC or PAL.
| MAIN MENU |
+– | EV |
WB | WB |
| Brightness |
| Setup |
SETUP |
|
60S | |
TV | NTSC |
PlayLogo | O f f |
Language |
|
SETUP |
|
60S | |
TV | PAL |
PlayLogo | O f f |
Language |
|
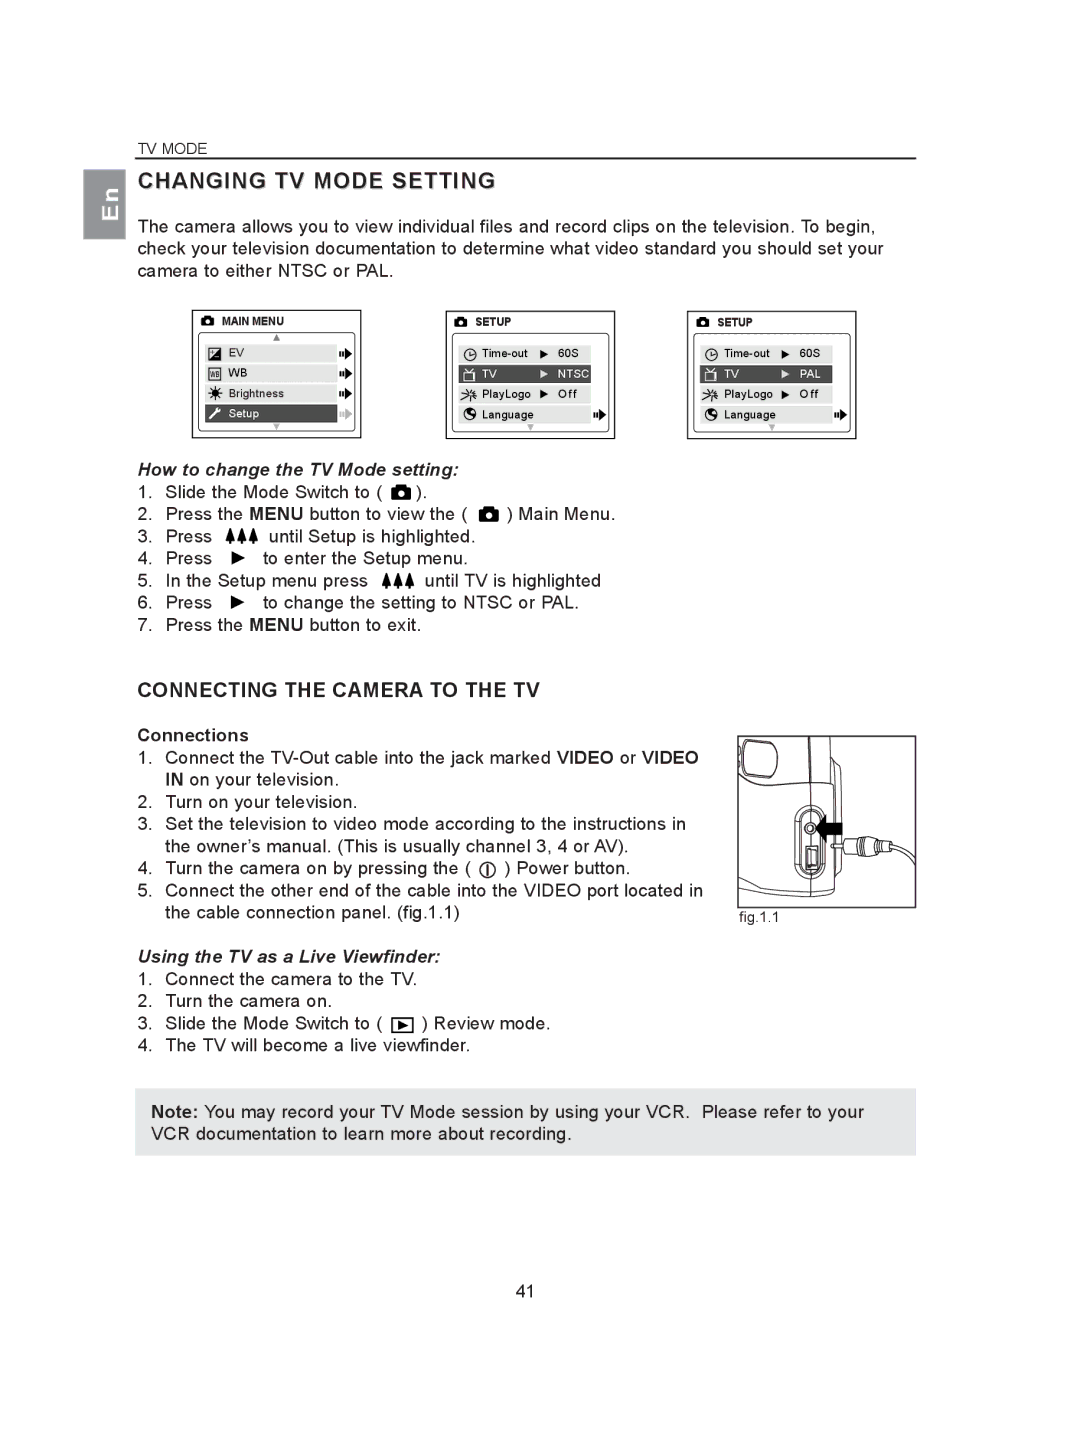
How to change the TV Mode setting:
1.Slide the Mode Switch to ( ![]() ).
).
2.Press the MENU button to view the ( ![]() ) Main Menu.
) Main Menu.
3.Press ![]()
![]()
![]() until Setup is highlighted.
until Setup is highlighted.
4.Press ![]() to enter the Setup menu.
to enter the Setup menu.
5.In the Setup menu press ![]()
![]()
![]() until TV is highlighted
until TV is highlighted
6.Press ![]() to change the setting to NTSC or PAL.
to change the setting to NTSC or PAL.
7.Press the MENU button to exit.
CONNECTING THE CAMERA TO THE TV
Connections
1.Connect the
2.Turn on your television.
3.Set the television to video mode according to the instructions in the owner’s manual. (This is usually channel 3, 4 or AV).
4.Turn the camera on by pressing the ( ![]() ) Power button.
) Power button.
5.Connect the other end of the cable into the VIDEO port located in the cable connection panel. (fig.1.1)
Using the TV as a Live Viewfinder:
1.Connect the camera to the TV.
2.Turn the camera on.
3.Slide the Mode Switch to ( ![]() ) Review mode.
) Review mode.
4.The TV will become a live viewfinder.
fig.1.1 |
Note: You may record your TV Mode session by using your VCR. Please refer to your VCR documentation to learn more about recording.
41