INSTALLATION GUIDE
INSTALLING THE DRIVER AND DIRECTX 9 – WINDOWS 98 SE
NOTE:
•Do not connect the camera to your computer before the camera drivers and Microsoft DirectX 9.0 installation is completed.
•The installation Windows messages displayed on the computer screen may vary due to the different operating systems, but the installation procedures should be the same to each another.
En
Step 1 | Make sure your camera is powered off and not connected to the computer. | ||
|
|
|
|
Step 2 | Make sure the computer is powered on and Windows is running. | ||
|
|
|
|
Step 3 | Close any other applications or software you may be running. | ||
|
|
|
|
Step 4 | Insert the | ||
| |||
| NOTE: If the installer does not start automatically within 30 seconds after the | ||
| |||
| or in the Start Menu and locate the | ||
| ROM Drive icon for installation. | ||
|
|
|
|
|
| ||
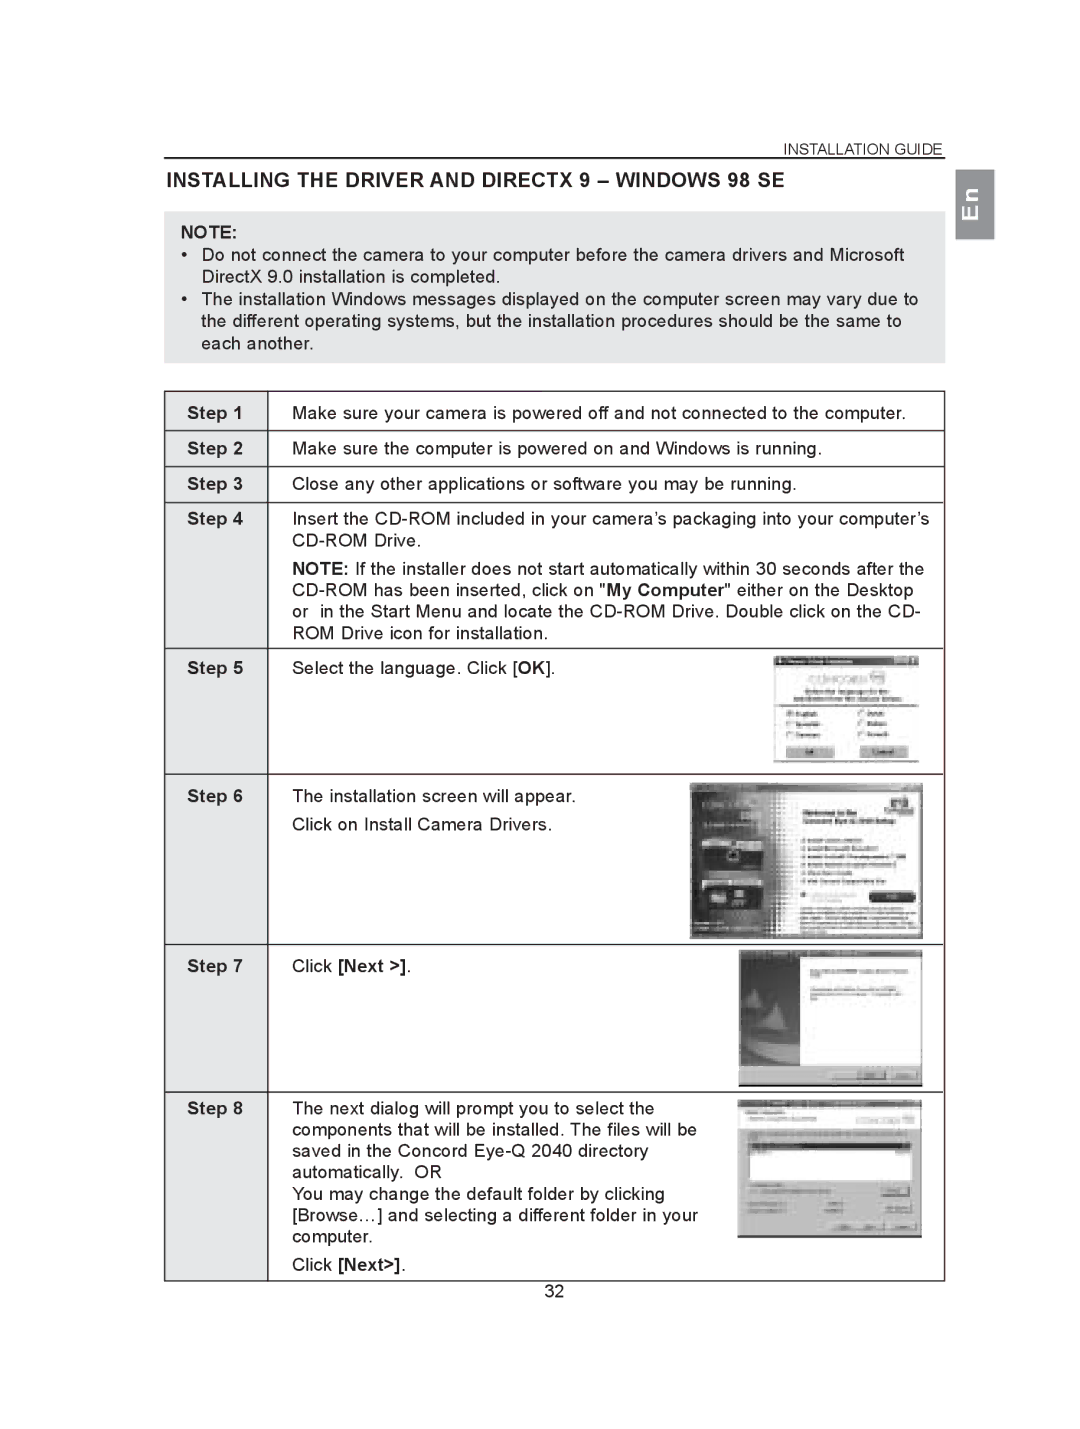
Step 5 | Select the language. Click [OK]. |
|
|
|
|
|
|
Step 6 | The installation screen will appear. |
| Click on Install Camera Drivers. |
Step 7 | Click [Next >]. |
Step 8 | The next dialog will prompt you to select the |
|
|
| components that will be installed. The files will be |
|
|
| saved in the Concord |
|
|
| automatically. OR |
|
|
| You may change the default folder by clicking |
|
|
| [Browse…] and selecting a different folder in your |
|
|
| computer. |
|
|
|
| ||
| Click [Next>]. | ||
|
|
|
|
| 32 |
|
|