Video Network Setups
•Public Network - This is the default configuration of an
•Private Network - To configure a private network (to ensure data privacy), a network ID must be assigned to all adapters on the network using the configuration tool. It is recommended to configure a fixed AP (for example the adapter with the video server or Internet access). If the fixed AP is
turned off or is not defined, the network configuration protocol will select an EP to change to function as an AP (automatic), in order to configure the network.
4.2.1 Single-Network Scenarios
The following two sections show examples of a single
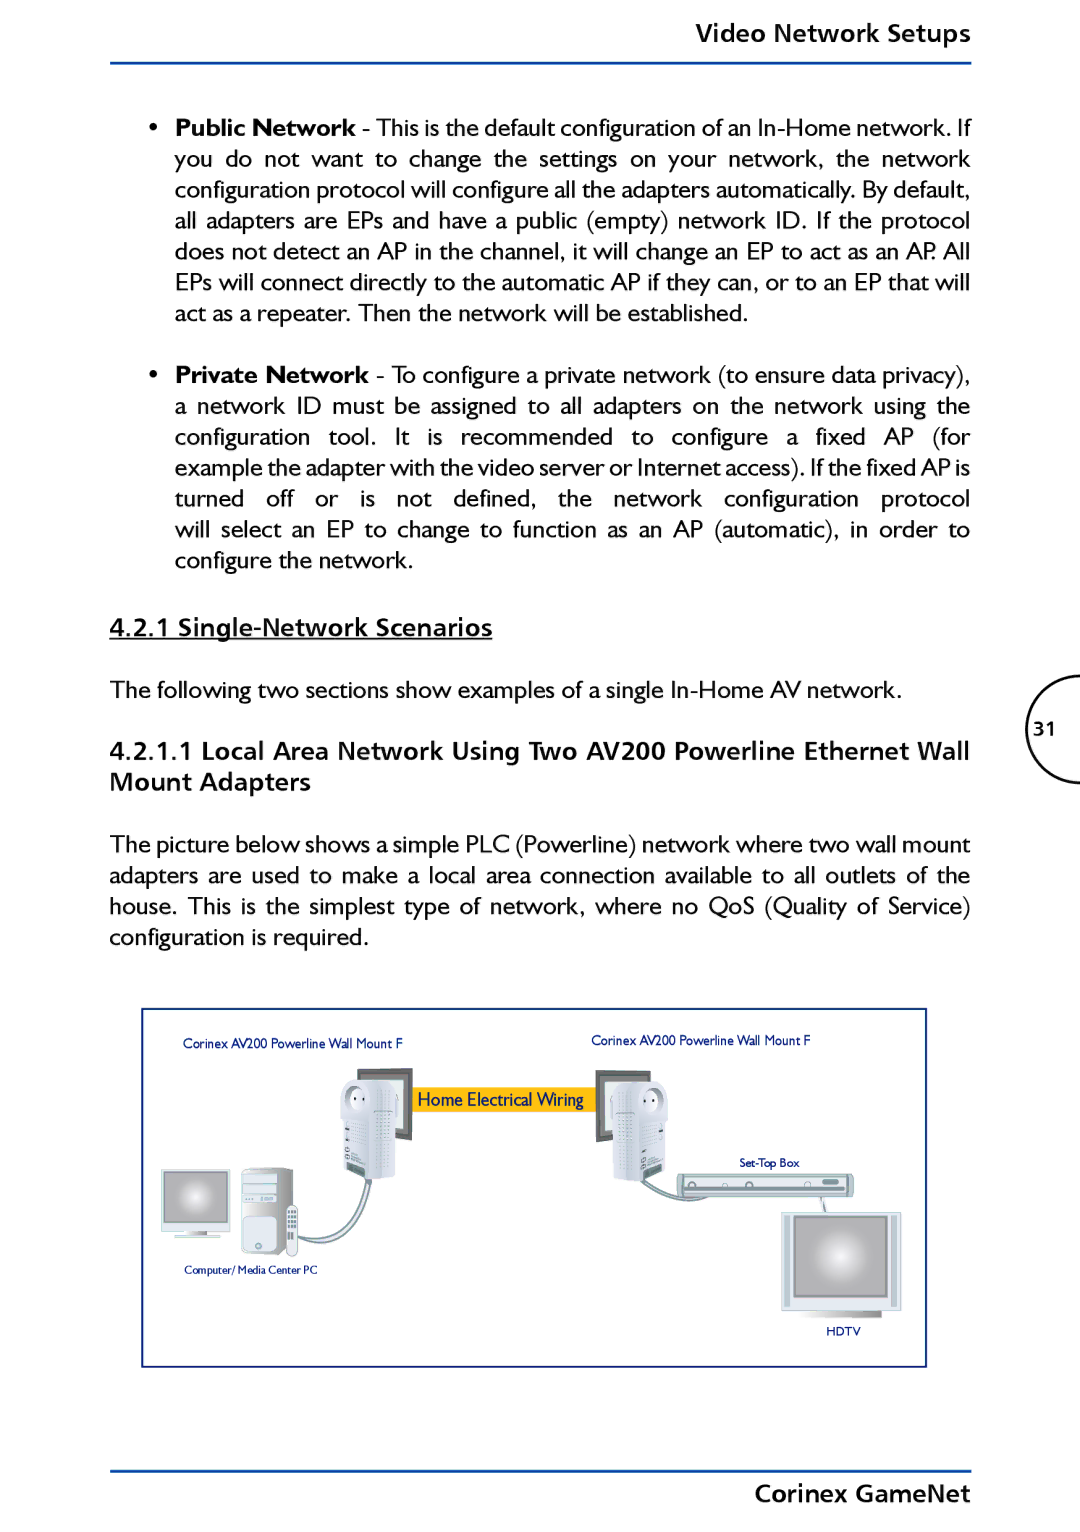
4.2.1.1 Local Area Network Using Two AV200 Powerline Ethernet Wall Mount Adapters
31
The picture below shows a simple PLC (Powerline) network where two wall mount adapters are used to make a local area connection available to all outlets of the house. This is the simplest type of network, where no QoS (Quality of Service) configuration is required.
Corinex AV200 Powerline Wall Mount F | Corinex AV200 Powerline Wall Mount F |
Home Electrical Wiring
Computer/ Media Center PC
HDTV