Network Configuration
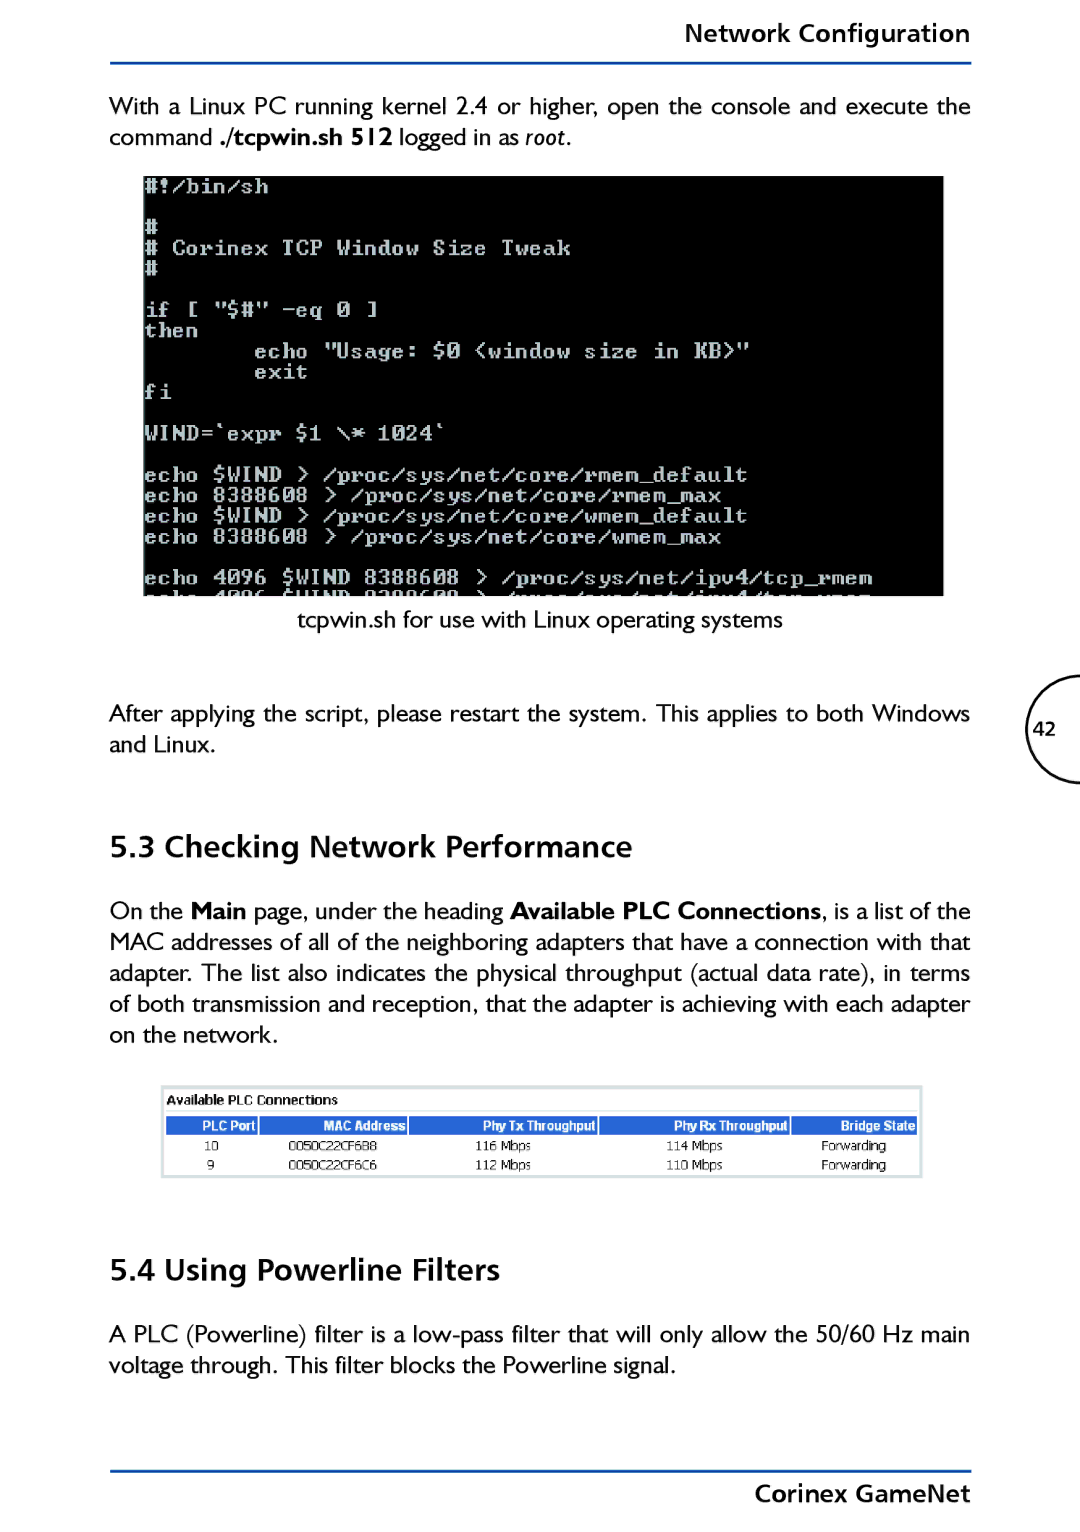
With a Linux PC running kernel 2.4 or higher, open the console and execute the command ./tcpwin.sh 512 logged in as root.
tcpwin.sh for use with Linux operating systems |
| |
After applying the script, please restart the system. This applies to both Windows | 42 | |
and Linux. | ||
|
5.3 Checking Network Performance
On the Main page, under the heading Available PLC Connections, is a list of the MAC addresses of all of the neighboring adapters that have a connection with that adapter. The list also indicates the physical throughput (actual data rate), in terms of both transmission and reception, that the adapter is achieving with each adapter on the network.
5.4 Using Powerline Filters
A PLC (Powerline) filter is a