w w w . d e l l . c o m s u p p o r t . d e l l . c o m
3Plug the supplied power cord into the back of the 2161DS Console Switch unit and then into an appropriate power source.
4When the power is switched on, the Power indicator on the front of the unit will blink for 30 seconds while performing a
To configure the 2161DS Console Switch hardware:
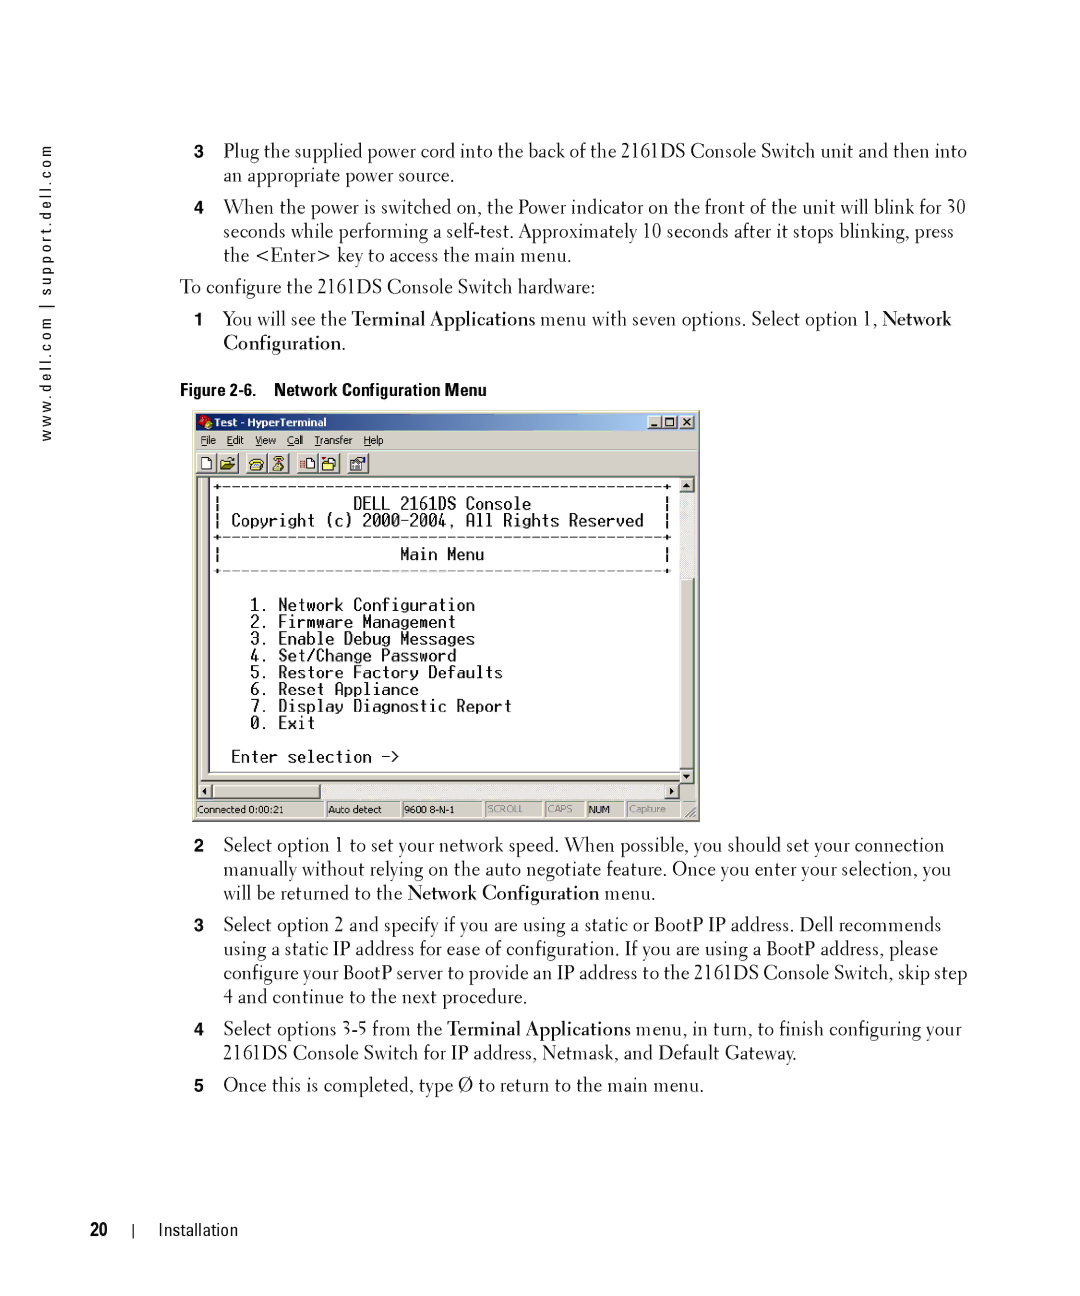
1You will see the Terminal Applications menu with seven options. Select option 1, Network Configuration.
Figure 2-6. Network Configuration Menu
2Select option 1 to set your network speed. When possible, you should set your connection manually without relying on the auto negotiate feature. Once you enter your selection, you will be returned to the Network Configuration menu.
3Select option 2 and specify if you are using a static or BootP IP address. Dell recommends using a static IP address for ease of configuration. If you are using a BootP address, please configure your BootP server to provide an IP address to the 2161DS Console Switch, skip step 4 and continue to the next procedure.
4Select options
5Once this is completed, type Ø to return to the main menu.
20
Installation