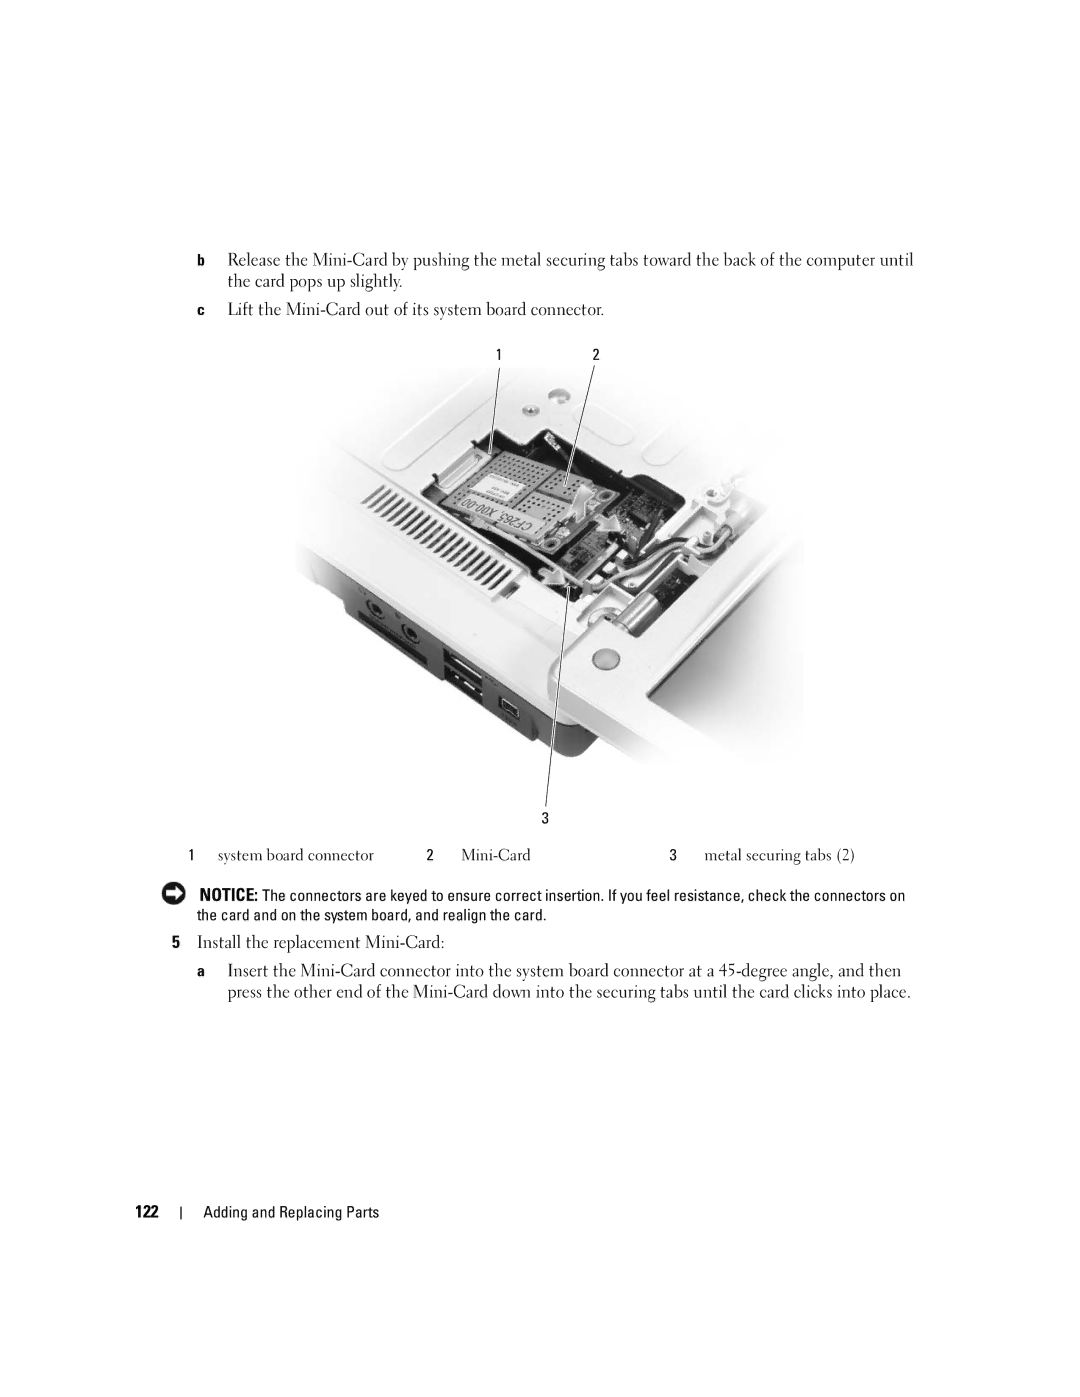
b Release the Mini-Card by pushing the metal securing tabs toward the back of the computer until the card pops up slightly.

c Lift the Mini-Card out of its system board connector.

12

3

1 system board connector

2

Mini-Card

3

metal securing tabs (2)

NOTICE: The connectors are keyed to ensure correct insertion. If you feel resistance, check the connectors on the card and on the system board, and realign the card.

5Install the replacement Mini-Card:

a Insert the Mini-Card connector into the system board connector at a 45-degree angle, and then press the other end of the Mini-Card down into the securing tabs until the card clicks into place.

122

Adding and Replacing Parts

Page 122
Image 122
Dell 6400, E1505 owner manual Install the replacement Mini-Card, 122