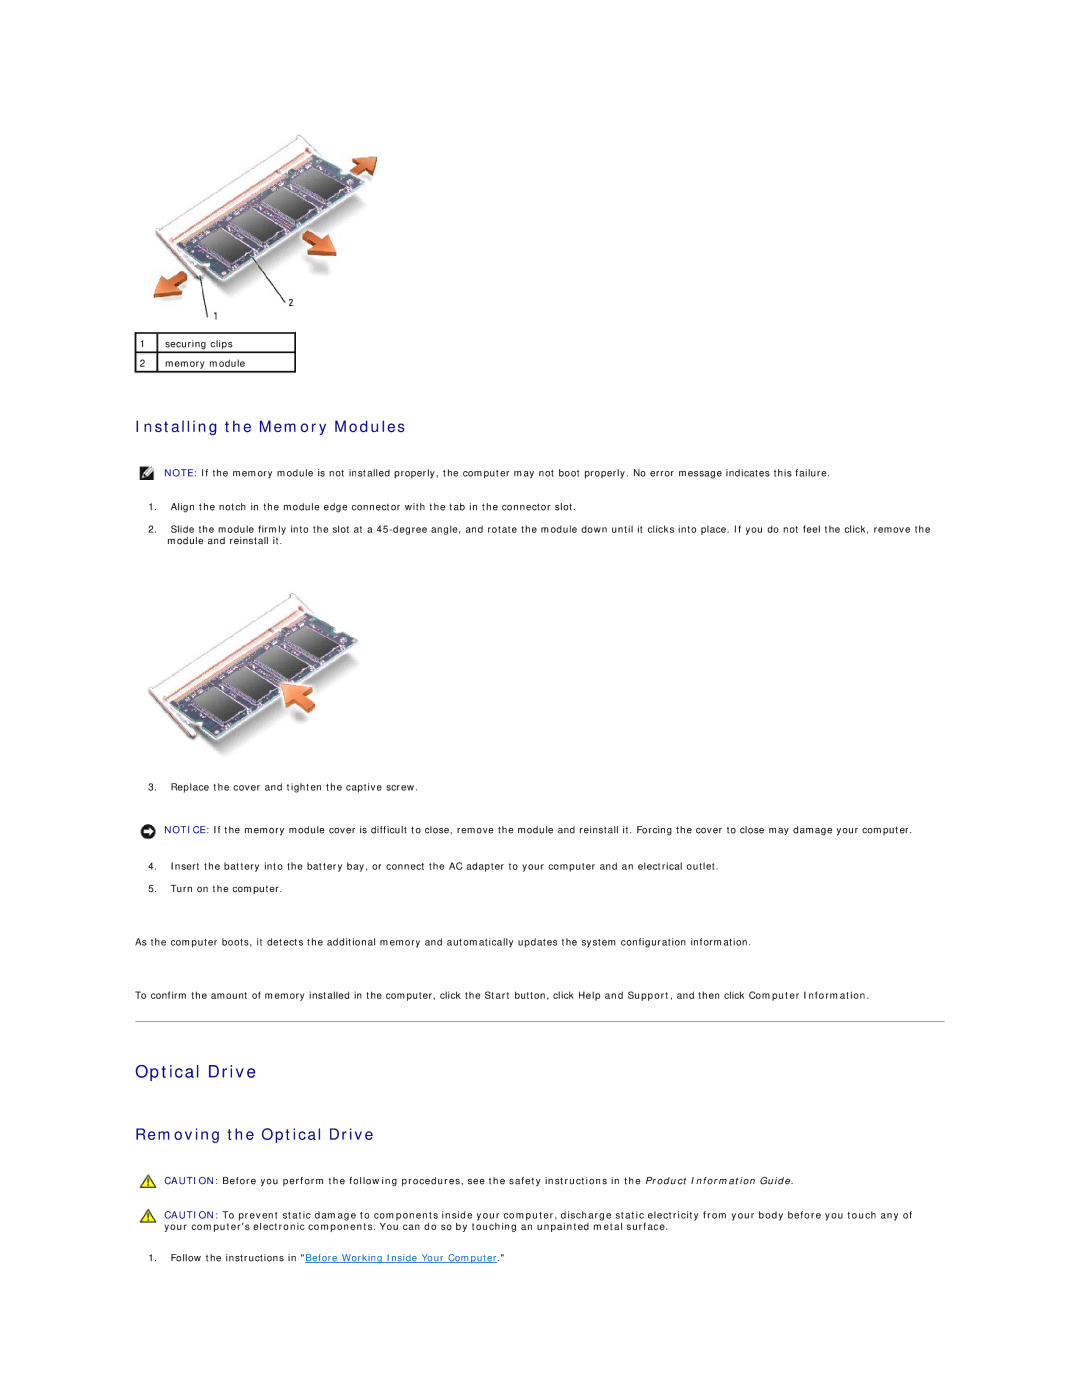
1securing clips
2memory module
Installing the Memory Modules
NOTE: If the memory module is not installed properly, the computer may not boot properly. No error message indicates this failure.
1.Align the notch in the module edge connector with the tab in the connector slot.
2.Slide the module firmly into the slot at a
3.Replace the cover and tighten the captive screw.
NOTICE: If the memory module cover is difficult to close, remove the module and reinstall it. Forcing the cover to close may damage your computer.
4.Insert the battery into the battery bay, or connect the AC adapter to your computer and an electrical outlet.
5.Turn on the computer.
As the computer boots, it detects the additional memory and automatically updates the system configuration information.
To confirm the amount of memory installed in the computer, click the Start button, click Help and Support, and then click Computer Information.
Optical Drive
Removing the Optical Drive
CAUTION: Before you perform the following procedures, see the safety instructions in the Product Information Guide.
CAUTION: To prevent static damage to components inside your computer, discharge static electricity from your body before you touch any of your computer's electronic components. You can do so by touching an unpainted metal surface.
1.Follow the instructions in "Before Working Inside Your Computer."