Installation
Continued
4.Open propane/LP supply valve on propane/LP tank(s) slowly. Note: If not opened slowly,
5.Check all connections for leaks.
6.Close propane/LP supply valve.
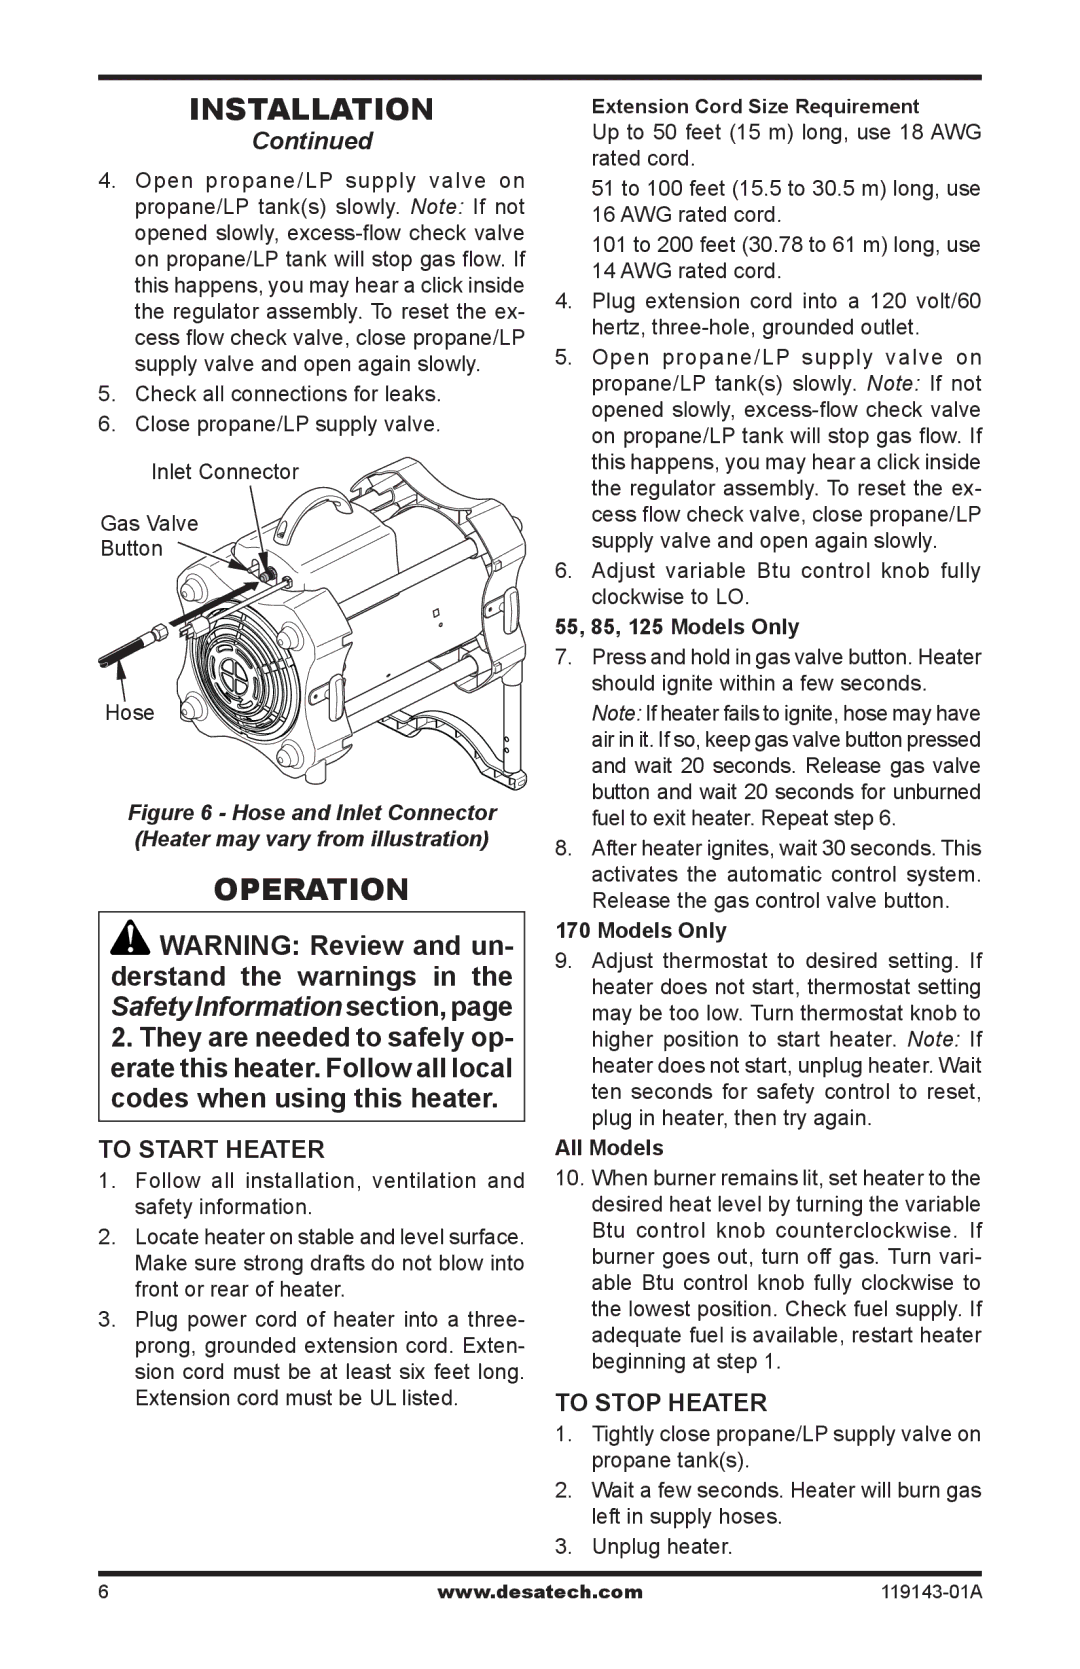
Inlet Connector
Gas Valve
Button
Hose
Figure 6 - Hose and Inlet Connector (Heater may vary from illustration)
Operation
![]() WARNING: Review and un- derstand the warnings in the Safety Information section, page
WARNING: Review and un- derstand the warnings in the Safety Information section, page
2.They are needed to safely op- erate this heater. Follow all local codes when using this heater.
To Start Heater
1.Follow all installation, ventilation and safety information.
2.Locate heater on stable and level surface. Make sure strong drafts do not blow into front or rear of heater.
3.Plug power cord of heater into a three- prong, grounded extension cord. Exten- sion cord must be at least six feet long. Extension cord must be UL listed.
Extension Cord Size Requirement
Up to 50 feet (15 m) long, use 18 AWG rated cord.
51 to 100 feet (15.5 to 30.5 m) long, use 16 AWG rated cord.
101 to 200 feet (30.78 to 61 m) long, use 14 AWG rated cord.
4.Plug extension cord into a 120 volt/60 hertz,
5.Open propane/LP supply valve on propane/LP tank(s) slowly. Note: If not opened slowly,
6.Adjust variable Btu control knob fully clockwise to LO.
55, 85, 125 Models Only
7.Press and hold in gas valve button. Heater should ignite within a few seconds.
Note: If heater fails to ignite, hose may have air in it. If so, keep gas valve button pressed and wait 20 seconds. Release gas valve button and wait 20 seconds for unburned fuel to exit heater. Repeat step 6.
8.After heater ignites, wait 30 seconds. This activates the automatic control system. Release the gas control valve button.
170 Models Only
9.Adjust thermostat to desired setting. If heater does not start, thermostat setting may be too low. Turn thermostat knob to higher position to start heater. Note: If heater does not start, unplug heater. Wait ten seconds for safety control to reset, plug in heater, then try again.
All Models
10.When burner remains lit, set heater to the desired heat level by turning the variable Btu control knob counterclockwise. If burner goes out, turn off gas. Turn vari- able Btu control knob fully clockwise to the lowest position. Check fuel supply. If adequate fuel is available, restart heater beginning at step 1.
To Stop Heater
1.Tightly close propane/LP supply valve on propane tank(s).
2.Wait a few seconds. Heater will burn gas left in supply hoses.
3.Unplug heater.
www.desatech.com119143-01A