ASSEMBLY
ASSEMBLING DUST HOOD
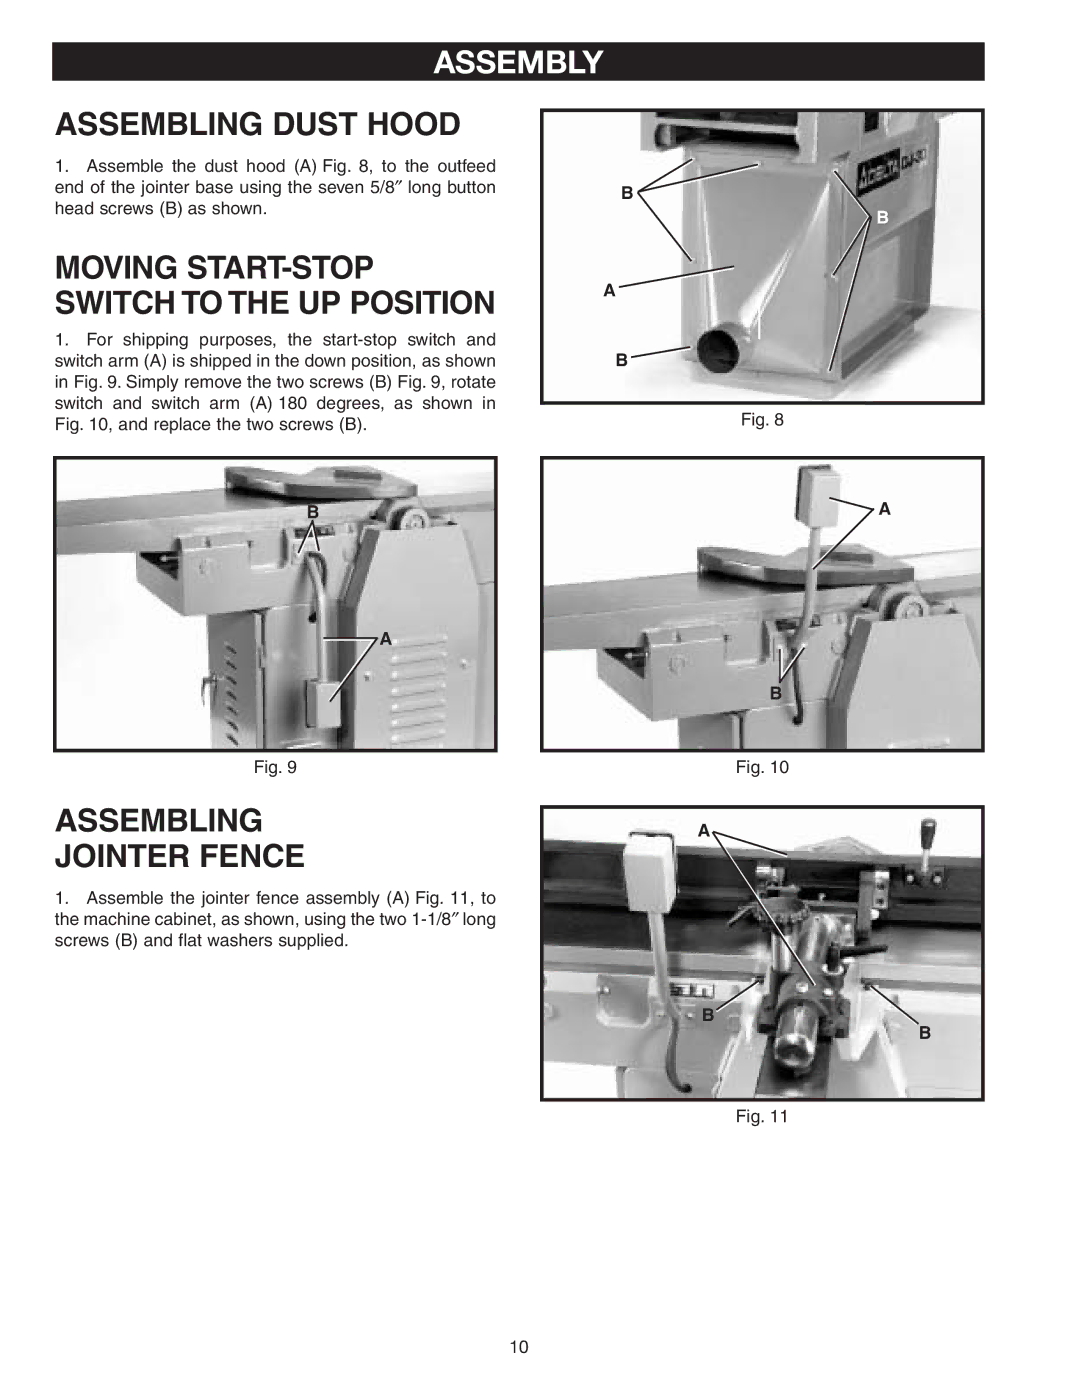
1.Assemble the dust hood (A) Fig. 8, to the outfeed end of the jointer base using the seven 5/8″ long button head screws (B) as shown.
MOVING START-STOP SWITCH TO THE UP POSITION
1.For shipping purposes, the
B
B
A
B ![]()
Fig. 8
B
A
A
B
Fig. 9
ASSEMBLING
JOINTER FENCE
1.Assemble the jointer fence assembly (A) Fig. 11, to the machine cabinet, as shown, using the two
Fig. 10
A
B![]() B
B
Fig. 11
10
