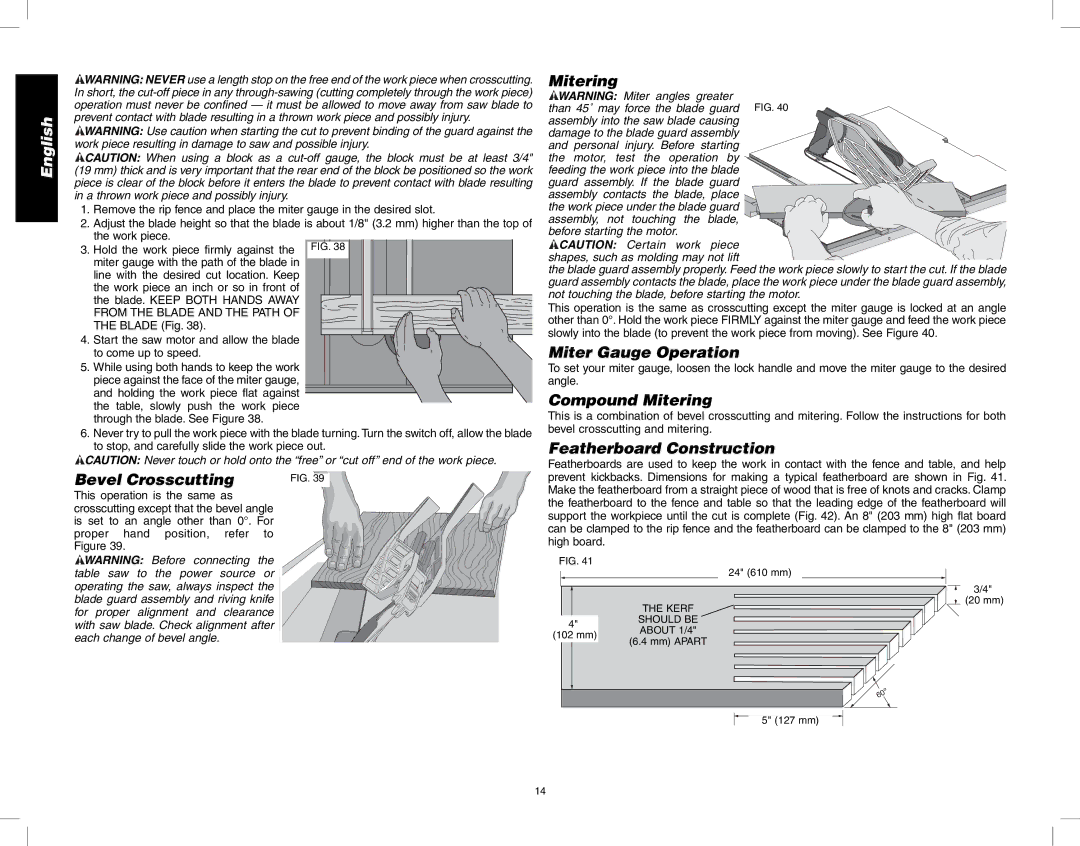
English
![]() WARNING: NEVER use a length stop on the free end of the work piece when crosscutting. In short, the
WARNING: NEVER use a length stop on the free end of the work piece when crosscutting. In short, the
![]() WARNING: Use caution when starting the cut to prevent binding of the guard against the work piece resulting in damage to saw and possible injury.
WARNING: Use caution when starting the cut to prevent binding of the guard against the work piece resulting in damage to saw and possible injury.
![]() CAUTION: When using a block as a
CAUTION: When using a block as a
1.Remove the rip fence and place the miter gauge in the desired slot.
2.Adjust the blade height so that the blade is about 1/8" (3.2 mm) higher than the top of the work piece.
3. Hold the work piece firmly against the miter gauge with the path of the blade in line with the desired cut location. Keep the work piece an inch or so in front of the blade. KEEP BOTH HANDS AWAY FROM THE BLADE AND THE PATH OF THE BLADE (Fig. 38).
4. Start the saw motor and allow the blade to come up to speed.
5. While using both hands to keep the work piece against the face of the miter gauge, and holding the work piece flat against the table, slowly push the work piece through the blade. See Figure 38.
6.Never try to pull the work piece with the blade turning. Turn the switch off, allow the blade to stop, and carefully slide the work piece out.
CAUTION: Never touch or hold onto the “free” or “cut off” end of the work piece.
Bevel Crosscutting | FIG. 39 |
This operation is the same as crosscutting except that the bevel angle is set to an angle other than 0°. For proper hand position, refer to Figure 39.
![]() WARNING: Before connecting the table saw to the power source or operating the saw, always inspect the blade guard assembly and riving knife for proper alignment and clearance with saw blade. Check alignment after each change of bevel angle.
WARNING: Before connecting the table saw to the power source or operating the saw, always inspect the blade guard assembly and riving knife for proper alignment and clearance with saw blade. Check alignment after each change of bevel angle.
Mitering
![]() WARNING: Miter angles greater than 45˚ may force the blade guard assembly into the saw blade causing damage to the blade guard assembly
WARNING: Miter angles greater than 45˚ may force the blade guard assembly into the saw blade causing damage to the blade guard assembly
and personal injury. Before starting the motor, test the operation by
feeding the work piece into the blade guard assembly. If the blade guard assembly contacts the blade, place the work piece under the blade guard
assembly, not touching the blade,
before starting the motor.
![]() CAUTION: Certain work piece shapes, such as molding may not lift
CAUTION: Certain work piece shapes, such as molding may not lift
the blade guard assembly properly. Feed the work piece slowly to start the cut. If the blade guard assembly contacts the blade, place the work piece under the blade guard assembly, not touching the blade, before starting the motor.
This operation is the same as crosscutting except the miter gauge is locked at an angle other than 0°. Hold the work piece FIRMLY against the miter gauge and feed the work piece slowly into the blade (to prevent the work piece from moving). See Figure 40.
Miter Gauge Operation
To set your miter gauge, loosen the lock handle and move the miter gauge to the desired angle.
Compound Mitering
This is a combination of bevel crosscutting and mitering. Follow the instructions for both bevel crosscutting and mitering.
Featherboard Construction
Featherboards are used to keep the work in contact with the fence and table, and help prevent kickbacks. Dimensions for making a typical featherboard are shown in Fig. 41. Make the featherboard from a straight piece of wood that is free of knots and cracks. Clamp the featherboard to the fence and table so that the leading edge of the featherboard will support the workpiece until the cut is complete (Fig. 42). An 8" (203 mm) high flat board can be clamped to the rip fence and the featherboard can be clamped to the 8" (203 mm) high board.
FIG. 41
| 24" (610 mm) | |
| 3/4" | |
| (20 mm) | |
| THE KERF | |
4" | SHOULD BE | |
ABOUT 1/4" | ||
(102 mm) | ||
(6.4 mm) APART | ||
|
5" (127 mm)
14
