Using the OSD
This unit incorporates an
The OSD function uses a monitor TV connected to this unit as a display and has two kinds of display modes such as current status display and menu screen.
Notes:
•When the component video connections are made between the monitor TV and this unit, the OSD function is not available.
•Any
•In some countries, this unit allows you to select either NTSC or PAL color system as video format.
If it is different from your video components, video software, etc., in the standby mode, press the STANDBY button while keeping the VIDEO LABEL button pressed on the front panel, then the video format is changed to the NTSC or the PAL color system. However, it is fixed to PAL color system in other countries.
CURRENT STATUS DISPLAY
This mode shows the status corresponding to each operation.
•The
•For examples, there are 2 status displays as follows.
Note : When watching a movie earnestly, if you want to turn off the current status display function, set the OSD mode to Off.(For details, refer to “When selecting the OSD MODE” on page 42.)
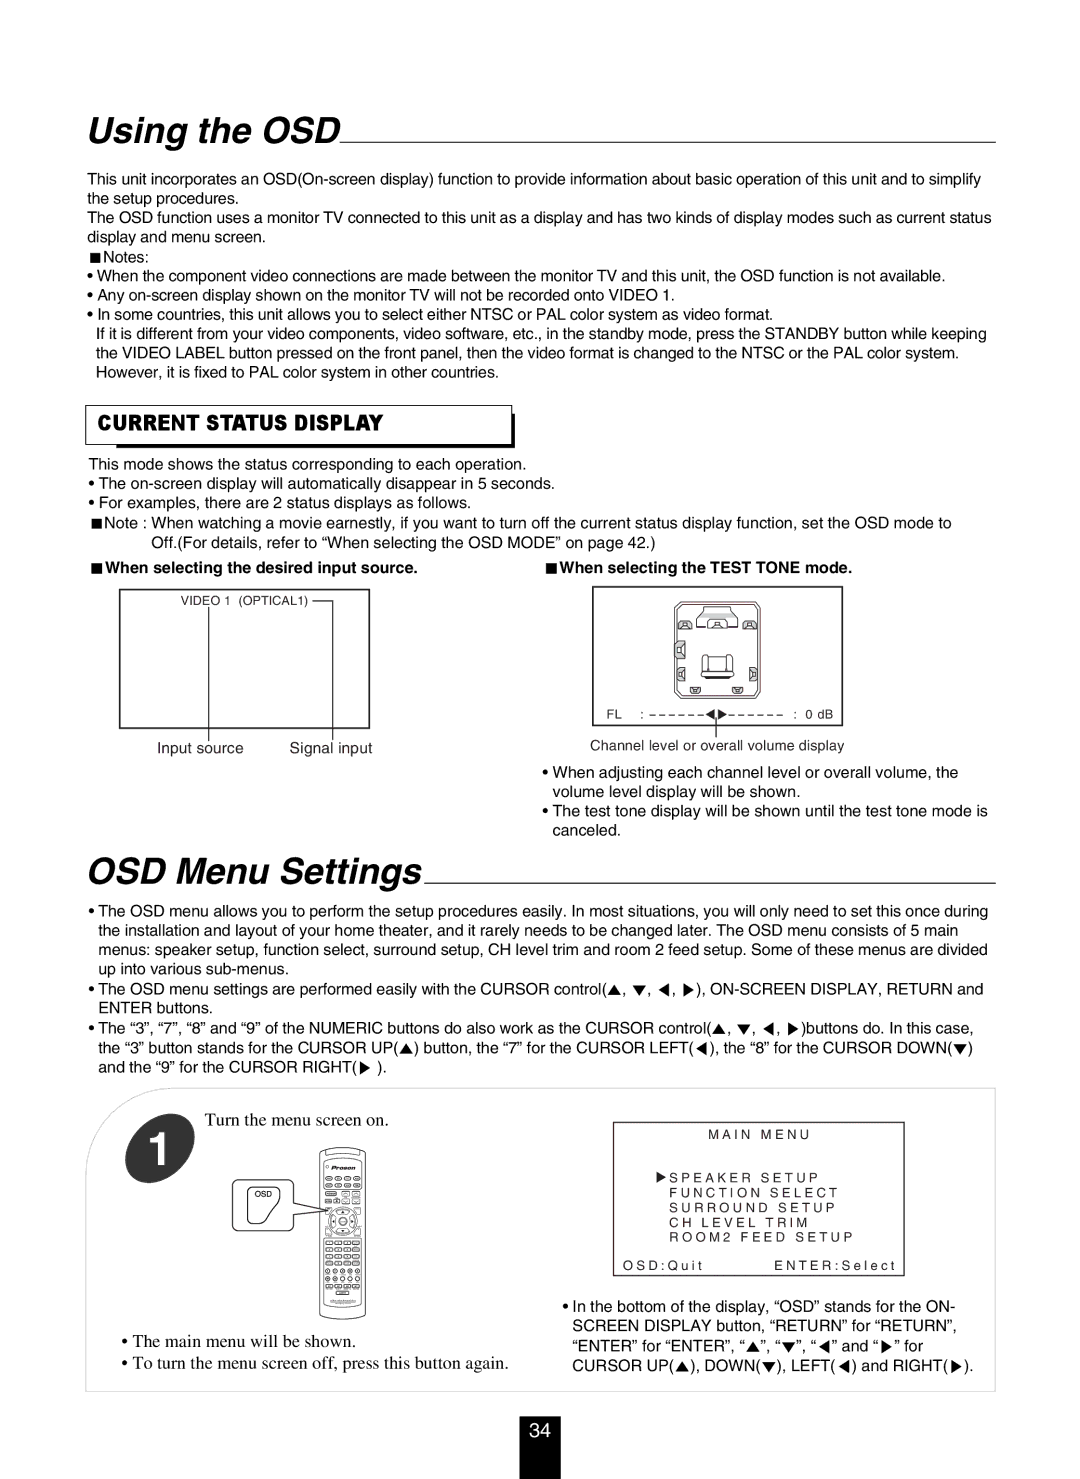
When selecting the desired input source. | When selecting the TEST TONE mode. |
VIDEO 1 (OPTICAL1)
FL : ![]()
![]() ------ :
------ :
Input source | Signal input | Channel level or overall volume display |
• When adjusting each channel level or overall volume, the volume level display will be shown.
• The test tone display will be shown until the test tone mode is canceled.
OSD Menu Settings
•The OSD menu allows you to perform the setup procedures easily. In most situations, you will only need to set this once during the installation and layout of your home theater, and it rarely needs to be changed later. The OSD menu consists of 5 main menus: speaker setup, function select, surround setup, CH level trim and room 2 feed setup. Some of these menus are divided up into various
• The OSD menu settings are performed easily with the CURSOR control( , , , ),
• The “3”, “7”, “8” and “9” of the NUMERIC buttons do also work as the CURSOR control( , , , )buttons do. In this case, the “3” button stands for the CURSOR UP( ) button, the “7” for the CURSOR LEFT( ), the “8” for the CURSOR DOWN( ) and the “9” for the CURSOR RIGHT( ).
Turn the menu screen on.
1
VOL. CH LEVEL
HOME THEATER MASTER
RV4700
•The main menu will be shown.
•To turn the menu screen off, press this button again.
M A I N M E N U
![]() S P E A K E R S E T U P
S P E A K E R S E T U P
F U N C T I O N S E L E C T
S U R R O U N D S E T U P
C H L E V E L T R I M
R O O M 2 F E E D S E T U P
O S D : Q u i t | E N T E R : S e l e c t |
•In the bottom of the display, “OSD” stands for the ON- SCREEN DISPLAY button, “RETURN” for “RETURN”, “ENTER” for “ENTER”, “ ”, “ ”, “ ” and “ ” for CURSOR UP( ), DOWN( ), LEFT( ) and RIGHT( ).
34