Using the setup menus
Read this section to learn how to configure the camera and use the advanced features.
4.1 Camera menu
The Camera menu appears when the camera is in Photo mode and the Mode selector button is pressed. The Camera menu is only available in Photo mode.
Mode selector button
The Camera menu can only be used in either the Photo or Video modes.
4.1.1 Photo resolution
Use the image size option to set the size of the image captured. Bigger images contain more detail and therefore use more memory space.
To set the image resolution:
1.Switch the camera on and ensure that it is in Photo mode.
2.Press the Mode selector button.
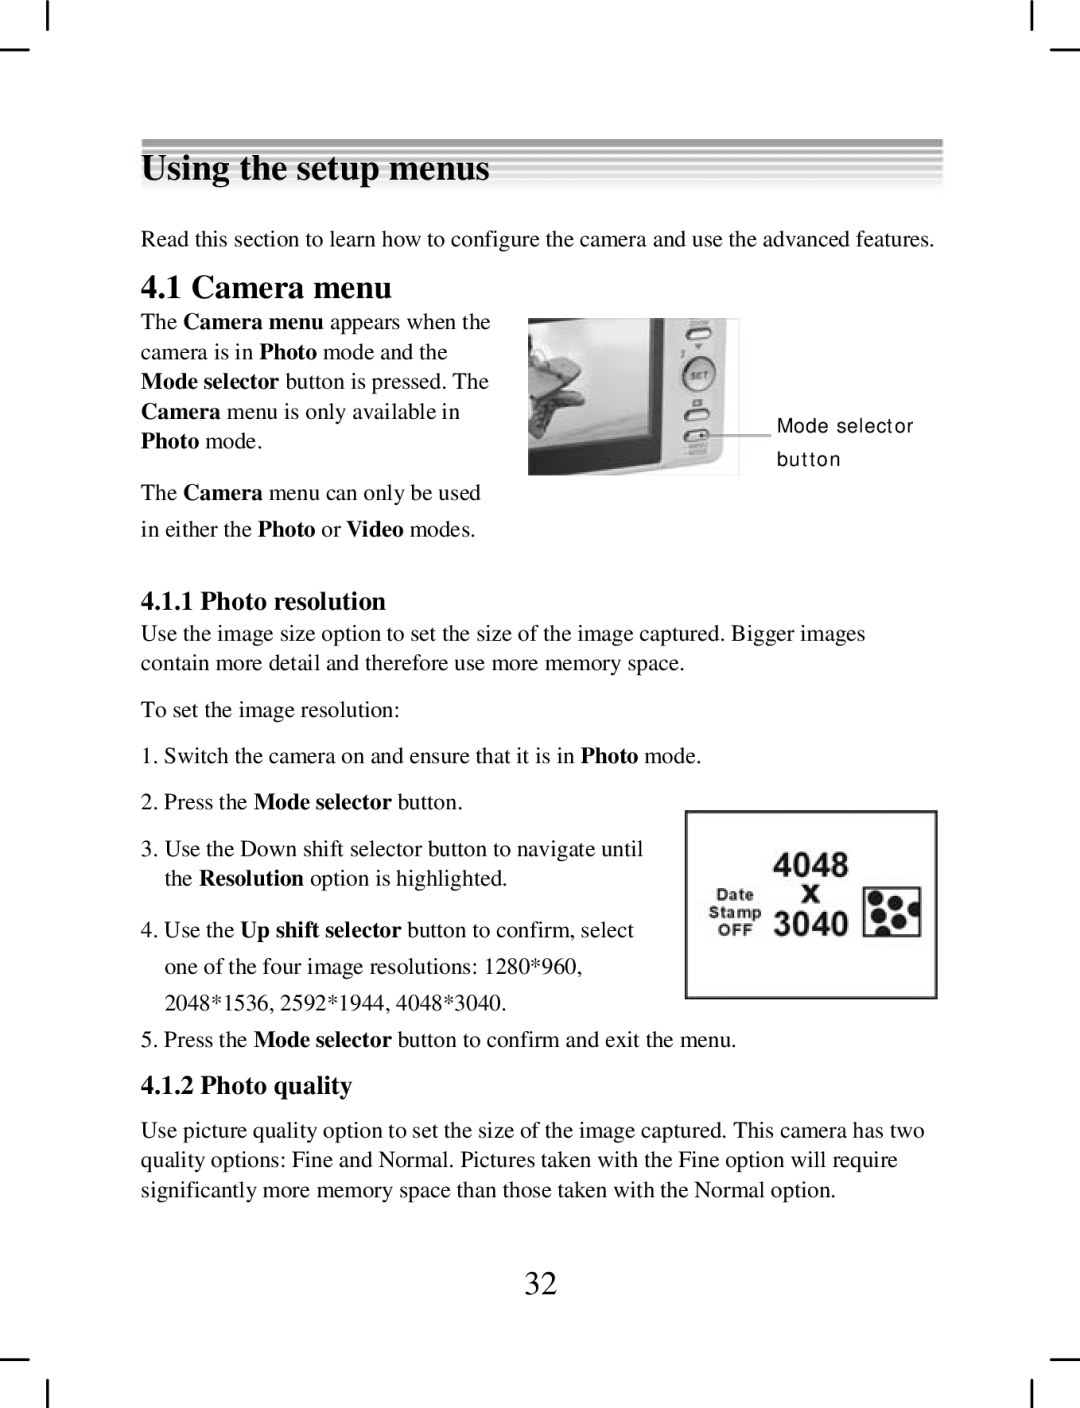
3.Use the Down shift selector button to navigate until the Resolution option is highlighted.
4.Use the Up shift selector button to confirm, select one of the four image resolutions: 1280*960, 2048*1536, 2592*1944, 4048*3040.
5.Press the Mode selector button to confirm and exit the menu.
4.1.2 Photo quality
Use picture quality option to set the size of the image captured. This camera has two quality options: Fine and Normal. Pictures taken with the Fine option will require significantly more memory space than those taken with the Normal option.
32
