4. ADJUSTMENT
4-1. Screen Adjustment
•Allow the LCD monitor to stabilize for at least 20 minutes before making image adjustments.
When connecting the
Adjustment Procedure for Analog Input
Screen adjustments for the LCD monitor should be used in suppressing screen flickering and also for adjusting the screen to its proper position. There is only one correct position for each display mode. It is also recommended to use the ScreenManager function when first installing the display or whenever changing the system. For convenience, an easy
1. Push the Auto adjustment button on the front panel.
The message “Your setting will be lost, if you press again now.” appears and remains on the screen for 5 seconds. While the message is on the screen, push the Auto adjustment button again to automatically adjust the clock, phase, screen position and resolution. If you do not wish to do adjust the screen, do not push the Auto adjustment button again.
If the appropriate screen can not be made by using the Auto adjustment button, adjust the screen through the following procedures.
2. Install the “Screen adjustment program”.
Having read the “readme.txt” file, install and run the “Screen adjustment program” in the enclosed EIZO LCD utility disk.
Step by step adjustment is provided by the wizard guide.
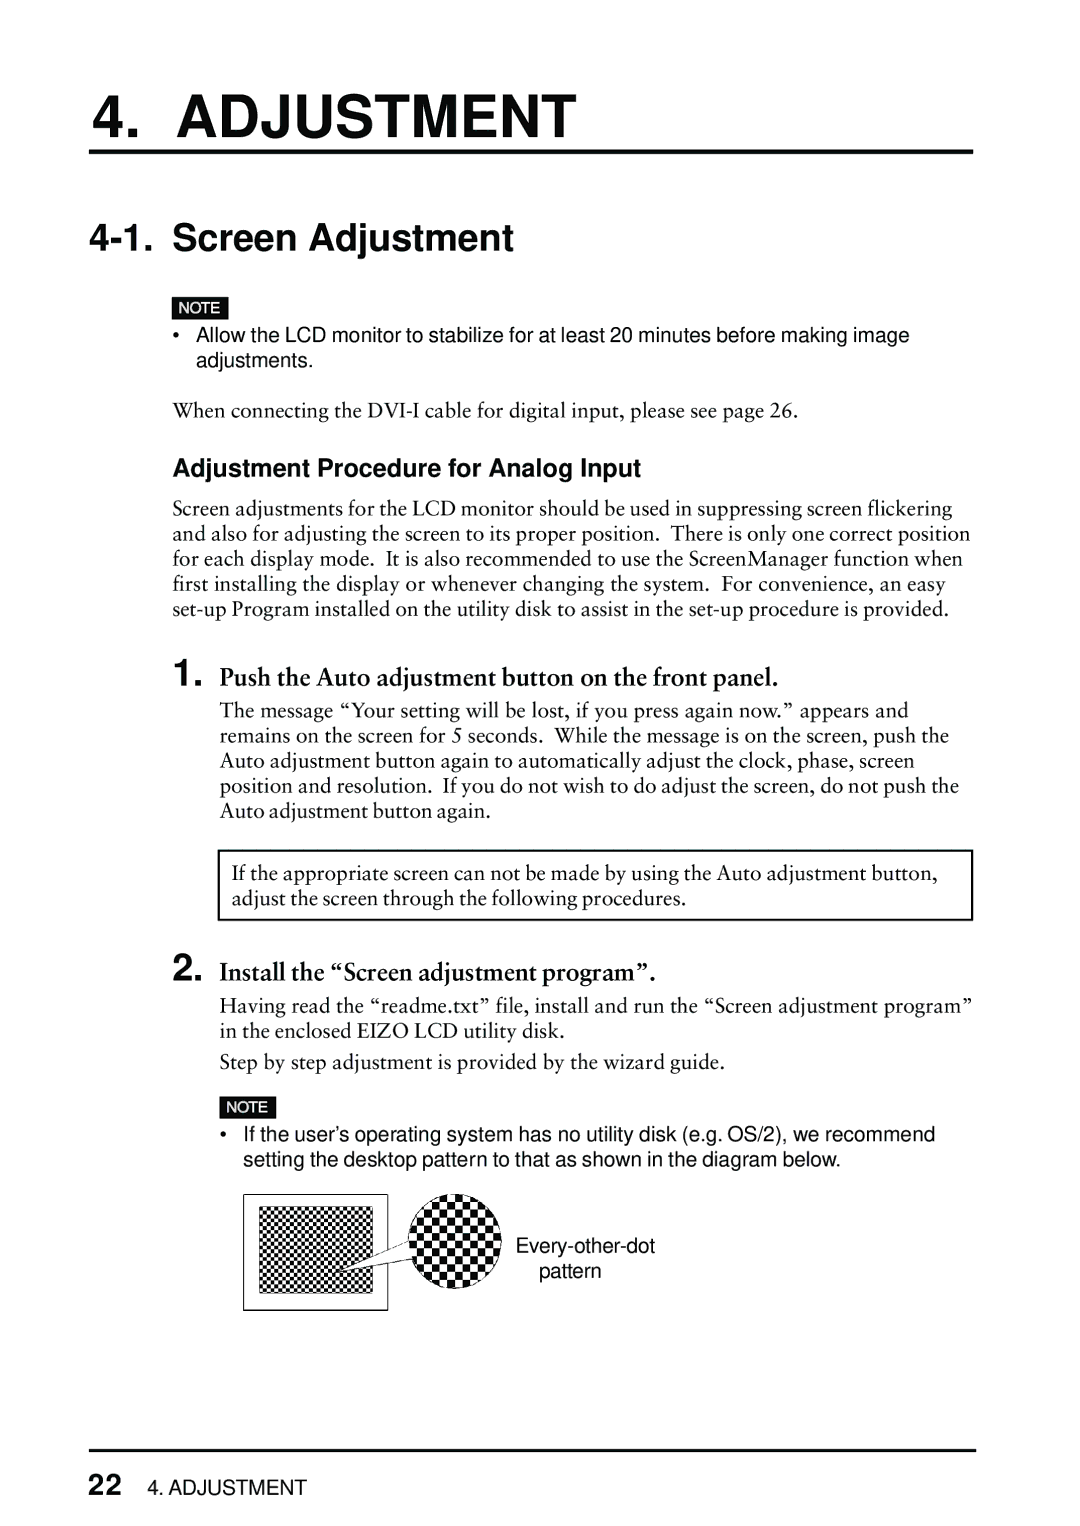
•If the user’s operating system has no utility disk (e.g. OS/2), we recommend setting the desktop pattern to that as shown in the diagram below.
22 4. ADJUSTMENT