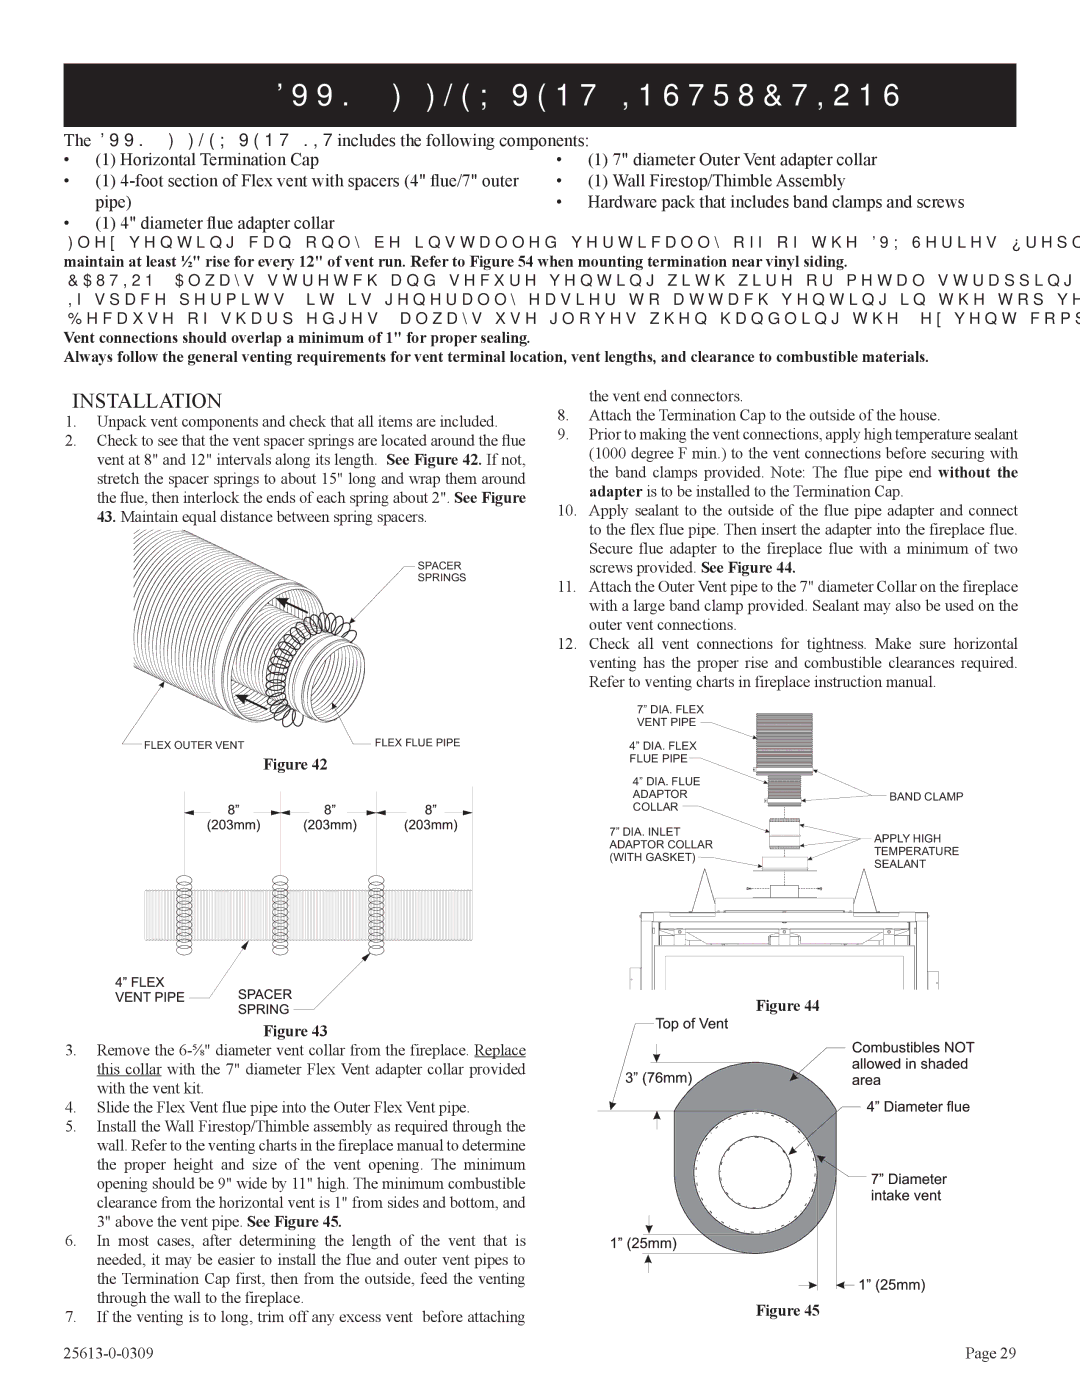
DVX42DP71(N,P)-1, DVX36DP31(N,P)-1, DVX42DP91(N,P)-1, DVX42DP31(N,P)-1, DVX36DP71(N,P)-1 specifications
Empire Comfort Systems has long been a trusted name in heating solutions, and their line of direct vent gas fireplaces showcases a blend of innovation, style, and efficiency. Among their standout models are the DVX36DP91(N,P)-1, DVX36DP71(N,P)-1, DVX42DP31(N,P)-1, DVX42DP91(N,P)-1, and DVX36DP31(N,P)-1. Each of these models boasts unique features and technologies, making them ideal choices for modern living spaces.One of the defining characteristics of these fireplaces is their direct vent system, which allows for safe and efficient venting of combustion gases. By drawing air from the outside, these models maintain indoor air quality and eliminate the need for a traditional chimney. This is particularly beneficial in homes where space is limited or where aesthetic considerations make a chimney impractical.
The DVX series is designed with user convenience in mind. Many models come equipped with a remote control, allowing homeowners to adjust settings such as flame height and heat output from the comfort of their favorite chair. The ability to customize the ambiance is enhanced by the inclusion of realistic ceramic logs and glowing embers, creating a warm and inviting atmosphere.
Efficiency is a key feature of the Empire Comfort Systems DVX series. These fireplaces are designed to maximize heat output while minimizing energy consumption. With high-efficiency ratings, they provide warmth without significantly impacting utility bills. Additionally, the models are available in both natural gas and propane variants, catering to different preferences and availability.
In terms of design, the DVX series offers versatile options that can seamlessly integrate with various home decors. With customizable fronts, finishes, and media choices, owners can match their fireplace to their home’s aesthetic, whether it be modern, traditional, or somewhere in between.
Maintenance is simplified, thanks to the easy-access features that allow for quick cleaning and servicing. The durable construction ensures long-lasting performance, making these fireplaces a worthwhile investment.
With their focus on efficiency, style, and advanced technology, Empire Comfort Systems’ DVX36DP91(N,P)-1, DVX36DP71(N,P)-1, DVX42DP31(N,P)-1, DVX42DP91(N,P)-1, and DVX36DP31(N,P)-1 models represent some of the best options available for homeowners seeking a reliable and attractive heating solution.

