Installing Print Server on NetWare 4.x/5.x
Due to its architecture and functionality, the print server must work under NetWare 4.x/5.x NDS Bindery Emulation. When you install the NetWare file server for the first time, by default, the installation program will automatically set up the Bindery Emulation function for you by adding “SET BINDERY CONTEXT =” in the AUTOEXEC.NCF file. By default, the bindery context will only be set on your organization (O) object.
If you have ever modified this line, or if you have ever added any organization units (OU) to your NDS tree after the NetWare system was installed, please read the following section before you install the print server.
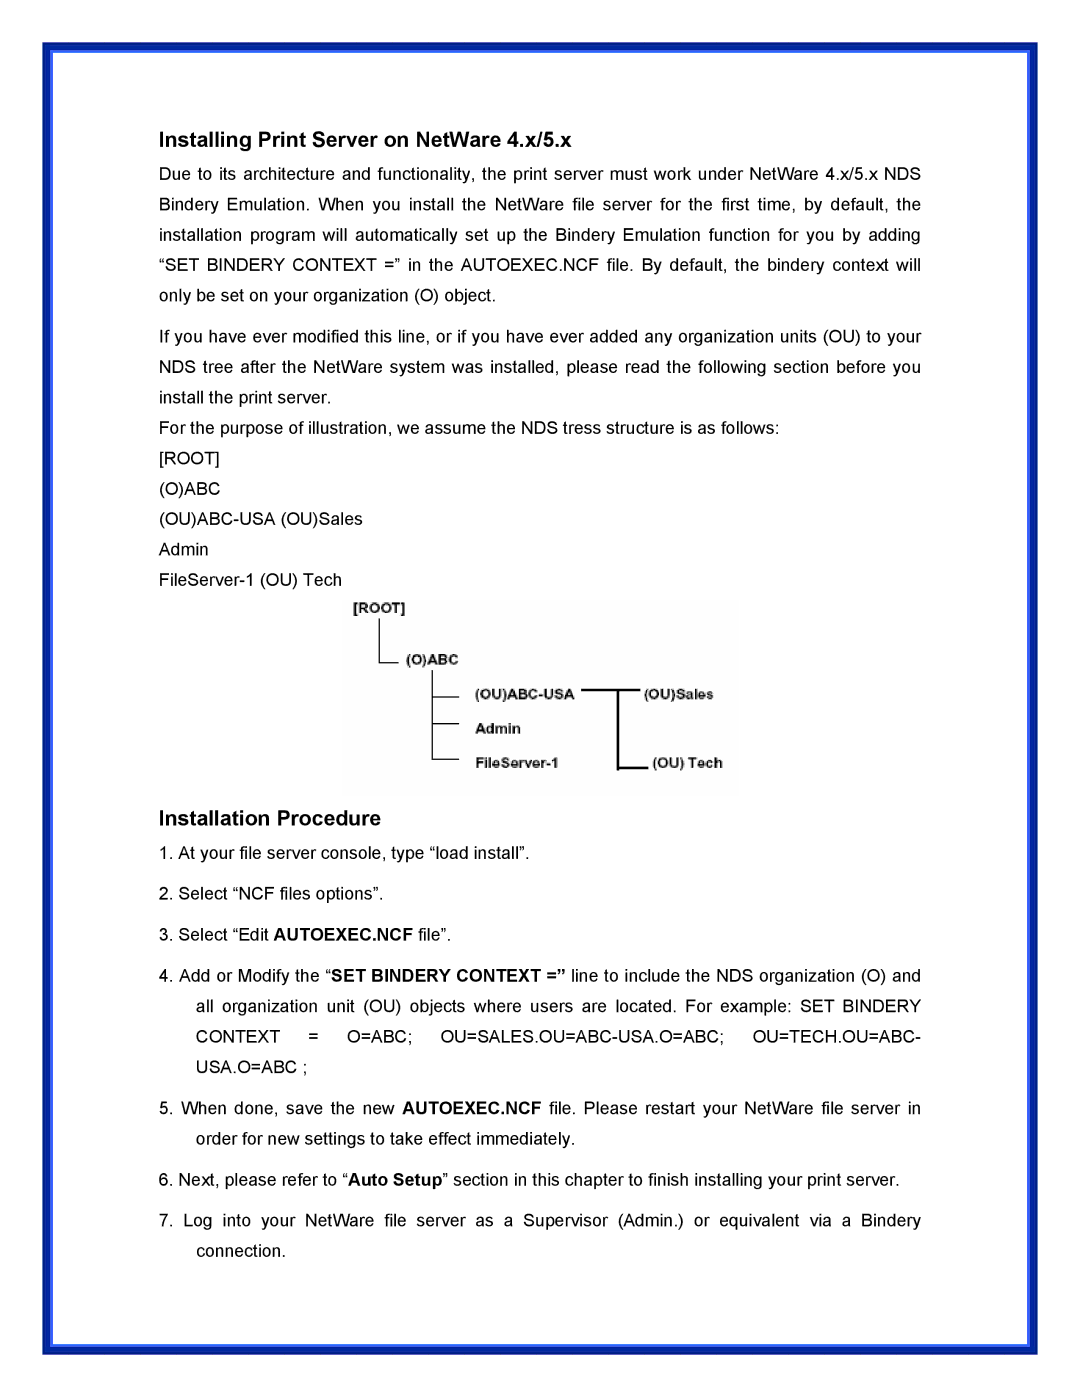
For the purpose of illustration, we assume the NDS tress structure is as follows: [ROOT]
(O)ABC
Installation Procedure
1.At your file server console, type “load install”.
2.Select “NCF files options”.
3.Select “Edit AUTOEXEC.NCF file”.
4.Add or Modify the “SET BINDERY CONTEXT =” line to include the NDS organization (O) and all organization unit (OU) objects where users are located. For example: SET BINDERY CONTEXT = O=ABC;
5.When done, save the new AUTOEXEC.NCF file. Please restart your NetWare file server in order for new settings to take effect immediately.
6.Next, please refer to “Auto Setup” section in this chapter to finish installing your print server.
7.Log into your NetWare file server as a Supervisor (Admin.) or equivalent via a Bindery connection.