5.Click “OK”.
6.Enter /Printer / Make Default.
System V Release 4 Unix
1.For example: the print server has a static IP address: 192.168.1.100
2.Input “lpsystem
3.Input “lpadmin
4.Input “accept a1”.
5.Input “enable a1”.
Redhat Linux 9
The Print Server can work under any
Basically, the Linux's printing system is based on BSD system. Although many commercial Linux systems are available in the market and their commands will vary slightly, depending upon which version is used, the functionality of the
Following are the outlined procedures (recommended for all users) on Red Hat Linux 7.2/7.3 or later with
1.Make sure that the TCP/IP is well configured on your RedHat system, including network interface card's driver and
2.Log in root.
3.Assign Print Server an IP address. At shell mode:
c.1. arp
c.2. Execute tftp < Print Server 's IP> get config.txt and quit tftp.
c.3. Edit the config.txt and modify the IP address, subnet mask, and gateway IP. When done, save the config.txt.
c.4. Execute tftp <Print Server 's IP> put config.txt and quit tftp.
4.Start
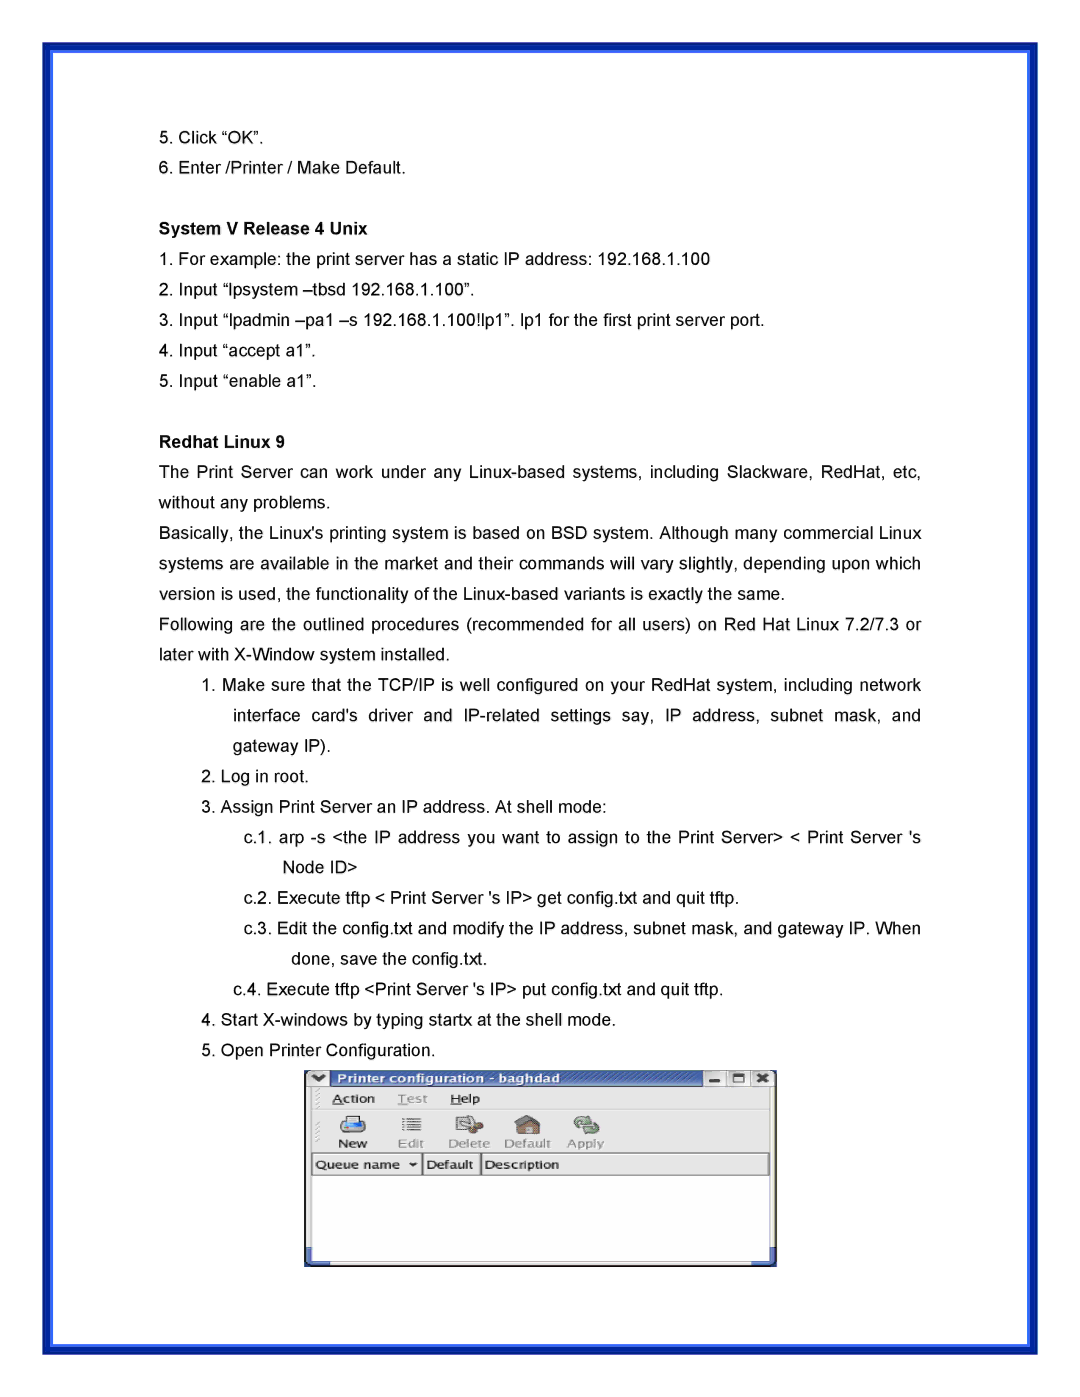
5.Open Printer Configuration.