Using Options 7
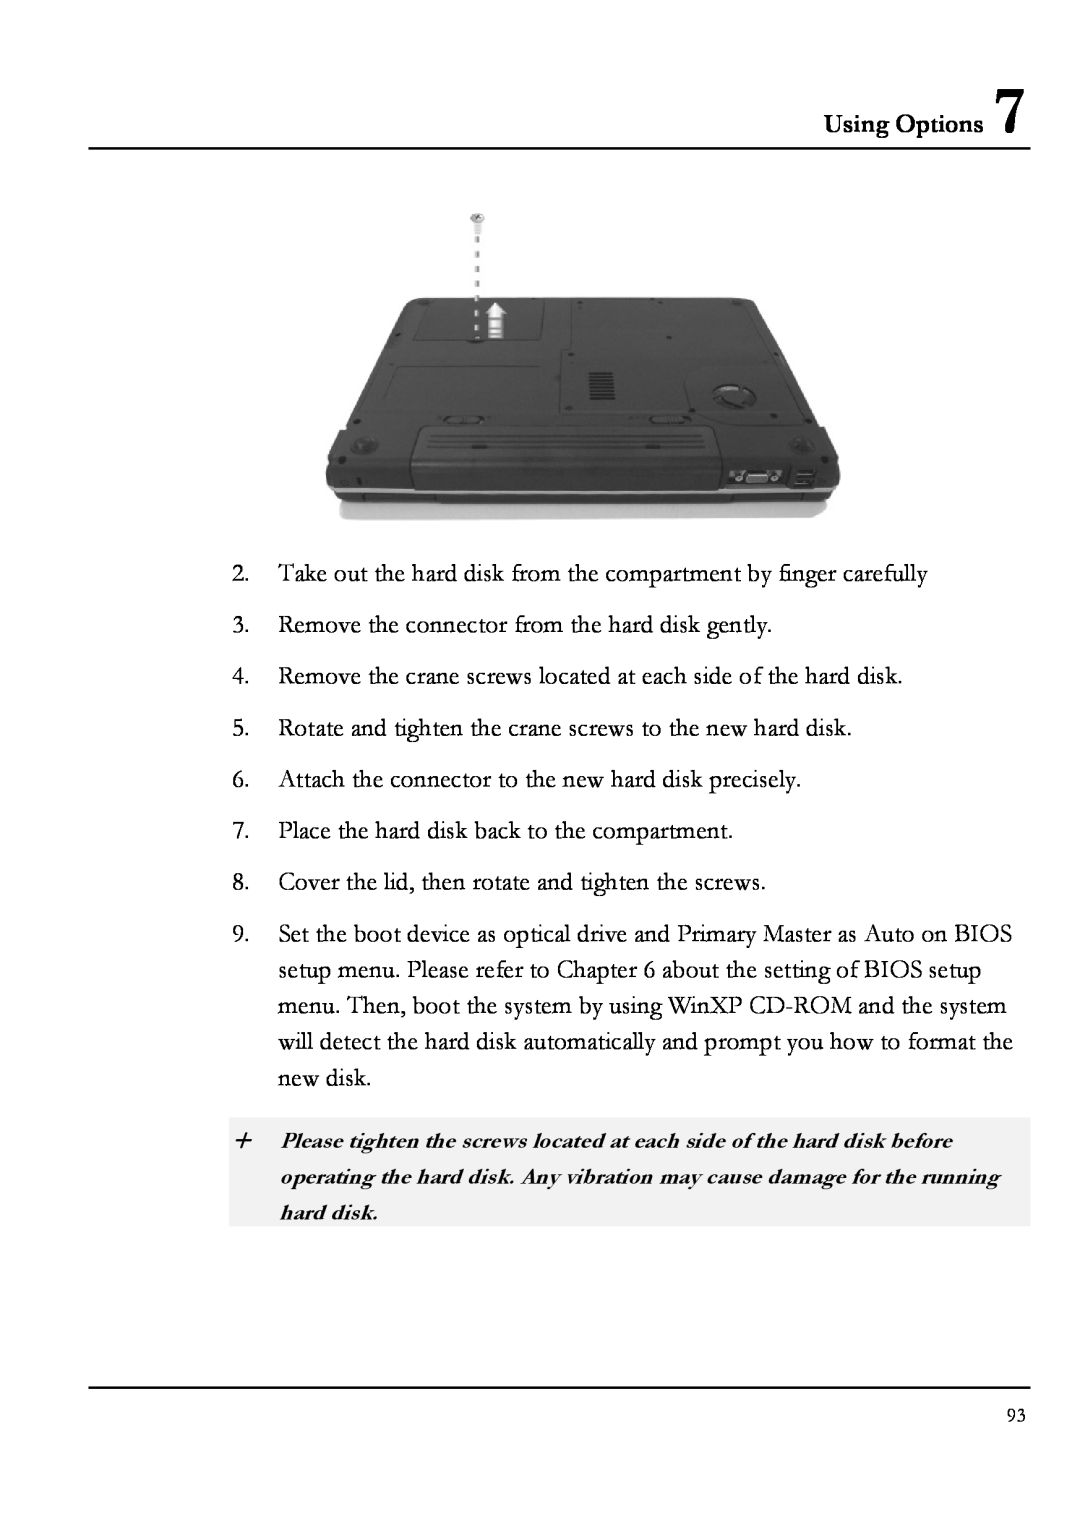
2.Take out the hard disk from the compartment by finger carefully
3.Remove the connector from the hard disk gently.
4.Remove the crane screws located at each side of the hard disk.
5.Rotate and tighten the crane screws to the new hard disk.
6.Attach the connector to the new hard disk precisely.
7.Place the hard disk back to the compartment.
8.Cover the lid, then rotate and tighten the screws.
9.Set the boot device as optical drive and Primary Master as Auto on BIOS setup menu. Please refer to Chapter 6 about the setting of BIOS setup menu. Then, boot the system by using WinXP
+Please tighten the screws located at each side of the hard disk before operating the hard disk. Any vibration may cause damage for the running hard disk.
93