The controls located in the Adjust Motherboard Timings screen allow the bus speeds to be adjusted manually to increase performance for gaming, or lower performance to conserve power and create a quieter user environment. The number to the right of the slider is the new bus speed that will be applied. Adjustments can be made by using the mouse to drag the slider. All changes will take effect immediately after selecting Apply; however, these setting will only remain active for the current Windows session. This will allow a user to safely return to Windows in the event of a crash, without any possibility of boot issues since the changes are not made directly to the BIOS settings.
Note: all the changes on this page will be dynamic when applied, and will only remain active for the current Windows session. You may save these settings as a profile for use later by using the Profile menu item. If a setting does not allow a change, it likely requires a reboot and should be changed in the BIOS or from the Dynamic BIOS Access page (if available).
Caution:
Increasing the voltage or the clock speed of a component may void its warranty due to exceeding recommended specifications. NVIDIA and the board manufacturer are not responsible for damage that may occur when component tolerances are exceeded.
Adjust GPU Settings
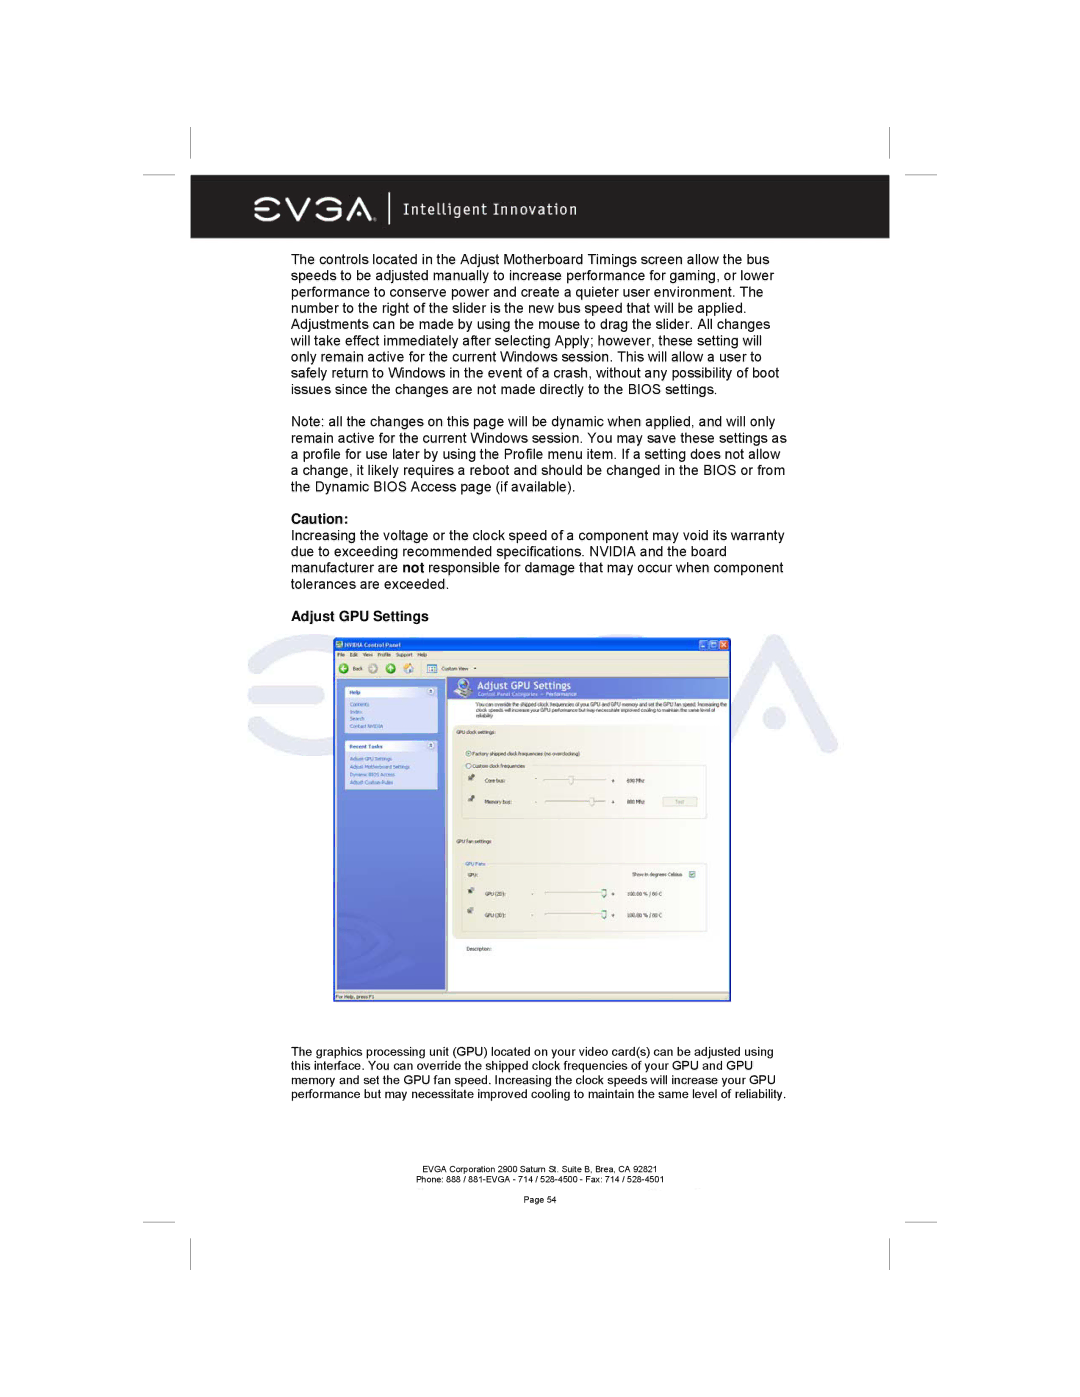
The graphics processing unit (GPU) located on your video card(s) can be adjusted using this interface. You can override the shipped clock frequencies of your GPU and GPU memory and set the GPU fan speed. Increasing the clock speeds will increase your GPU performance but may necessitate improved cooling to maintain the same level of reliability.
EVGA Corporation 2900 Saturn St. Suite B, Brea, CA 92821
Phone: 888 /
Page 54
