initial setup
system operation
system start up
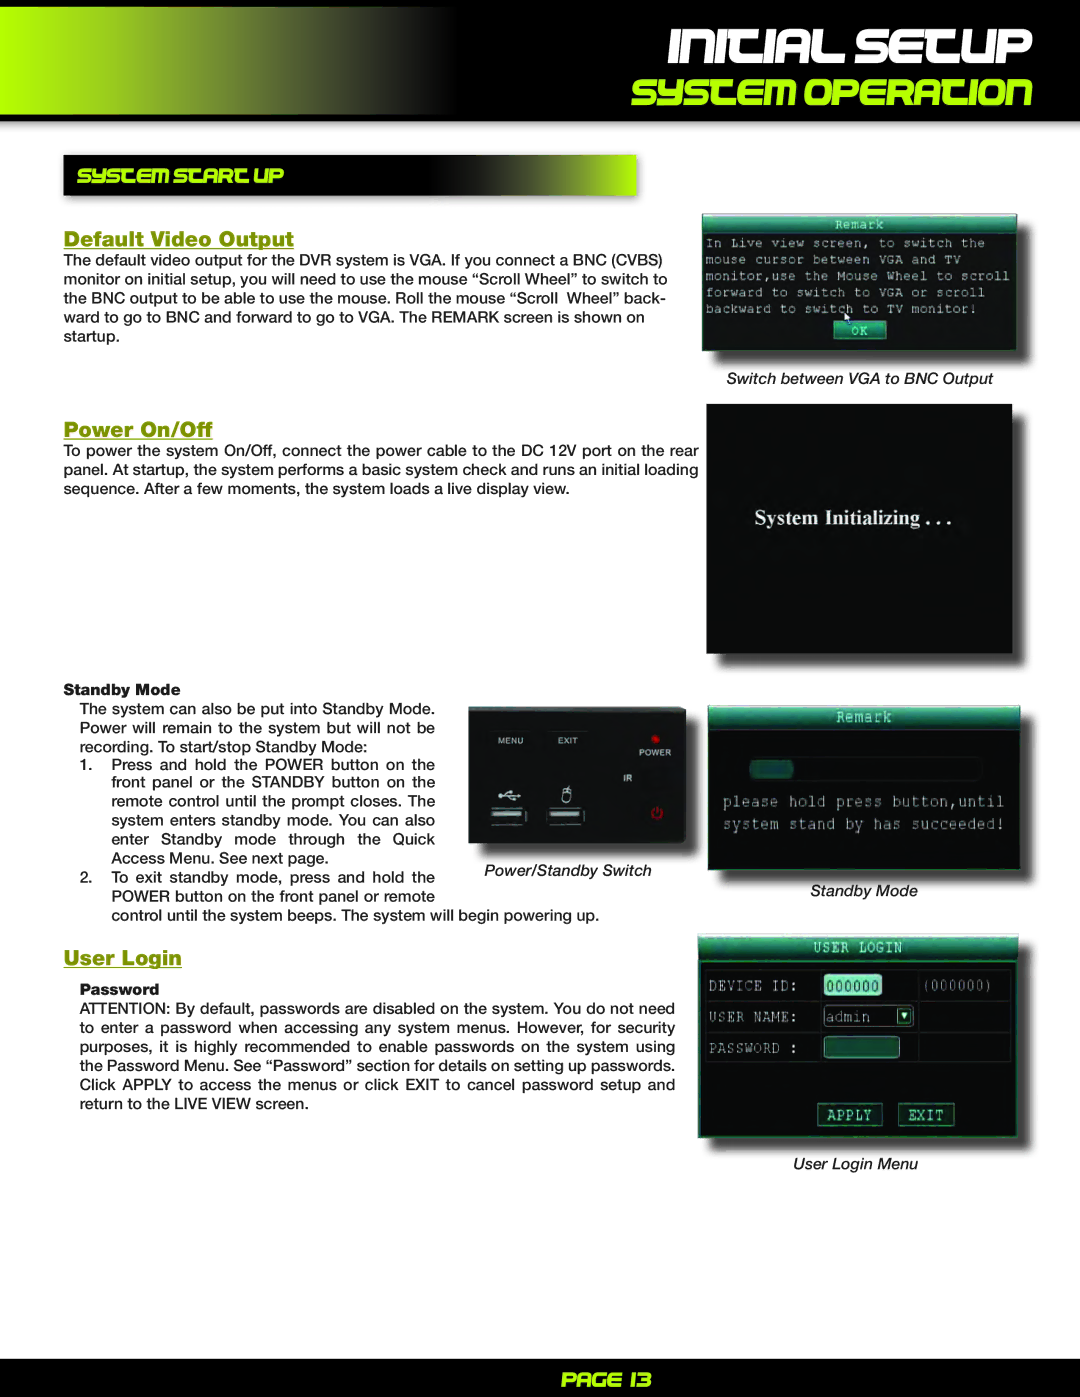
Default Video Output
The default video output for the DVR system is VGA. If you connect a BNC (CVBS) monitor on initial setup, you will need to use the mouse “Scroll Wheel” to switch to the BNC output to be able to use the mouse. Roll the mouse “Scroll Wheel” back- ward to go to BNC and forward to go to VGA. The REMARK screen is shown on startup.
Switch between VGA to BNC Output
Power On/Off
To power the system On/Off, connect the power cable to the DC 12V port on the rear panel. At startup, the system performs a basic system check and runs an initial loading sequence. After a few moments, the system loads a live display view.
Standby Mode
The system can also be put into Standby Mode. Power will remain to the system but will not be
recording. To start/stop Standby Mode:
1. Press and hold the POWER button on the front panel or the STANDBY button on the
remote control until the prompt closes. The
system enters standby mode. You can also |
|
|
enter Standby mode through the Quick |
|
|
Access Menu. See next page. | Power/Standby Switch |
|
2. To exit standby mode, press and hold the |
| |
| Standby Mode | |
POWER button on the front panel or remote |
| |
|
| |
control until the system beeps. The system will begin powering up. |
| |
User Login
Password
ATTENTION: By default, passwords are disabled on the system. You do not need to enter a password when accessing any system menus. However, for security purposes, it is highly recommended to enable passwords on the system using the Password Menu. See “Password” section for details on setting up passwords. Click APPLY to access the menus or click EXIT to cancel password setup and return to the LIVE VIEW screen.
User Login Menu
Page 13