Hard Drive Removal and Installation
HDD Installation
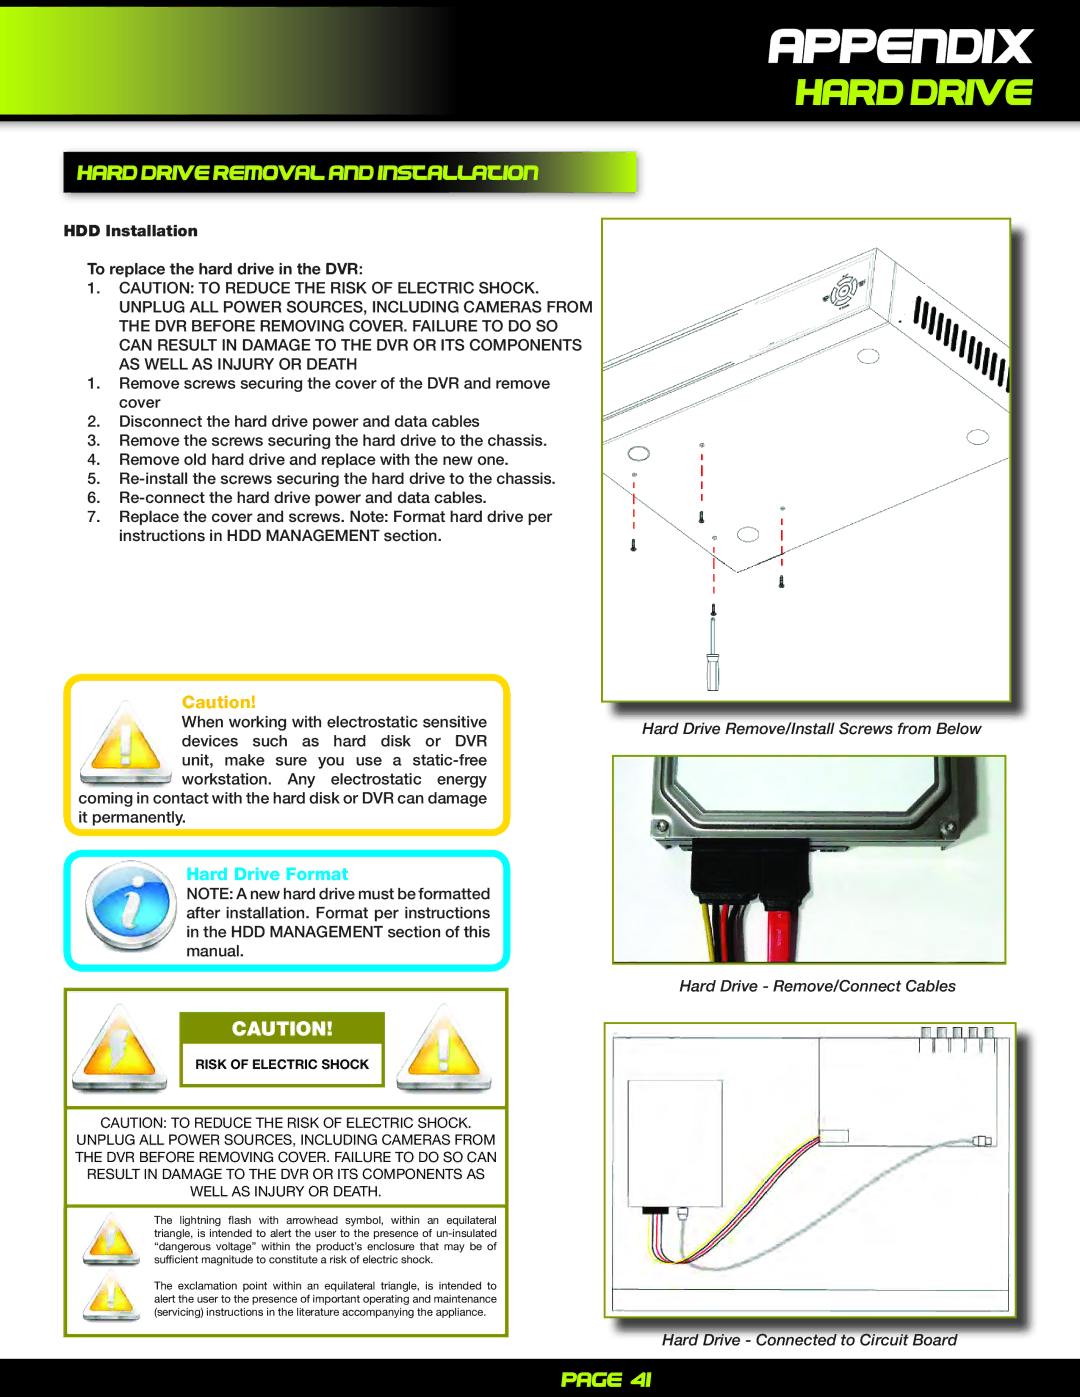
To replace the hard drive in the DVR:
1.CAUTION: TO REDUCE THE RISK OF ELECTRIC SHOCK.
UNPLUG ALL POWER SOURCES, INCLUDING CAMERAS FROM THE DVR BEFORE REMOVING COVER. FAILURE TO DO SO CAN RESULT IN DAMAGE TO THE DVR OR ITS COMPONENTS AS WELL AS INJURY OR DEATH
1.Remove screws securing the cover of the DVR and remove cover
2.Disconnect the hard drive power and data cables
3.Remove the screws securing the hard drive to the chassis.
4.Remove old hard drive and replace with the new one.
5.
6.
7.Replace the cover and screws. Note: Format hard drive per instructions in HDD MANAGEMENT section.
Caution!
When working with electrostatic sensitive devices such as hard disk or DVR unit, make sure you use a
coming in contact with the hard disk or DVR can damage it permanently.
Hard Drive Format
NOTE: A new hard drive must be formatted after installation. Format per instructions in the HDD MANAGEMENT section of this manual.
CAUTION!
RISK OF ELECTRIC SHOCK
CAUTION: TO REDUCE THE RISK OF ELECTRIC SHOCK.
UNPLUG ALL POWER SOURCES, INCLUDING CAMERAS FROM THE DVR BEFORE REMOVING COVER. FAILURE TO DO SO CAN RESULT IN DAMAGE TO THE DVR OR ITS COMPONENTS AS WELL AS INJURY OR DEATH.
The lightning flash with arrowhead symbol, within an equilateral triangle, is intended to alert the user to the presence of
The exclamation point within an equilateral triangle, is intended to alert the user to the presence of important operating and maintenance (servicing) instructions in the literature accompanying the appliance.
Appendix
Hard Drive
Hard Drive Remove/Install Screws from Below
Hard Drive - Remove/Connect Cables
Hard Drive - Connected to Circuit Board
Page 41