initial setup
system operation
Live View Screen
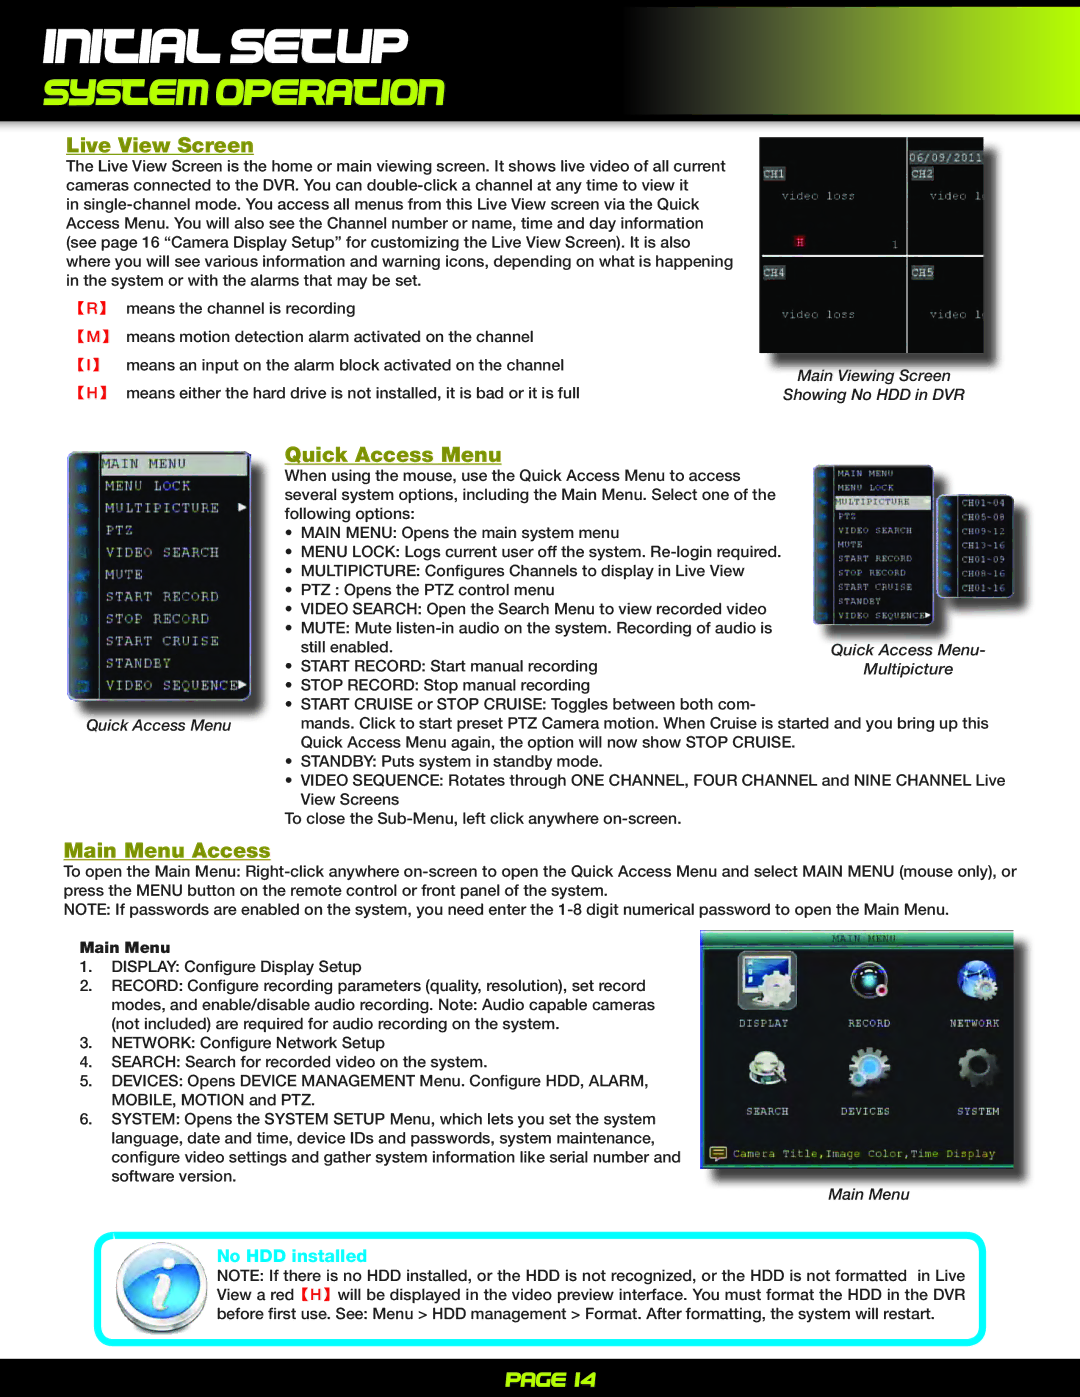
The Live View Screen is the home or main viewing screen. It shows live video of all current cameras connected to the DVR. You can
in
【R】 means the channel is recording
【M】 means motion detection alarm activated on the channel
【I】 means an input on the alarm block activated on the channel 【H】 means either the hard drive is not installed, it is bad or it is full
Main Viewing Screen
Showing No HDD in DVR
Quick Access Menu
| When using the mouse, use the Quick Access Menu to access |
|
| several system options, including the Main Menu. Select one of the |
|
| following options: |
|
| • MAIN MENU: Opens the main system menu |
|
| • MENU LOCK: Logs current user off the system. |
|
| • MULTIPICTURE: Configures Channels to display in Live View |
|
| • PTZ : Opens the PTZ control menu |
|
| • VIDEO SEARCH: Open the Search Menu to view recorded video |
|
| • MUTE: Mute |
|
| still enabled. | Quick Access Menu- |
| • START RECORD: Start manual recording | Multipicture |
| • STOP RECORD: Stop manual recording |
|
| • START CRUISE or STOP CRUISE: Toggles between both com- |
|
Quick Access Menu | mands. Click to start preset PTZ Camera motion. When Cruise is started and you bring up this | |
Quick Access Menu again, the option will now show STOP CRUISE.
• STANDBY: Puts system in standby mode.
• VIDEO SEQUENCE: Rotates through ONE CHANNEL, FOUR CHANNEL and NINE CHANNEL Live View Screens
To close the
Main Menu Access
To open the Main Menu:
NOTE: If passwords are enabled on the system, you need enter the
Main Menu
1.DISPLAY: Configure Display Setup
2.RECORD: Configure recording parameters (quality, resolution), set record
modes, and enable/disable audio recording. Note: Audio capable cameras (not included) are required for audio recording on the system.
3.NETWORK: Configure Network Setup
4.SEARCH: Search for recorded video on the system.
5.DEVICES: Opens DEVICE MANAGEMENT Menu. Configure HDD, ALARM, MOBILE, MOTION and PTZ.
6.SYSTEM: Opens the SYSTEM SETUP Menu, which lets you set the system language, date and time, device IDs and passwords, system maintenance, configure video settings and gather system information like serial number and software version.
Main Menu
No HDD installed
NOTE: If there is no HDD installed, or the HDD is not recognized, or the HDD is not formatted in Live View a red【H】will be displayed in the video preview interface. You must format the HDD in the DVR before first use. See: Menu > HDD management > Format. After formatting, the system will restart.
Page 14