O V E N O P E R A T I O N
ALL ABOUT THE COOKING PROBE
Use your cooking probe to accurately judge the endpoint when cooking meat and poultry that is tender, juicy, full of flavor and ‘done’ to your own preference. Meat that is cooked for too long can be dry and tough; the probe will turn the oven off when the internal temperature of the food reaches a point that has been
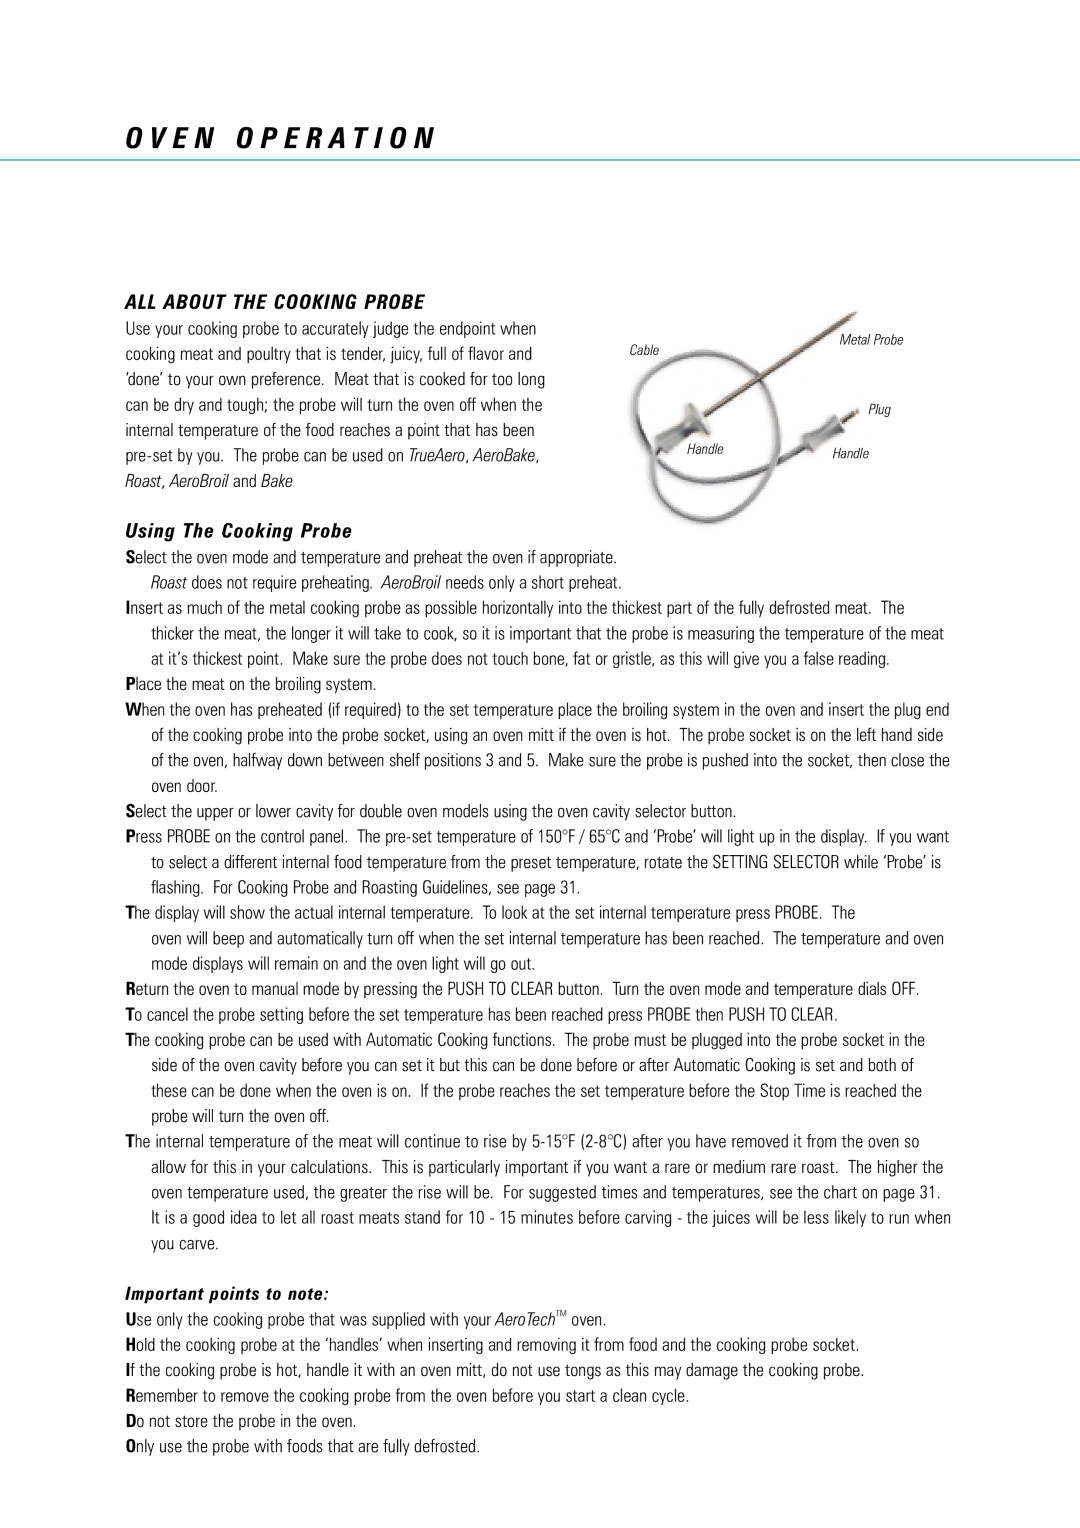
Cable
Metal Probe
Plug
Using The Cooking Probe
HandleHandle
Select the oven mode and temperature and preheat the oven if appropriate. Roast does not require preheating. AeroBroil needs only a short preheat.
Insert as much of the metal cooking probe as possible horizontally into the thickest part of the fully defrosted meat. The thicker the meat, the longer it will take to cook, so it is important that the probe is measuring the temperature of the meat at it’s thickest point. Make sure the probe does not touch bone, fat or gristle, as this will give you a false reading.
Place the meat on the broiling system.
When the oven has preheated (if required) to the set temperature place the broiling system in the oven and insert the plug end of the cooking probe into the probe socket, using an oven mitt if the oven is hot. The probe socket is on the left hand side of the oven, halfway down between shelf positions 3 and 5. Make sure the probe is pushed into the socket, then close the oven door.
Select the upper or lower cavity for double oven models using the oven cavity selector button.
Press PROBE on the control panel. The
The display will show the actual internal temperature. To look at the set internal temperature press PROBE. The
oven will beep and automatically turn off when the set internal temperature has been reached. The temperature and oven mode displays will remain on and the oven light will go out.
Return the oven to manual mode by pressing the PUSH TO CLEAR button. Turn the oven mode and temperature dials OFF. To cancel the probe setting before the set temperature has been reached press PROBE then PUSH TO CLEAR.
The cooking probe can be used with Automatic Cooking functions. The probe must be plugged into the probe socket in the side of the oven cavity before you can set it but this can be done before or after Automatic Cooking is set and both of these can be done when the oven is on. If the probe reaches the set temperature before the Stop Time is reached the probe will turn the oven off.
The internal temperature of the meat will continue to rise by
Important points to note:
Use only the cooking probe that was supplied with your AeroTechTM oven.
Hold the cooking probe at the ‘handles’ when inserting and removing it from food and the cooking probe socket. If the cooking probe is hot, handle it with an oven mitt, do not use tongs as this may damage the cooking probe. Remember to remove the cooking probe from the oven before you start a clean cycle.
Do not store the probe in the oven.
Only use the probe with foods that are fully defrosted.