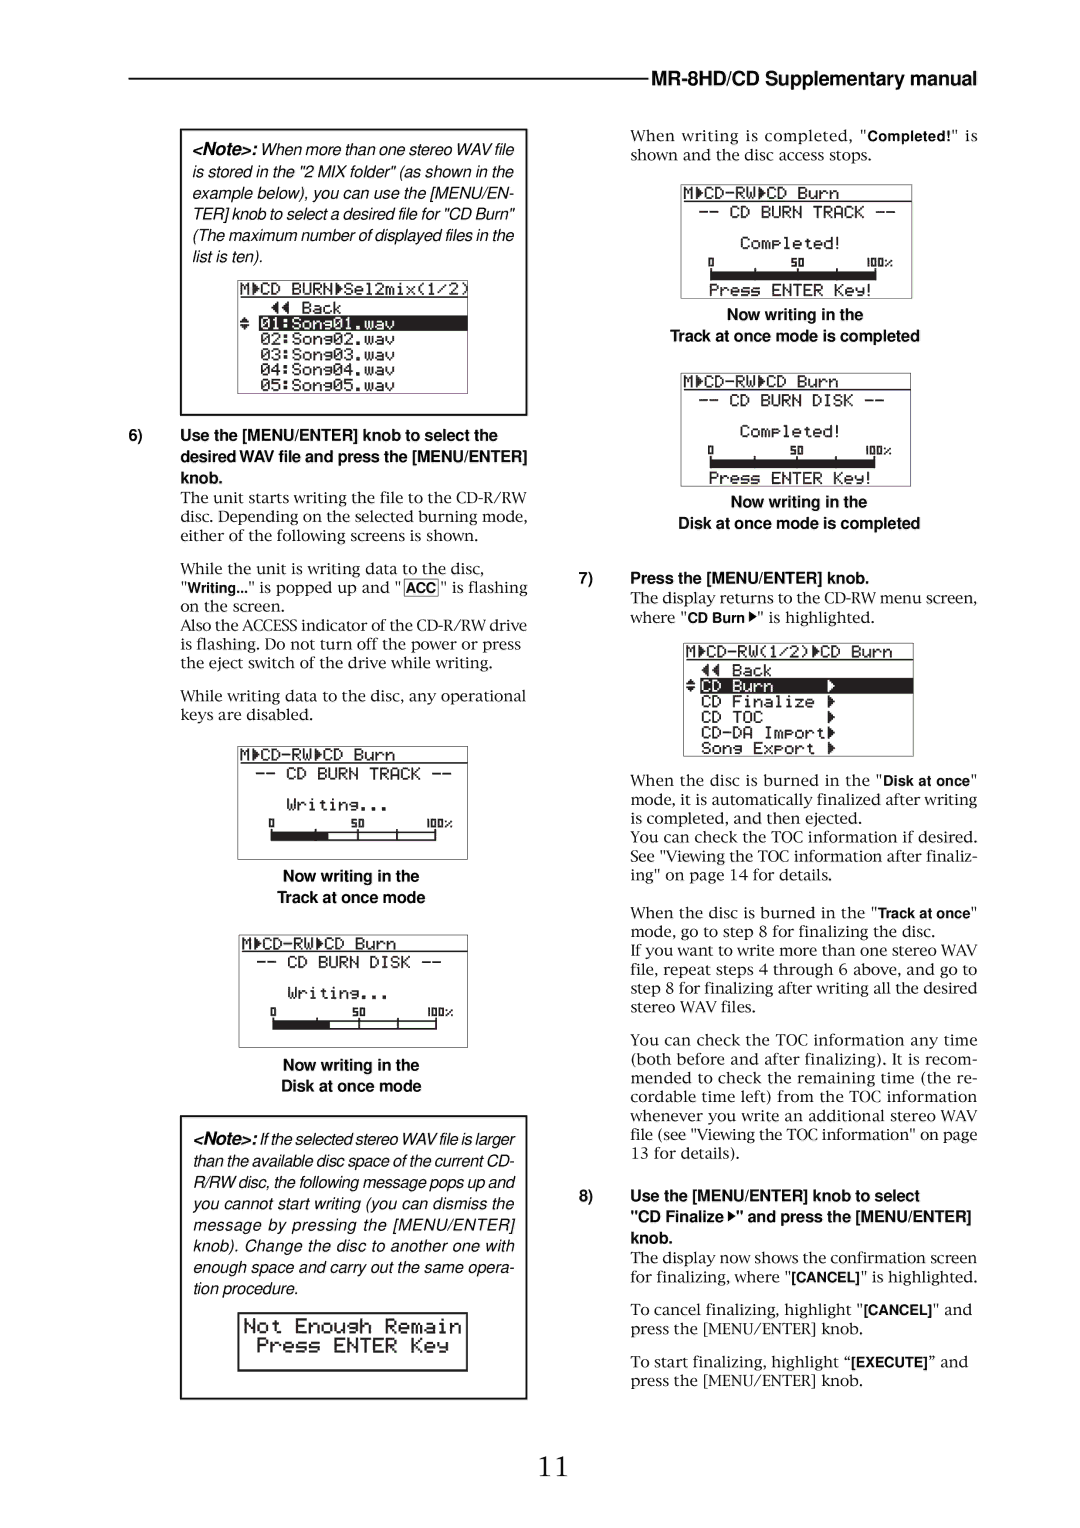
<Note>: When more than one stereo WAV file is stored in the "2 MIX folder" (as shown in the example below), you can use the [MENU/EN- TER] knob to select a desired file for "CD Burn" (The maximum number of displayed files in the list is ten).
6)Use the [MENU/ENTER] knob to select the desired WAV file and press the [MENU/ENTER] knob.
The unit starts writing the file to the
While the unit is writing data to the disc,
"Writing..." is popped up and " ACC " is flashing on the screen.
Also the ACCESS indicator of the
While writing data to the disc, any operational keys are disabled.
Now writing in the
Track at once mode
Now writing in the
Disk at once mode
<Note>: If the selected stereo WAV file is larger than the available disc space of the current CD- R/RW disc, the following message pops up and you cannot start writing (you can dismiss the message by pressing the [MENU/ENTER] knob). Change the disc to another one with enough space and carry out the same opera- tion procedure.
When writing is completed, "Completed!" is shown and the disc access stops.
Now writing in the
Track at once mode is completed
Now writing in the
Disk at once mode is completed
7)Press the [MENU/ENTER] knob.
The display returns to the ![]() " is highlighted.
" is highlighted.
When the disc is burned in the "Disk at once" mode, it is automatically finalized after writing is completed, and then ejected.
You can check the TOC information if desired. See "Viewing the TOC information after finaliz- ing" on page 14 for details.
When the disc is burned in the "Track at once" mode, go to step 8 for finalizing the disc.
If you want to write more than one stereo WAV file, repeat steps 4 through 6 above, and go to step 8 for finalizing after writing all the desired stereo WAV files.
You can check the TOC information any time (both before and after finalizing). It is recom- mended to check the remaining time (the re- cordable time left) from the TOC information whenever you write an additional stereo WAV file (see "Viewing the TOC information" on page 13 for details).
8)Use the [MENU/ENTER] knob to select
"CD Finalize ![]() " and press the [MENU/ENTER] knob.
" and press the [MENU/ENTER] knob.
The display now shows the confirmation screen for finalizing, where "[CANCEL]" is highlighted.
To cancel finalizing, highlight "[CANCEL]" and press the [MENU/ENTER] knob.
To start finalizing, highlight “[EXECUTE]” and press the [MENU/ENTER] knob.
11
