Touch Test in Heating/Cooling Cycle
![]() WARNING
WARNING
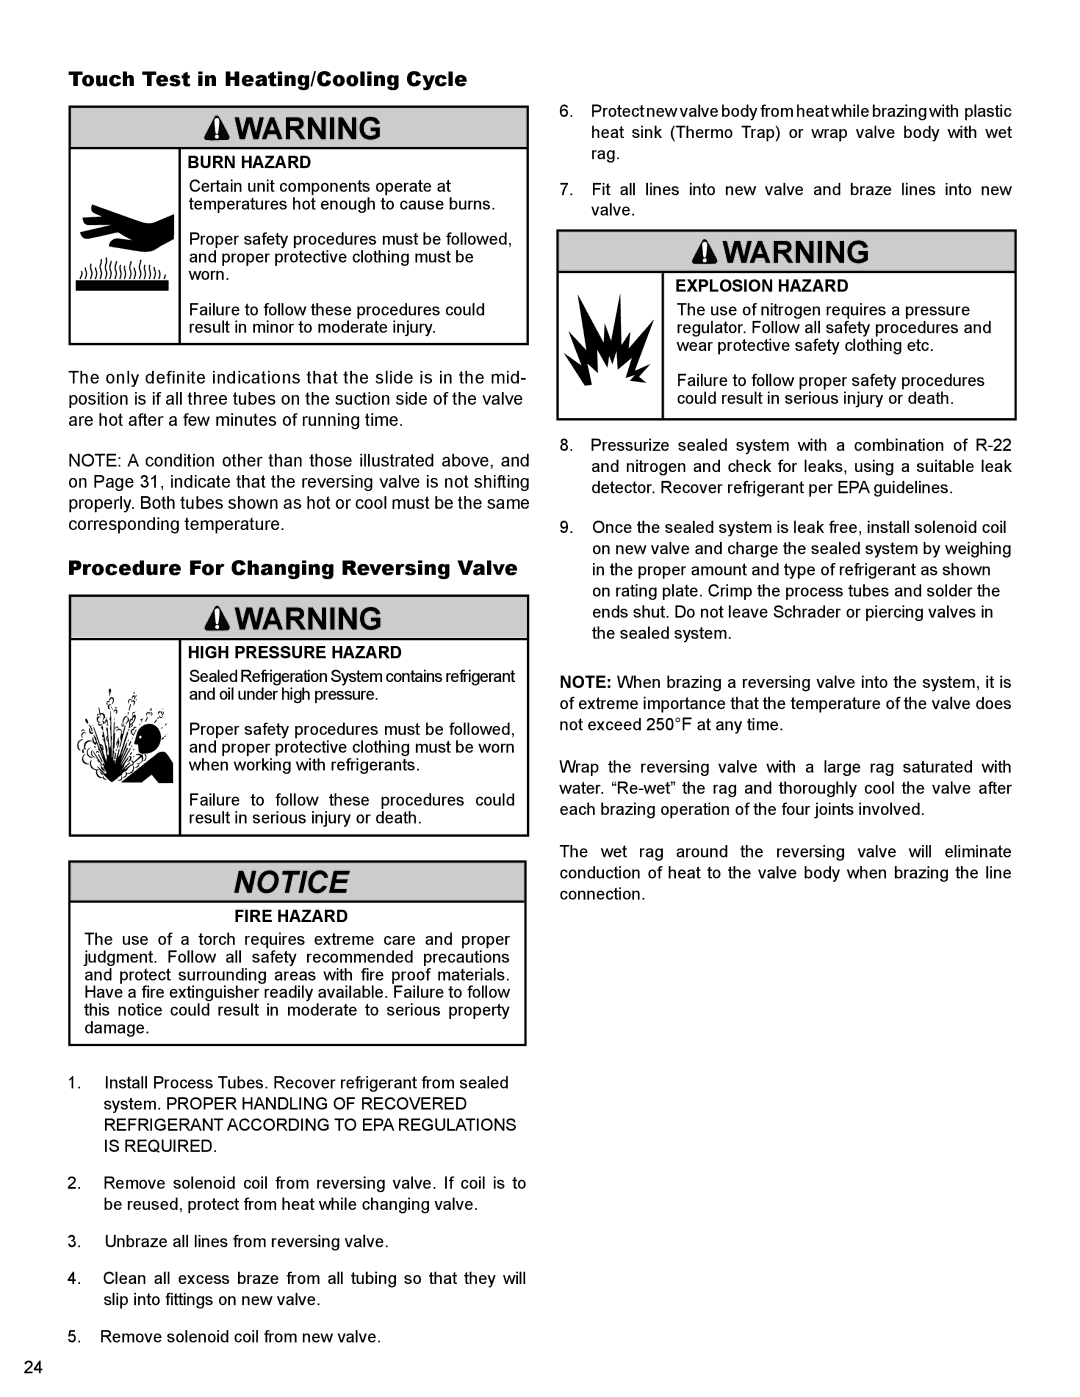
BURN HAZARD
Certain unit components operate at temperatures hot enough to cause burns.
Proper safety procedures must be followed, and proper protective clothing must be worn.
Failure to follow these procedures could result in minor to moderate injury.
The only definite indications that the slide is in the mid- position is if all three tubes on the suction side of the valve are hot after a few minutes of running time.
NOTE: A condition other than those illustrated above, and on Page 31, indicate that the reversing valve is not shifting properly. Both tubes shown as hot or cool must be the same corresponding temperature.
Procedure For Changing Reversing Valve
![]() WARNING
WARNING
HIGH PRESSURE HAZARD
Sealed Refrigeration System contains refrigerant and oil under high pressure.
Proper safety procedures must be followed, and proper protective clothing must be worn when working with refrigerants.
Failure to follow these procedures could result in serious injury or death.
NOTICE
FIRE HAZARD
The use of a torch requires extreme care and proper judgment. Follow all safety recommended precautions and protect surrounding areas with fire proof materials. Have a fire extinguisher readily available. Failure to follow this notice could result in moderate to serious property damage.
1.Install Process Tubes. Recover refrigerant from sealed system. PROPER HANDLING OF RECOVERED REFRIGERANT ACCORDING TO EPA REGULATIONS IS REQUIRED.
2.Remove solenoid coil from reversing valve. If coil is to be reused, protect from heat while changing valve.
3.Unbraze all lines from reversing valve.
4.Clean all excess braze from all tubing so that they will slip into fittings on new valve.
5.Remove solenoid coil from new valve.
6.Protect new valve body from heat while brazing with plastic heat sink (Thermo Trap) or wrap valve body with wet rag.
7.Fit all lines into new valve and braze lines into new valve.
![]() WARNING
WARNING
EXPLOSION HAZARD
The use of nitrogen requires a pressure regulator. Follow all safety procedures and wear protective safety clothing etc.
Failure to follow proper safety procedures could result in serious injury or death.
8.Pressurize sealed system with a combination of
9.Once the sealed system is leak free, install solenoid coil on new valve and charge the sealed system by weighing in the proper amount and type of refrigerant as shown on rating plate. Crimp the process tubes and solder the ends shut. Do not leave Schrader or piercing valves in the sealed system.
NOTE: When brazing a reversing valve into the system, it is of extreme importance that the temperature of the valve does not exceed 250°F at any time.
Wrap the reversing valve with a large rag saturated with water.
The wet rag around the reversing valve will eliminate conduction of heat to the valve body when brazing the line connection.
24
