24G SERIES FLATBOTTOM GAS FRYERS CHAPTER 1: SERVICE PROCEDURES
1.7.4.2 Replacing
1.Remove the burner shield from the
2.Disconnect sense wire and ignition cable from the ignitor.
3.Remove the mounting screw from the ignitor
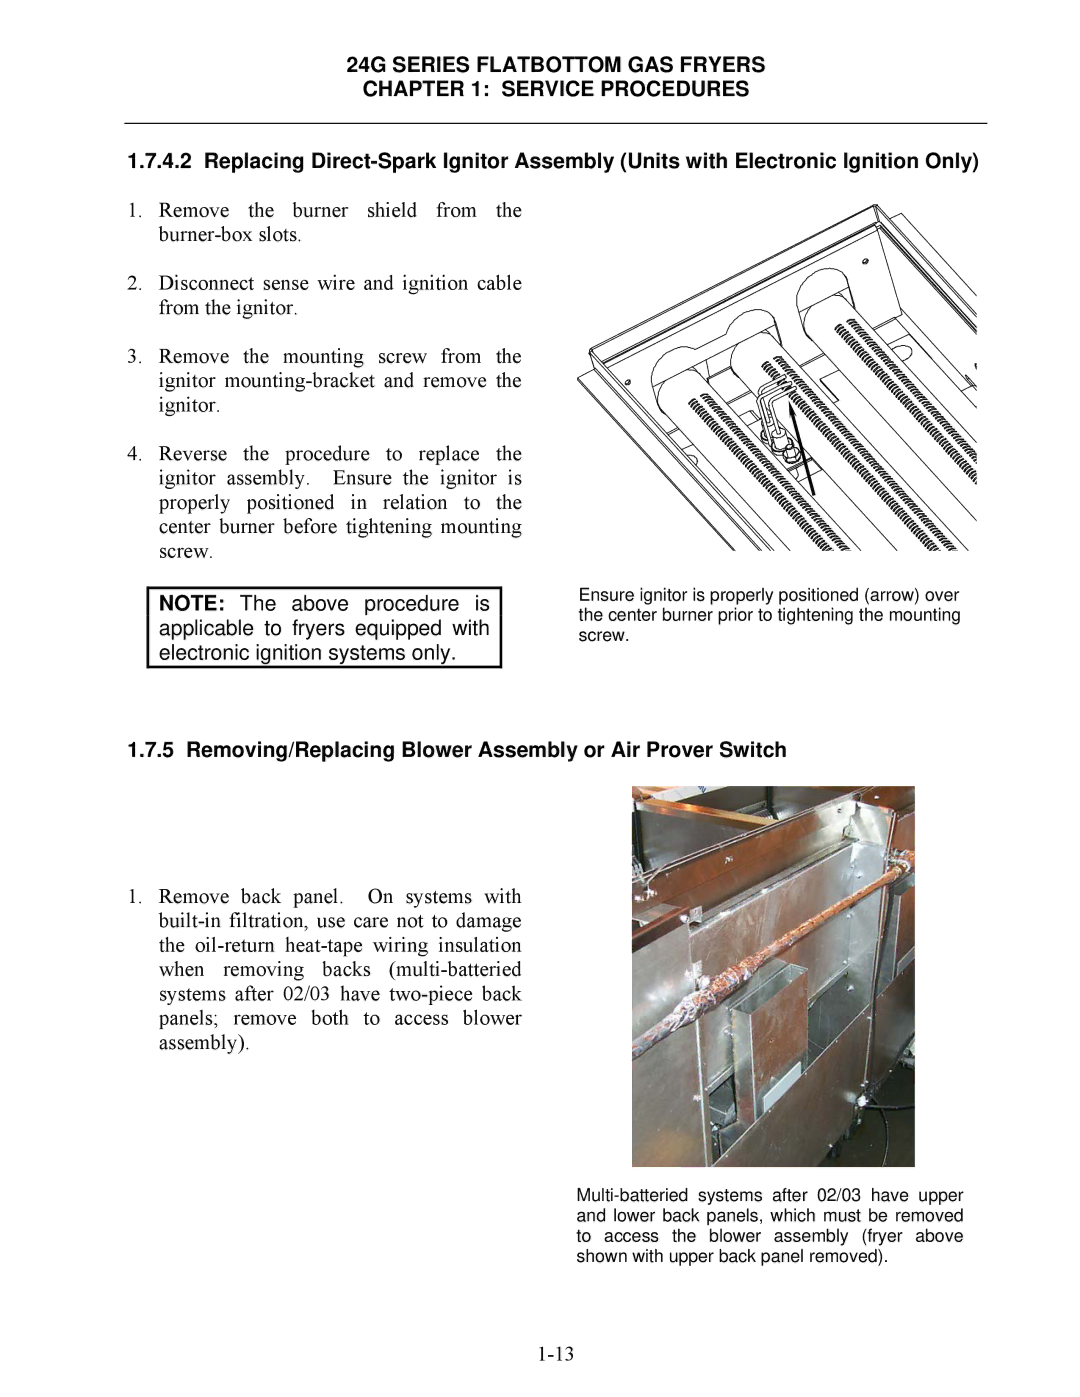
4.Reverse the procedure to replace the ignitor assembly. Ensure the ignitor is properly positioned in relation to the center burner before tightening mounting screw.
NOTE: The above procedure is applicable to fryers equipped with electronic ignition systems only.
Ensure ignitor is properly positioned (arrow) over the center burner prior to tightening the mounting screw.
1.7.5 Removing/Replacing Blower Assembly or Air Prover Switch
1.Remove back panel. On systems with
