24G SERIES FLATBOTTOM GAS FRYERS CHAPTER 1: SERVICE PROCEDURES
1.7.6 Replacing the Frypot
Unit should be at room temperature, disconnected from gas and electrical service, and empty of oil or shortening prior to beginning procedure.
1.7.6.1 Frypot Baffle Inspection
1.Remove cabinet door(s) by holding door and lifting up on hinge pin. Current production model doors have spring-loaded pins that must be disengaged from the control panel and the bottom hinge. Remove marine edge (if applicable) by lifting up and off topcap and set aside.
2.The burner-tube retainer strip and burner tubes must be removed from the frypot/firebox being inspected. Remove the burner-tube shield and the burner-tube retainer from the burner-box and set aside. Lift the burner tubes up over each orifice and then pull outward to remove.
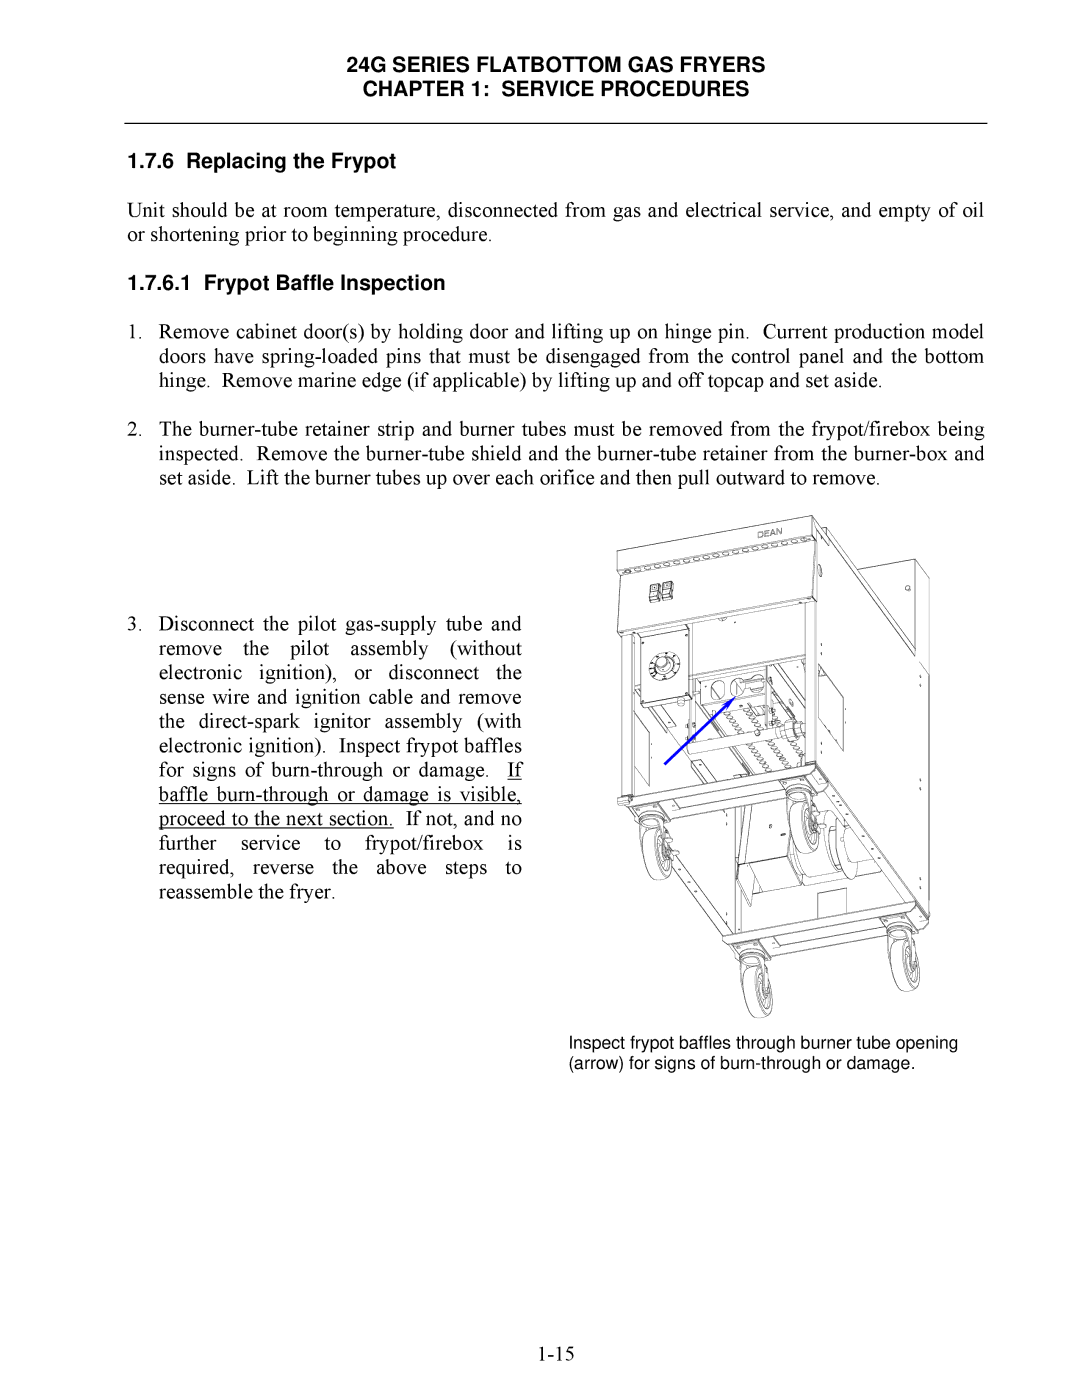
3.Disconnect the pilot gas-supply tube and remove the pilot assembly (without electronic ignition), or disconnect the
sense wire and ignition cable and remove the direct-spark ignitor assembly (with electronic ignition). Inspect frypot baffles for signs of burn-through or damage. If baffle burn-through or damage is visible, proceed to the next section. If not, and no further service to frypot/firebox is required, reverse the above steps to reassemble the fryer.
Inspect frypot baffles through burner tube opening (arrow) for signs of burn-through or damage.
1-15