24G SERIES FLATBOTTOM GAS FRYERS CHAPTER 1: SERVICE PROCEDURES
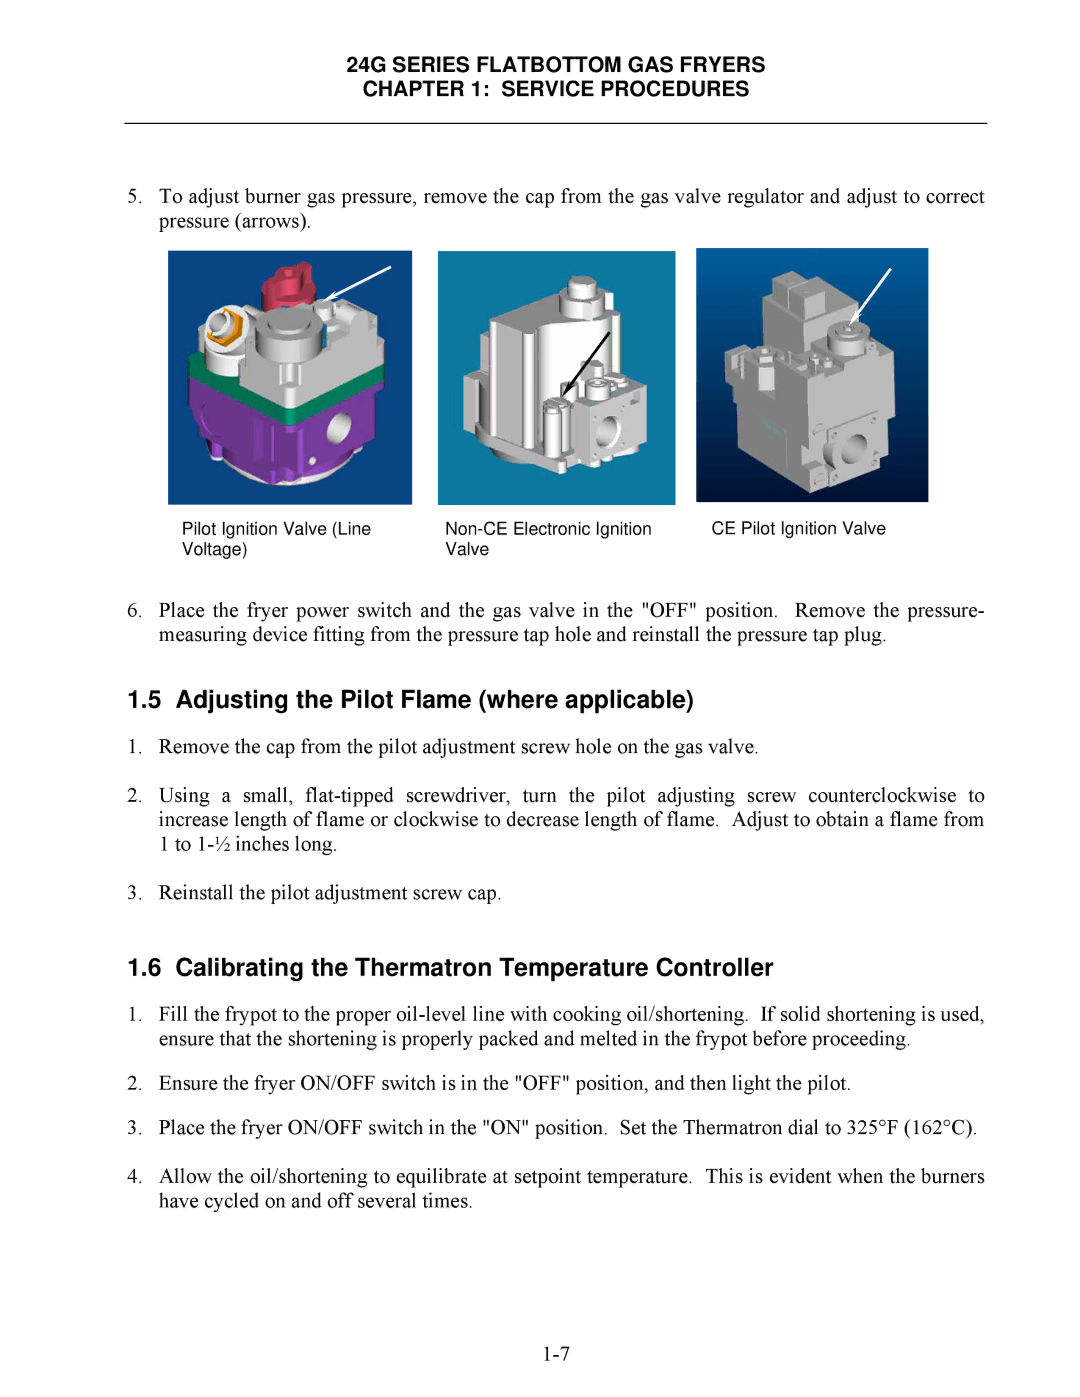
5.To adjust burner gas pressure, remove the cap from the gas valve regulator and adjust to correct pressure (arrows).
Pilot Ignition Valve (Line | CE Pilot Ignition Valve | |
Voltage) | Valve |
|
6.Place the fryer power switch and the gas valve in the "OFF" position. Remove the pressure- measuring device fitting from the pressure tap hole and reinstall the pressure tap plug.
1.5 Adjusting the Pilot Flame (where applicable)
1.Remove the cap from the pilot adjustment screw hole on the gas valve.
2.Using a small,
3.Reinstall the pilot adjustment screw cap.
1.6 Calibrating the Thermatron Temperature Controller
1.Fill the frypot to the proper
2.Ensure the fryer ON/OFF switch is in the "OFF" position, and then light the pilot.
3.Place the fryer ON/OFF switch in the "ON" position. Set the Thermatron dial to 325°F (162°C).
4.Allow the oil/shortening to equilibrate at setpoint temperature. This is evident when the burners have cycled on and off several times.