5.Use a slotted socket to unscrew the thermostat from the frypot.
6.Apply a small amount of Loctite™ PST56765 compound to the threads of the new thermostat and screw it into the frypot, torquing to 150
7.Recalibrate the thermostat (see Section 1.7).
![]() CAUTION
CAUTION
The operating thermostat must be calibrated after installation is complete. Refer to
Section 1.7 for calibration instructions.
1.8.3 Replacing the
1.Drain the fryer and turn the gas off.
2.Disconnect the wires at the gas valve.
3.Use a slotted socket to unscrew the
4.Apply a small amount of Loctite™ PST56765 compound to the threads of the new thermostat.
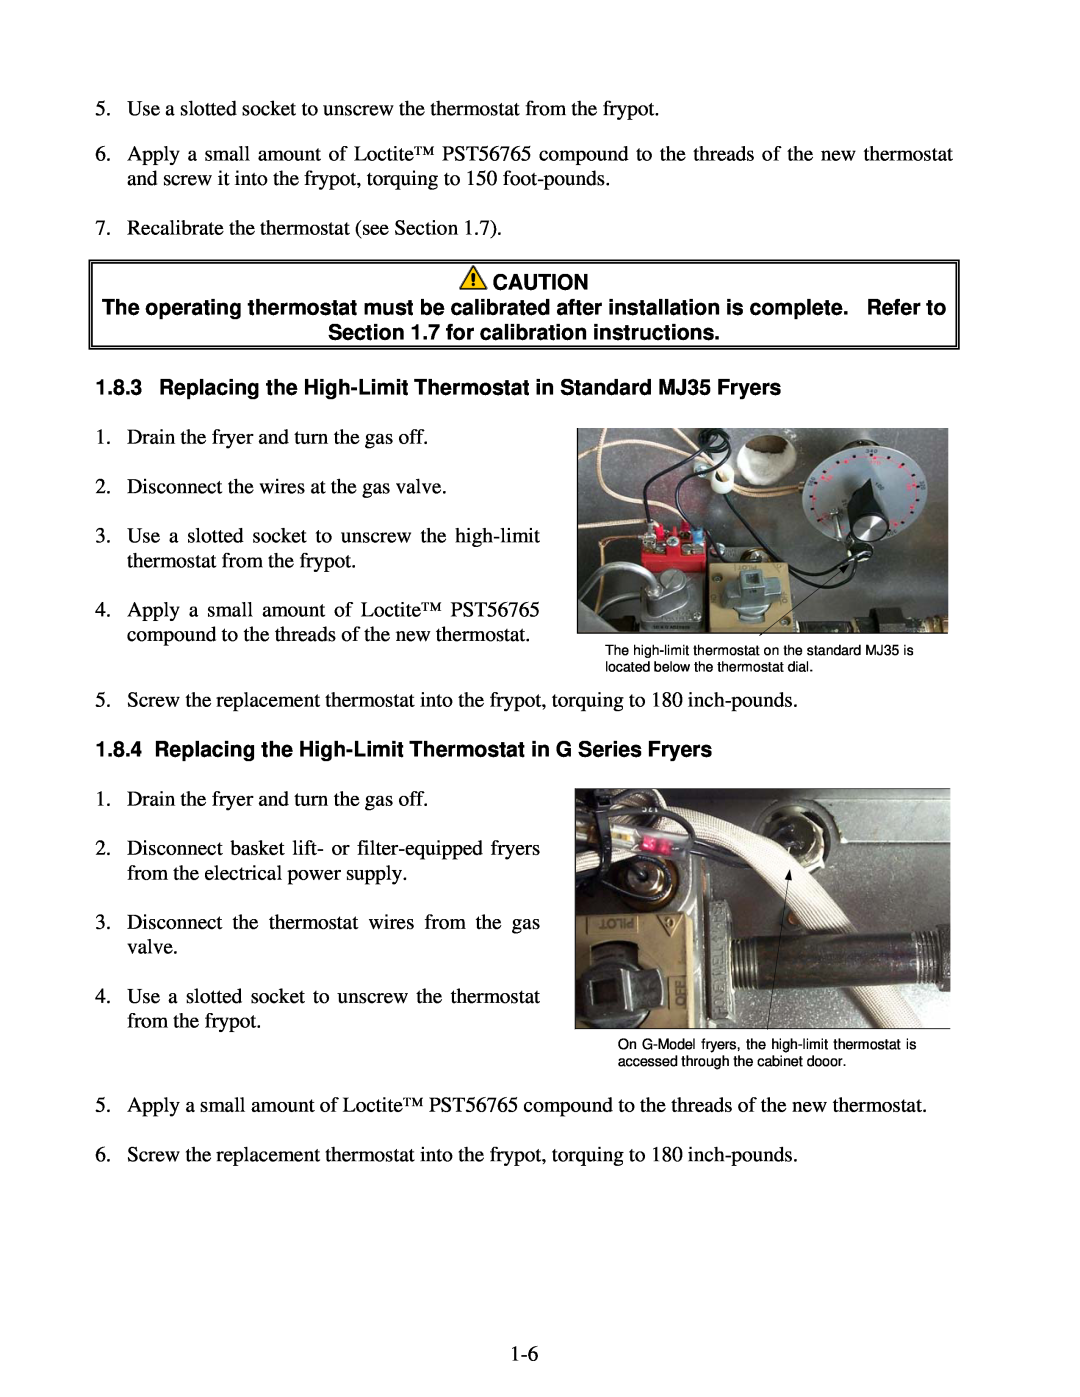
The
5. Screw the replacement thermostat into the frypot, torquing to 180
1.8.4 Replacing the
1.Drain the fryer and turn the gas off.
2.Disconnect basket lift- or
from the electrical power supply.
3.Disconnect the thermostat wires from the gas valve.
4.Use a slotted socket to unscrew the thermostat from the frypot.
On
5.Apply a small amount of Loctite™ PST56765 compound to the threads of the new thermostat.
6.Screw the replacement thermostat into the frypot, torquing to 180
