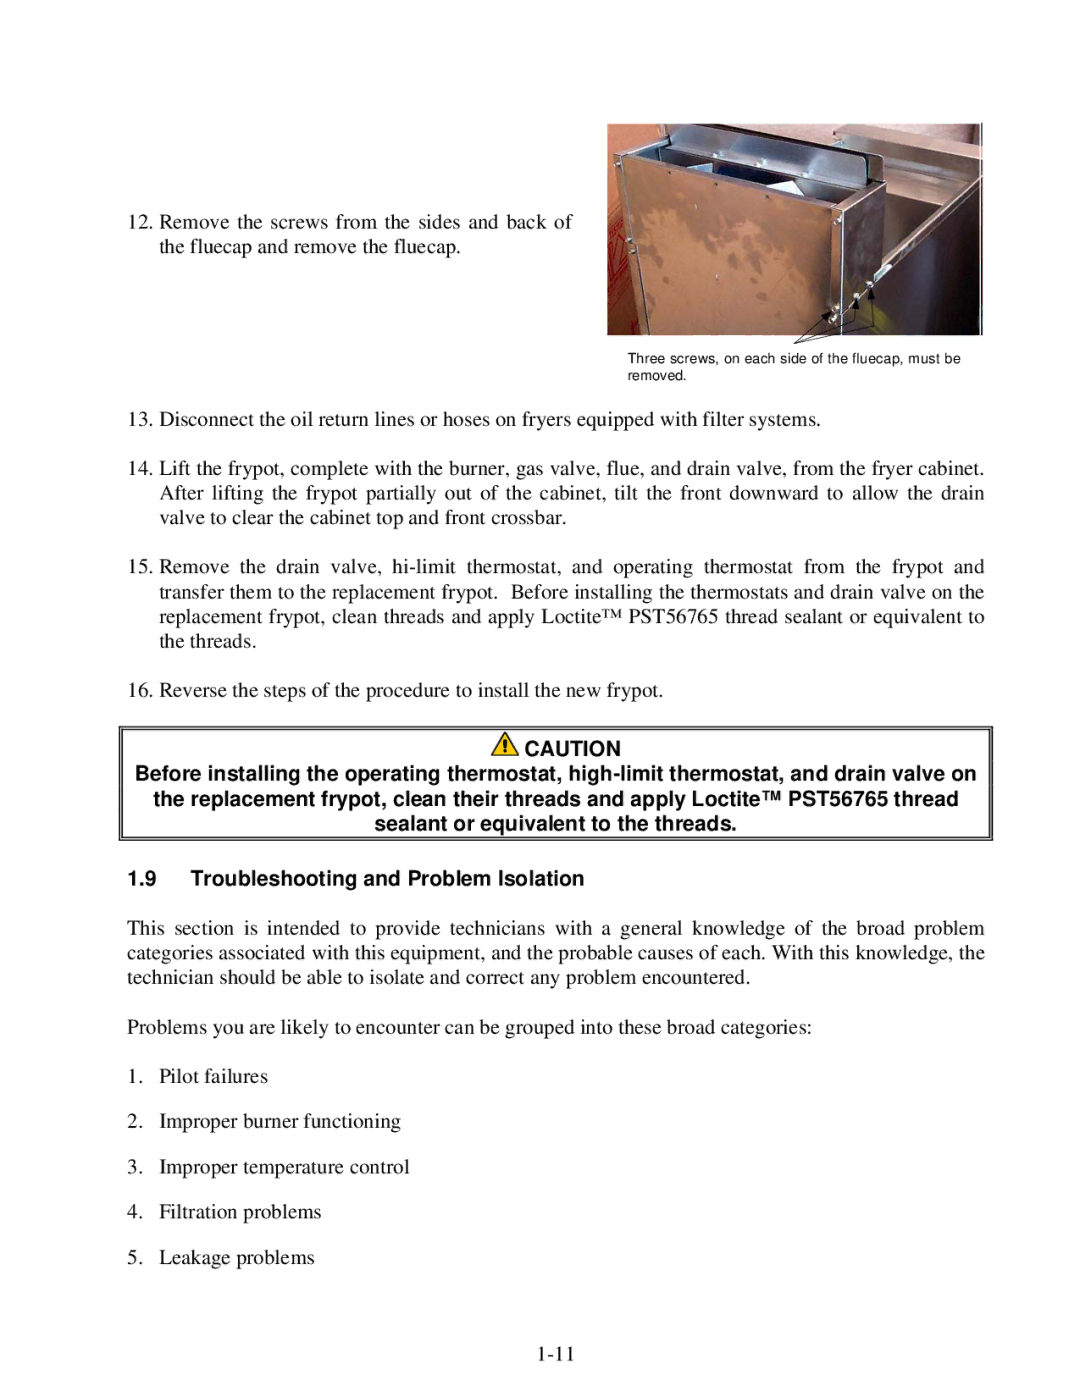
12.Remove the screws from the sides and back of the fluecap and remove the fluecap.
Three screws, on each side of the fluecap, must be removed.
13.Disconnect the oil return lines or hoses on fryers equipped with filter systems.
14.Lift the frypot, complete with the burner, gas valve, flue, and drain valve, from the fryer cabinet. After lifting the frypot partially out of the cabinet, tilt the front downward to allow the drain valve to clear the cabinet top and front crossbar.
15.Remove the drain valve,
16.Reverse the steps of the procedure to install the new frypot.
![]() CAUTION
CAUTION
Before installing the operating thermostat,
1.9Troubleshooting and Problem Isolation
This section is intended to provide technicians with a general knowledge of the broad problem categories associated with this equipment, and the probable causes of each. With this knowledge, the technician should be able to isolate and correct any problem encountered.
Problems you are likely to encounter can be grouped into these broad categories:
1.Pilot failures
2.Improper burner functioning
3.Improper temperature control
4.Filtration problems
5.Leakage problems