1.8.8 Replacing the Frypot
1.Drain the frypot.
2.Remove all accessories (e.g., frypot covers, basket lift arms, etc.) from the fryer.
3.Disconnect the fryer from the gas and electrical power supplies.
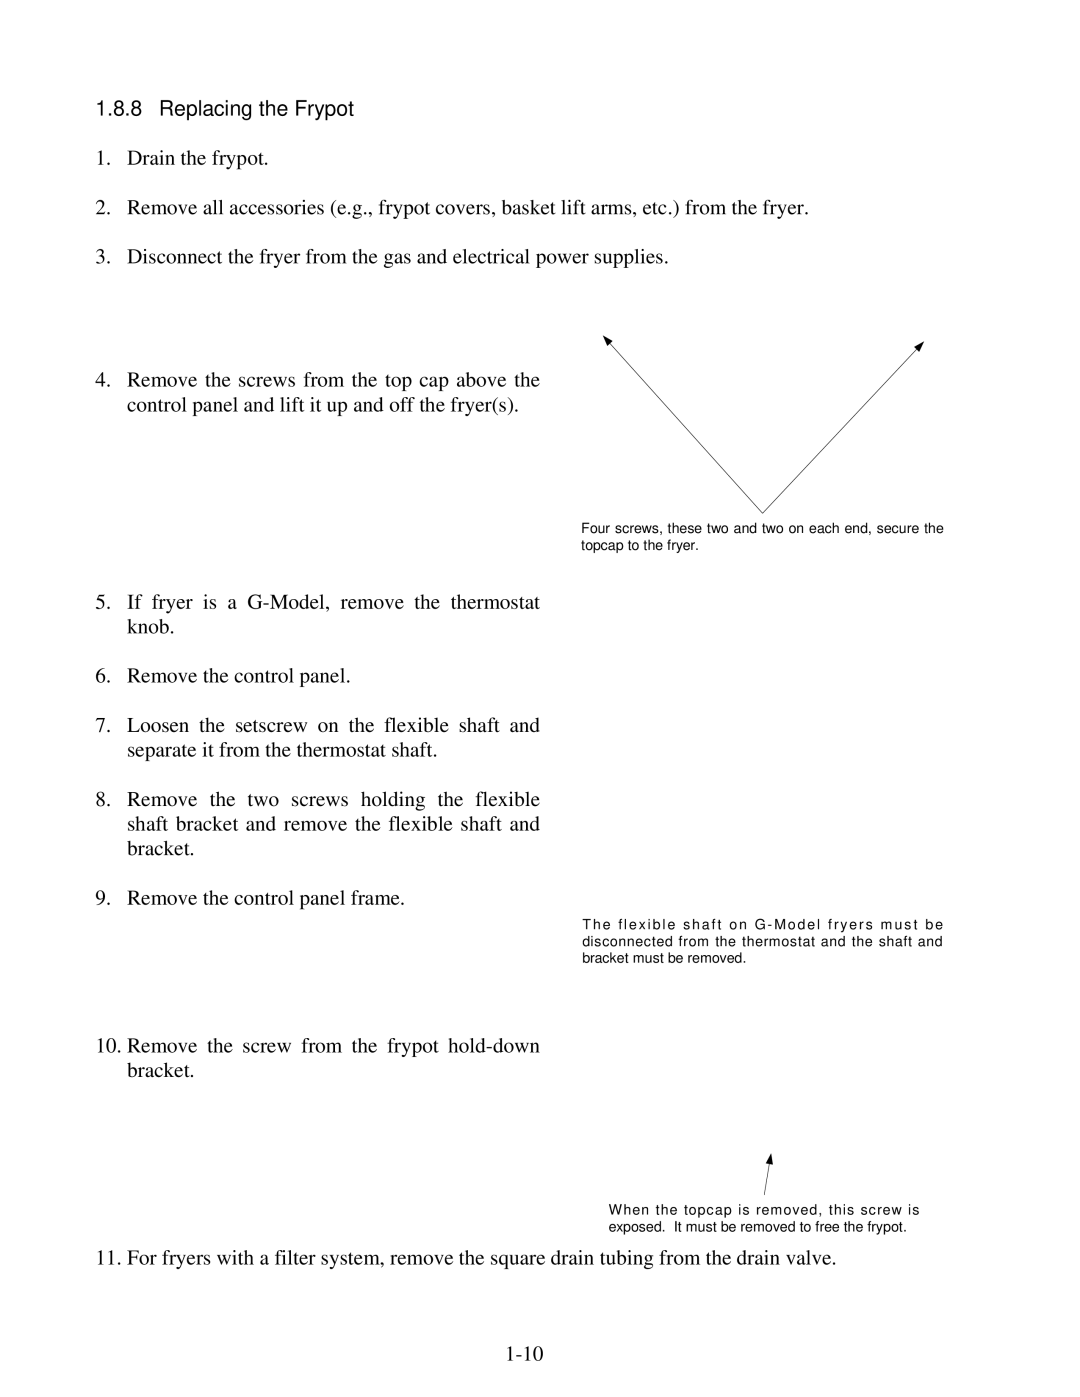
4.Remove the screws from the top cap above the control panel and lift it up and off the fryer(s).
Four screws, these two and two on each end, secure the topcap to the fryer.
5.If fryer is a
6.Remove the control panel.
7.Loosen the setscrew on the flexible shaft and separate it from the thermostat shaft.
8.Remove the two screws holding the flexible shaft bracket and remove the flexible shaft and bracket.
9.Remove the control panel frame.
10.Remove the screw from the frypot
T he fl exi bl e s haft on G - Model f ryers m ust be disconnected from the thermostat and the shaft and bracket must be removed.
When the topcap is removed, this screw is exposed. It must be removed to free the frypot.
11.For fryers with a filter system, remove the square drain tubing from the drain valve.