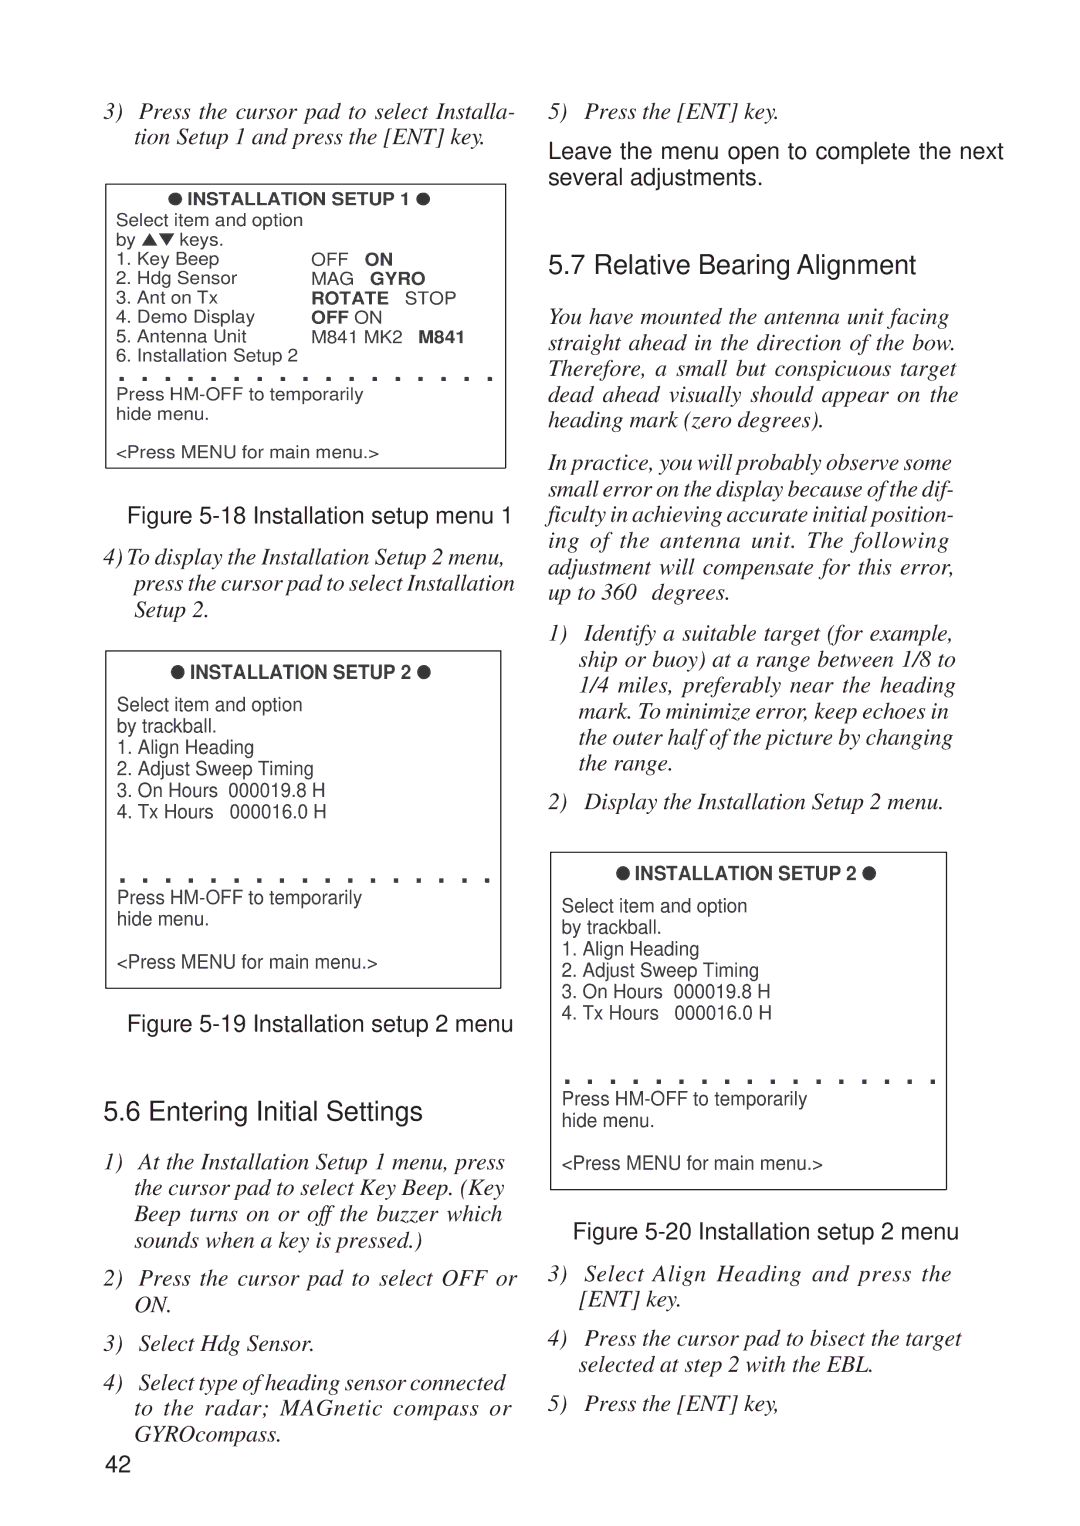
3)Press the cursor pad to select Installa- tion Setup 1 and press the [ENT] key.
|
| ● INSTALLATION SETUP 1 ● |
| |||
Select | item and option |
|
|
|
| |
by ▲▼ keys. |
|
|
|
| ||
1. Key Beep | OFF | ON |
|
| ||
2. Hdg Sensor | MAG | GYRO | ||||
3. Ant on Tx | ROTATE | STOP | ||||
4. | Demo Display | OFF ON |
|
| ||
5. | Antenna Unit | M841 MK2 | M841 | |||
6. | Installation Setup 2 |
|
|
|
| |
. . . . . . . . . . . . . . . . .
Press
<Press MENU for main menu.>
Figure 5-18 Installation setup menu 1
4)To display the Installation Setup 2 menu, press the cursor pad to select Installation Setup 2.
● INSTALLATION SETUP 2 ●
Select item and option by trackball.
1.Align Heading
2.Adjust Sweep Timing
3.On Hours 000019.8 H
4.Tx Hours 000016.0 H
. . . . . . . . . . . . . . . . .
Press
<Press MENU for main menu.>
Figure 5-19 Installation setup 2 menu
5.6 Entering Initial Settings
1)At the Installation Setup 1 menu, press the cursor pad to select Key Beep. (Key Beep turns on or off the buzzer which sounds when a key is pressed.)
2)Press the cursor pad to select OFF or ON.
3)Select Hdg Sensor.
4)Select type of heading sensor connected to the radar; MAGnetic compass or GYROcompass.
5) Press the [ENT] key.
Leave the menu open to complete the next several adjustments.
5.7 Relative Bearing Alignment
You have mounted the antenna unit facing straight ahead in the direction of the bow. Therefore, a small but conspicuous target dead ahead visually should appear on the heading mark (zero degrees).
In practice, you will probably observe some small error on the display because of the dif- ficulty in achieving accurate initial position- ing of the antenna unit. The following adjustment will compensate for this error, up to 360° degrees.
1)Identify a suitable target (for example, ship or buoy) at a range between 1/8 to 1/4 miles, preferably near the heading mark. To minimize error, keep echoes in the outer half of the picture by changing the range.
2)Display the Installation Setup 2 menu.
● INSTALLATION SETUP 2 ●
Select item and option by trackball.
1.Align Heading
2.Adjust Sweep Timing
3.On Hours 000019.8 H
4.Tx Hours 000016.0 H
. . . . . . . . . . . . . . . . .
Press
<Press MENU for main menu.>
Figure 5-20 Installation setup 2 menu
3)Select Align Heading and press the [ENT] key.
4)Press the cursor pad to bisect the target selected at step 2 with the EBL.
5)Press the [ENT] key,
42