2. WIRING
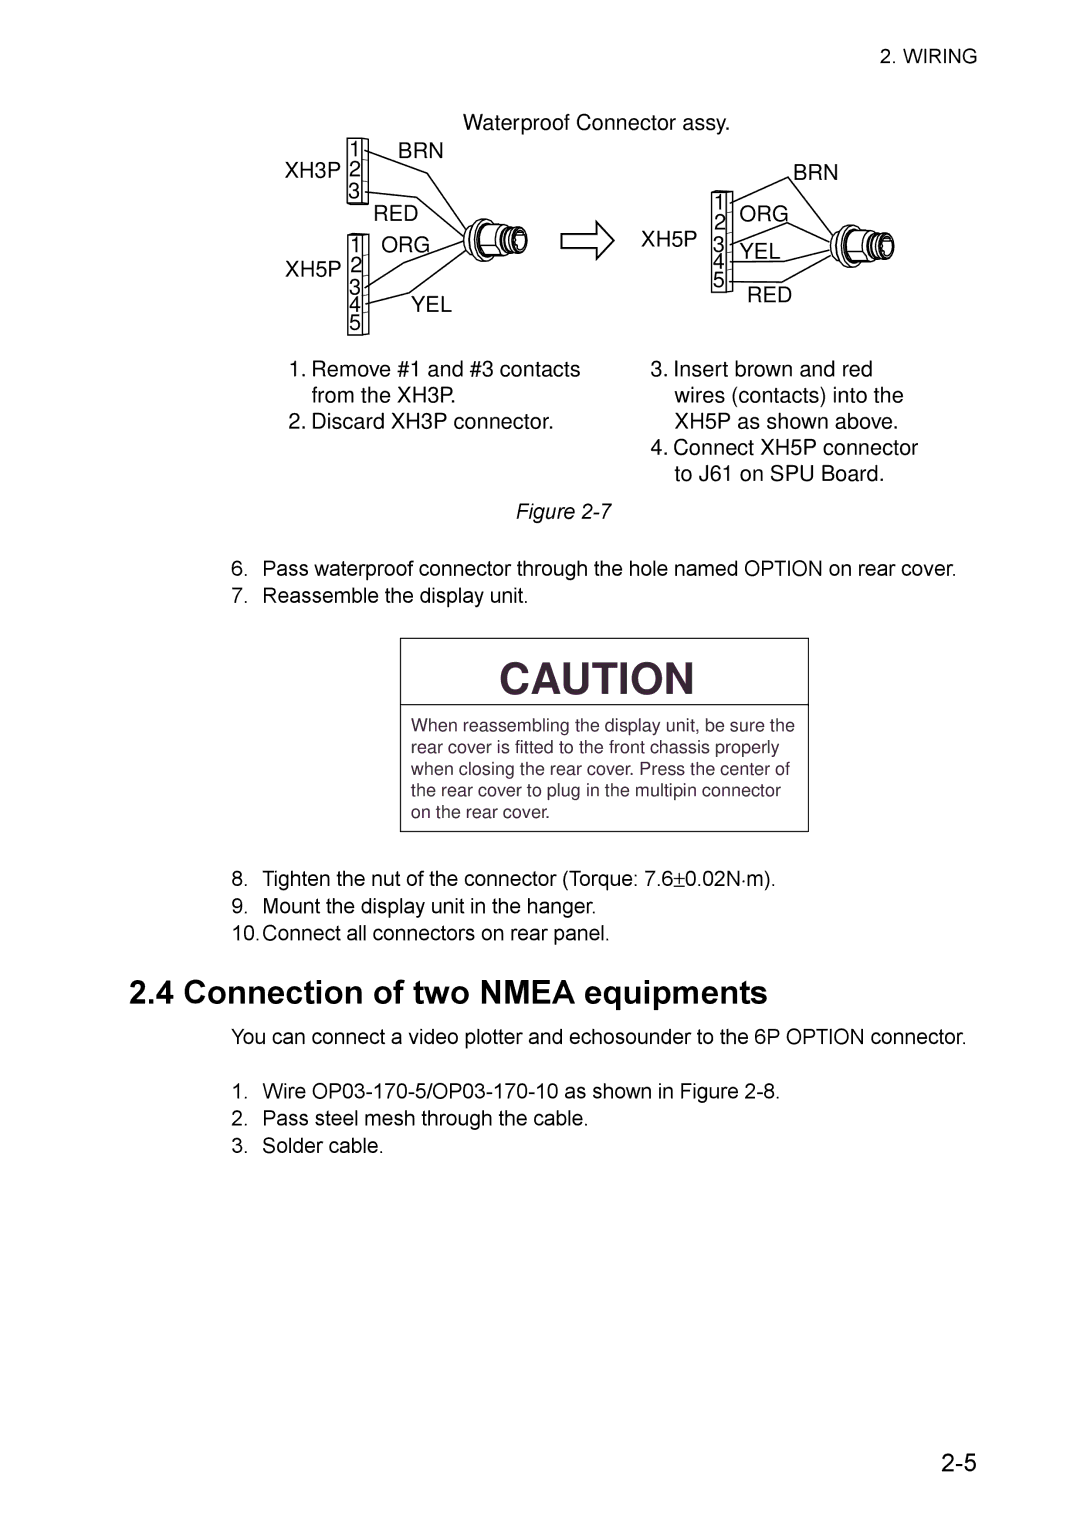
| Waterproof Connector assy. |
| |
1 | BRN |
|
|
XH3P 2 |
|
| BRN |
3 | RED | 1 | ORG |
| |||
| 2 | ||
1 | ORG | XH5P 3 | YEL |
XH5P 2 |
| 4 |
|
3 |
| 5 | RED |
4 | YEL |
| |
|
| ||
5 |
|
|
|
1. Remove #1 and #3 contacts | 3. Insert brown and red | ||
from the XH3P. | wires (contacts) into the | ||
2. Discard XH3P connector. | XH5P as shown above. | ||
4. Connect XH5P connector to J61 on SPU Board.
Figure
6.Pass waterproof connector through the hole named OPTION on rear cover.
7.Reassemble the display unit.
CAUTION
When reassembling the display unit, be sure the rear cover is fitted to the front chassis properly when closing the rear cover. Press the center of the rear cover to plug in the multipin connector on the rear cover.
8.Tighten the nut of the connector (Torque: 7.6± 0.02N⋅m).
9.Mount the display unit in the hanger.
10.Connect all connectors on rear panel.
2.4 Connection of two NMEA equipments
You can connect a video plotter and echosounder to the 6P OPTION connector.
1.Wire
2.Pass steel mesh through the cable.
3.Solder cable.