3. ADJUSTMENT
3.3 Displaying the Installation Menus
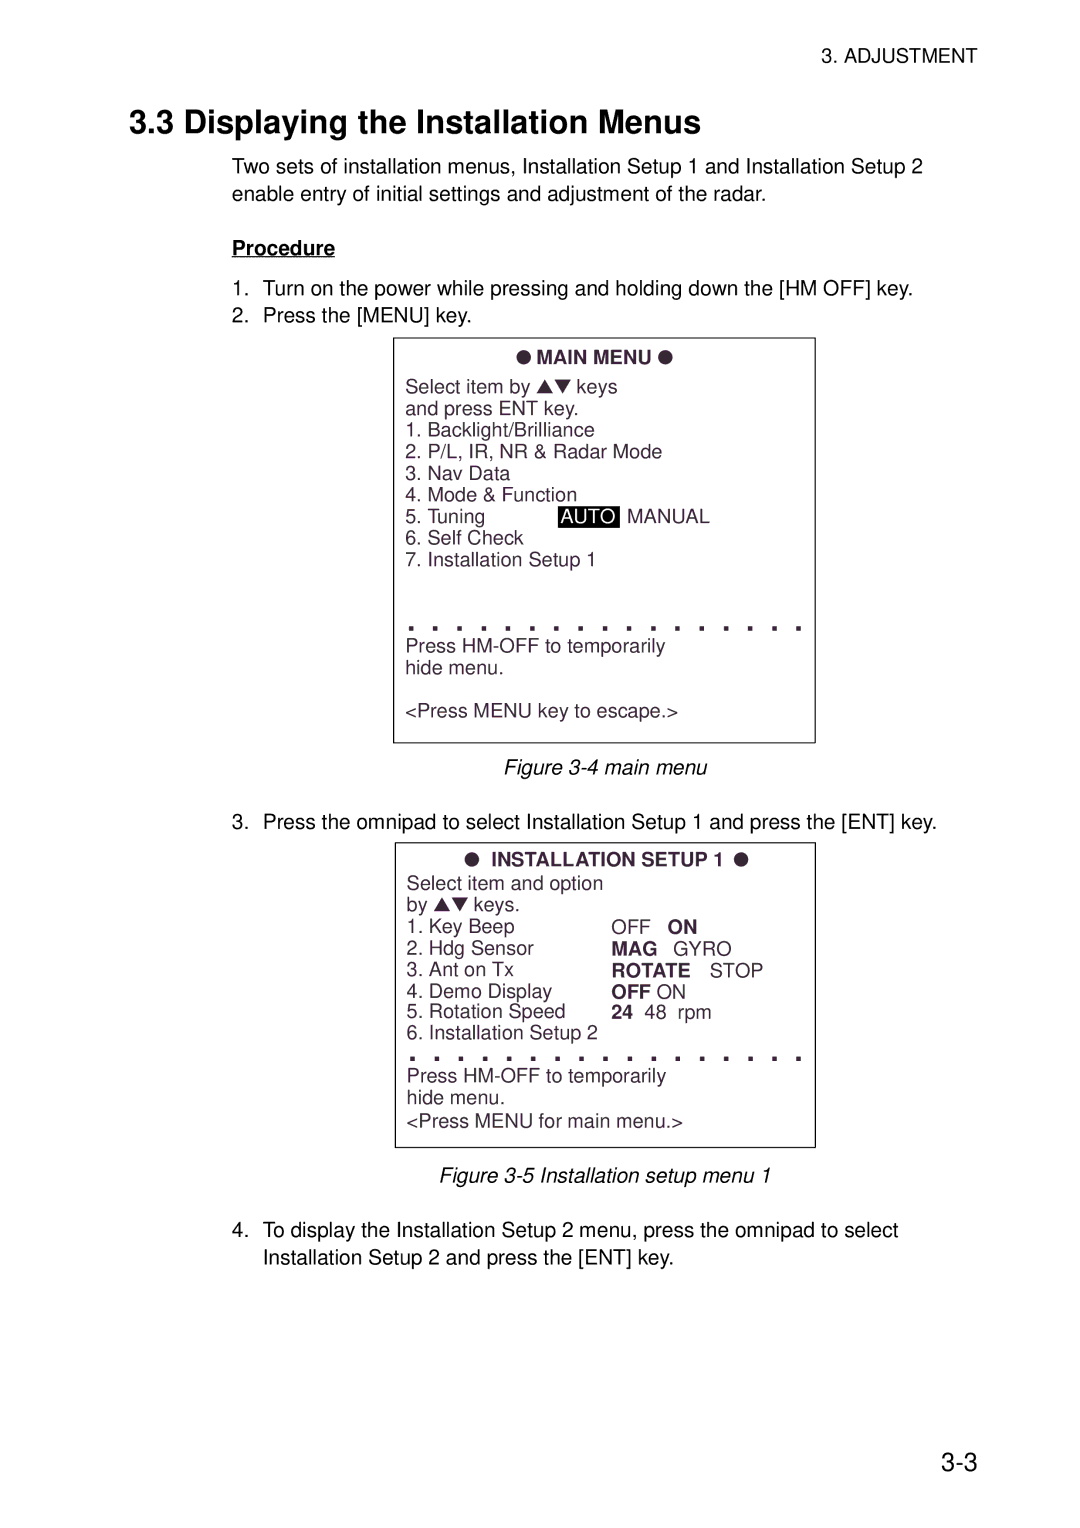
Two sets of installation menus, Installation Setup 1 and Installation Setup 2 enable entry of initial settings and adjustment of the radar.
Procedure
1.Turn on the power while pressing and holding down the [HM OFF] key.
2.Press the [MENU] key.
● MAIN MENU ●
Select item by ▲▼ keys and press ENT key.
1.Backlight/Brilliance
2.P/L, IR, NR & Radar Mode
3.Nav Data
4.Mode & Function
5. Tuning | AUTO | MANUAL |
6.Self Check
7.Installation Setup 1
. . . . . . . . . . . . . . . . .
Press
<Press MENU key to escape.>
Figure 3-4 main menu
3. Press the omnipad to select Installation Setup 1 and press the [ENT] key.
● INSTALLATION SETUP 1 ●
Select item and option |
| |
by ▲▼ keys. |
| |
1. Key Beep | OFF ON | |
2. Hdg Sensor | MAG GYRO | |
3. Ant on Tx | ROTATE STOP | |
4. | Demo Display | OFF ON |
5. | Rotation Speed | 24 48 rpm |
6. | Installation Setup 2 |
|
. . . . . . . . . . . . . . . . .
Press
<Press MENU for main menu.>
Figure 3-5 Installation setup menu 1
4.To display the Installation Setup 2 menu, press the omnipad to select Installation Setup 2 and press the [ENT] key.
