INSTALLATION INSTRUCTIONS

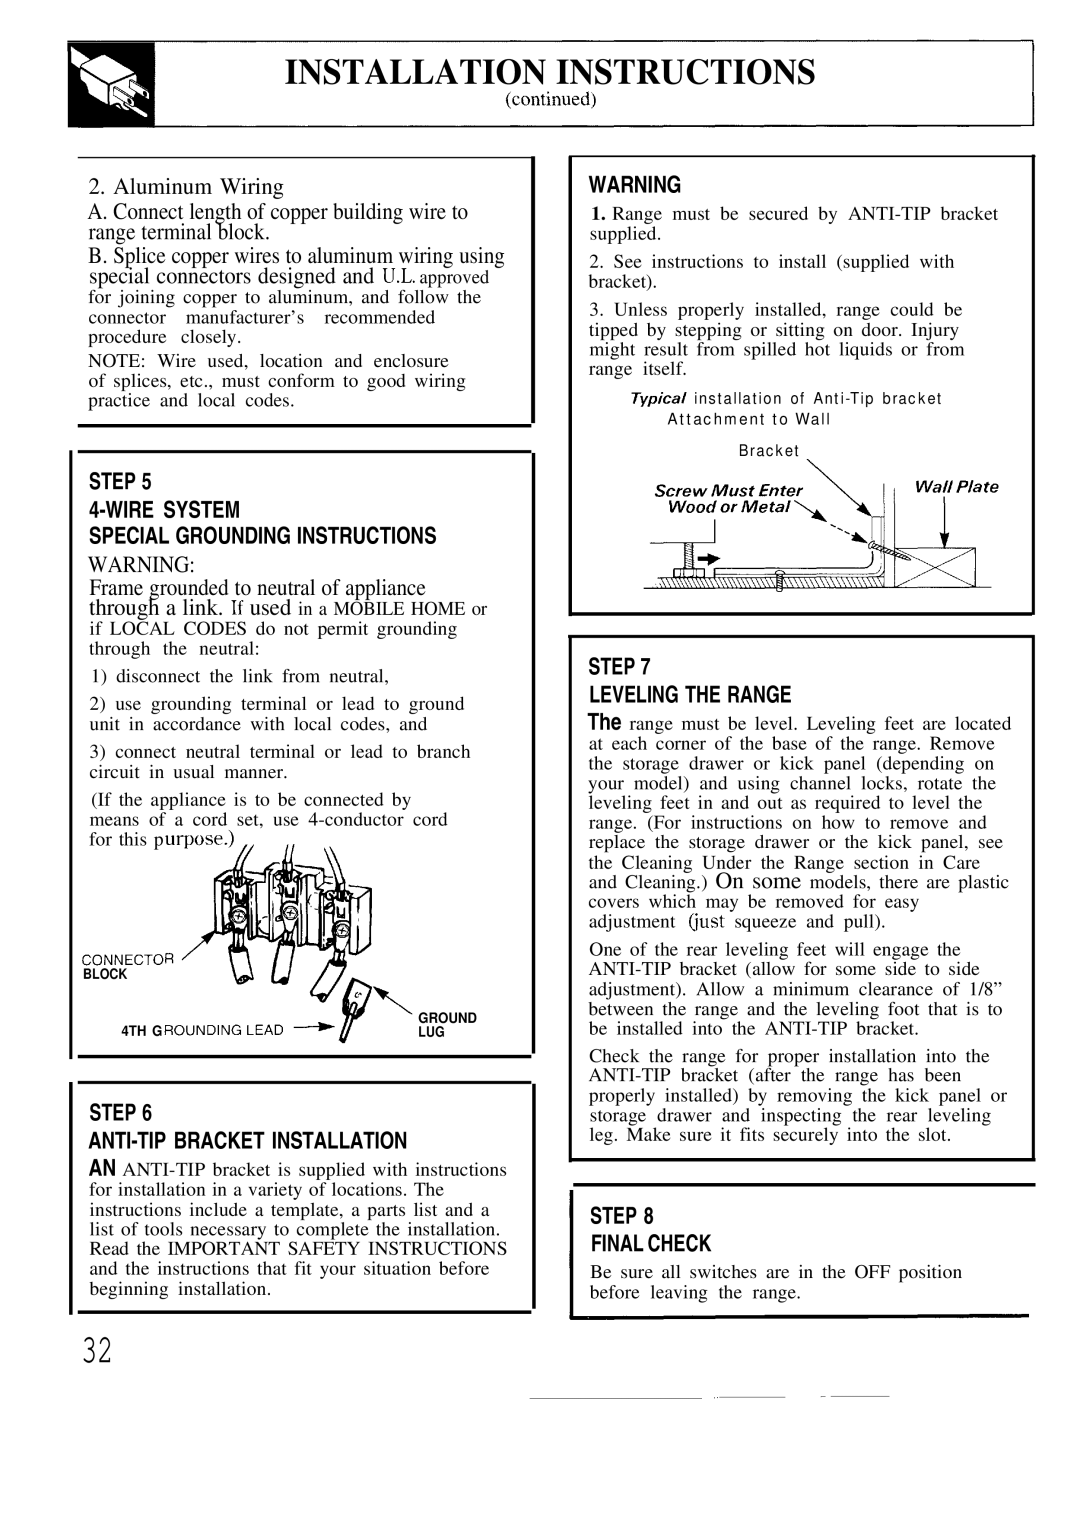
2. Aluminum Wiring

A. Connect length of copper building wire to range terminal block.

B. Splice copper wires to aluminum wiring using special connectors designed and U.L. approved

for joining copper to aluminum, and follow the connector manufacturer’s recommended procedure closely.

NOTE: Wire used, location and enclosure of splices, etc., must conform to good wiring practice and local codes.

STEP 5

4-WIRE SYSTEM

SPECIAL GROUNDING INSTRUCTIONS

WARNING:

Frame grounded to neutral of appliance through a link. If used in a MOBILE HOME or

if LOCAL CODES do not permit grounding through the neutral:

1)disconnect the link from neutral,

2)use grounding terminal or lead to ground unit in accordance with local codes, and

3)connect neutral terminal or lead to branch circuit in usual manner.

(If the appliance is to be connected by means of a cord set, use 4-conductor cord for this p

CONNECTO

BLOCK

4TH G

\ GROUND

LUG


STEP 6

ANTI-TIP BRACKET INSTALLATION

AN ANTI-TIP bracket is supplied with instructions for installation in a variety of locations. The instructions include a template, a parts list and a list of tools necessary to complete the installation. Read the IMPORTANT SAFETY INSTRUCTIONS and the instructions that fit your situation before beginning installation.

32

WARNING

1.Range must be secured by ANTI-TIP bracket supplied.

2.See instructions to install (supplied with bracket).

3.Unless properly installed, range could be tipped by stepping or sitting on door. Injury might result from spilled hot liquids or from range itself.

TypicaJ installation of Anti-Tip bracket

Attachment to Wall

Bracket

STEP 7

LEVELING THE RANGE

The range must be level. Leveling feet are located at each corner of the base of the range. Remove the storage drawer or kick panel (depending on your model) and using channel locks, rotate the leveling feet in and out as required to level the range. (For instructions on how to remove and replace the storage drawer or the kick panel, see the Cleaning Under the Range section in Care and Cleaning.) On some models, there are plastic covers which may be removed for easy adjustment (just squeeze and pull).

One of the rear leveling feet will engage the ANTI-TIP bracket (allow for some side to side adjustment). Allow a minimum clearance of 1/8” between the range and the leveling foot that is to be installed into the ANTI-TIP bracket.

Check the range for proper installation into the ANTI-TIP bracket (after the range has been properly installed) by removing the kick panel or storage drawer and inspecting the rear leveling leg. Make sure it fits securely into the slot.

STEP 8

FINAL CHECK

Be sure all switches are in the OFF position before leaving the range.

. .


Page 32
Image 32
GE JBPA48, JBP19, JBP20 warranty Step Wire System Special Grounding Instructions

JBPA48, JBP20, JBP19 specifications

The GE JBP19, JBP20, and JBPA48 are notable models in the realm of gas ranges, all providing innovative features designed for enhanced cooking performance and efficiency. Their design focuses on user-friendly operation, reliable technology, and a range of modern conveniences catering to the needs of both amateur cooks and professional chefs.

The GE JBP19 is characterized by its sleek appearance and functional design. It offers a standard oven and a powerful cooktop with four burners, allowing for versatile cooking options. Equipped with a reliable electronic ignition system, the JBP19 ensures smooth and effortless starting of the burners. The oven features a traditional bake option and a broil function, making it ideal for a variety of cooking techniques, from baking to roasting. One standout feature is the self-cleaning option, which makes maintenance a breeze by reducing the need for manual scrubbing after heavy usage.

The GE JBP20 builds on the strengths of the JBP19 but introduces enhanced features for a more refined cooking experience. This model boasts a larger oven capacity, making it suitable for preparing larger meals or multiple dishes simultaneously. The cooktop features heavy-duty grates designed for durability and stability, providing a reliable surface for pots and pans of various sizes. The JBP20 is equipped with a precise temperature control system, ensuring uniform cooking results. In addition, it includes a storage drawer at the bottom, offering convenient space for cookware and utensils.

The GE JBPA48 represents the pinnacle of these models, incorporating advanced technology for the ultimate culinary experience. This model features dual ovens, allowing for simultaneous cooking at different temperatures. The stainless steel finish not only enhances its aesthetic appeal but also contributes to easy cleaning and maintenance. The JBPA48 also comes with smart technology, enabling connectivity with mobile devices. This allows users to monitor and control cooking settings remotely, providing unprecedented convenience and flexibility.

Overall, the GE JBP19, JBP20, and JBPA48 gas ranges stand out with their combination of functional design, advanced features, and user-friendly technology. Each model is tailored to meet diverse culinary needs while ensuring users can enjoy the cooking process without compromising on efficiency or results. Whether you're a novice home cook or an experienced chef, these gas ranges deliver exceptional performance and reliability for all your cooking endeavors.