English
3.Press Y button on your keyboard after you are sure to update BIOS.
Then it will begin to update BIOS. The progress of updating BIOS will be shown at the same time.
|
| |
|
|
|
Flash Type/Size | .................................SST 49LF003A | 256K |
|
| Updating BIOS Now |
|
|
|
| Do not trun off power or |
|
|
|
|
|
| ||
|
|
|
|
|
| ||
|
| >>>>>>>>>>>>>>>>>>> |
|
|
|
| reset your system |
|
|
|
|
|
|
| |
|
|
|
|
|
|
| at this stage!! |
|
| Don't Turn Off Power or Reset System | Off | ||||
|
|
|
|
|
|
|
|
|
|
|
|
|
|
|
|
4.Press any keys to return to the
| Flash Type/Size | .................................SST 49LF003A | 256K |
| |
|
|
|
|
|
|
|
|
| !! Copy BIOS completed - Pass !! |
|
|
|
|
| Please press any key to continue |
|
|
|
|
| Off |
| |
|
|
|
|
| |
|
|
|
|
|
|
|
|
|
|
|
|
|
|
|
|
|
|
5.Press Esc and then Y button to exit the
| Flash Type/Size | .................................SST 49LF003A | 256K |
| |
|
|
|
|
|
|
|
|
| Are you sure to RESET ? |
|
|
|
| [Enter] to continure or [Esc] to abort |
|
| |
|
| Off |
| ||
|
|
|
|
| |
|
|
|
|
|
|
|
|
|
|
|
|
|
|
|
|
|
|
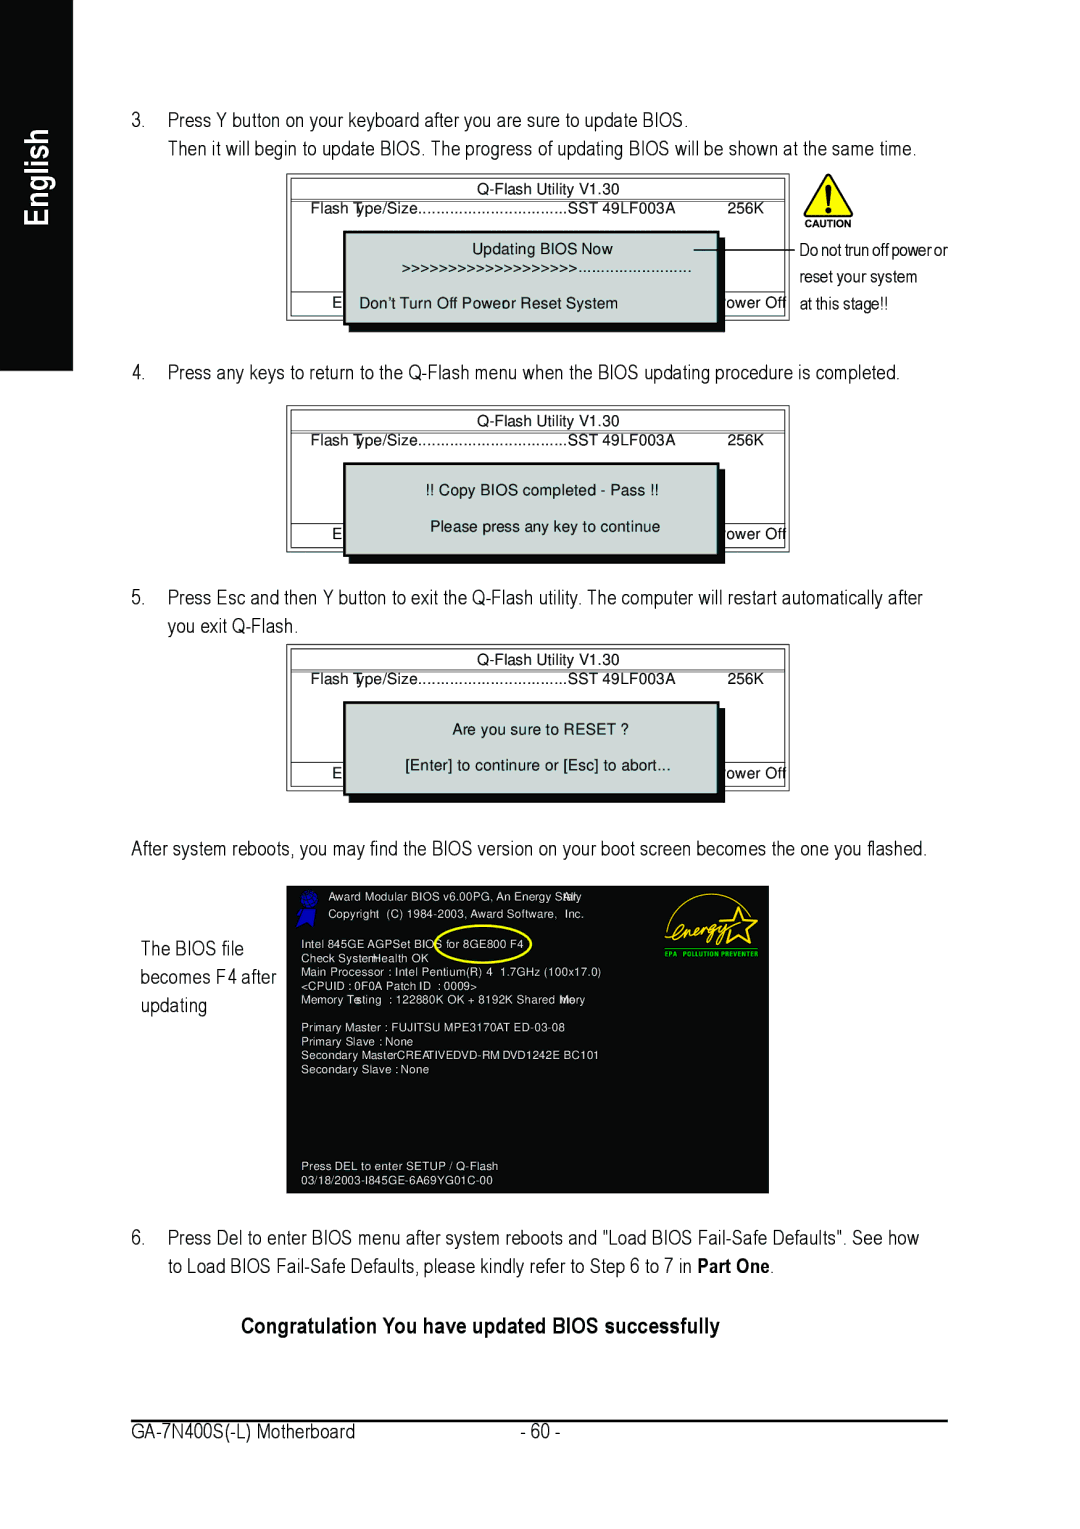
After system reboots, you may find the BIOS version on your boot screen becomes the one you flashed.
The BIOS file becomes F4 after updating
Award Modular BIOS v6.00PG, An Energy Star Ally Copyright (C)
Intel 845GE AGPSet BIOS for 8GE800 F4 Check System Health OK
Main Processor : Intel Pentium(R) 4 1.7GHz (100x17.0)
<CPUID : 0F0A Patch ID : 0009>
Memory Testing : 122880K OK + 8192K Shared Memory
Primary Master : FUJITSU MPE3170AT
Primary Slave : None
Secondary Master :
Secondary Slave : None
Press DEL to enter SETUP /
6.Press Del to enter BIOS menu after system reboots and "Load BIOS
Congratulation!! You have updated BIOS successfully!!
- 60 - |