C H A P T E R 7
Editing Features 
Videotape Editing
Two decks make editing your videos quick and easy. Choose from the following two editing methods:
•Automatic Assembly Editing - Use this method if you plan on making multiple or
•Sync Editing - Use this method if you plan on making only a few edits in sequence. You edit each scene manually with a little help from the COPYTAPE button (see page 35).
Automatic Assembly Editing
Preparing an Edit List
The key to making clean, quality edits is planning. Carefully review your source tape before you edit:
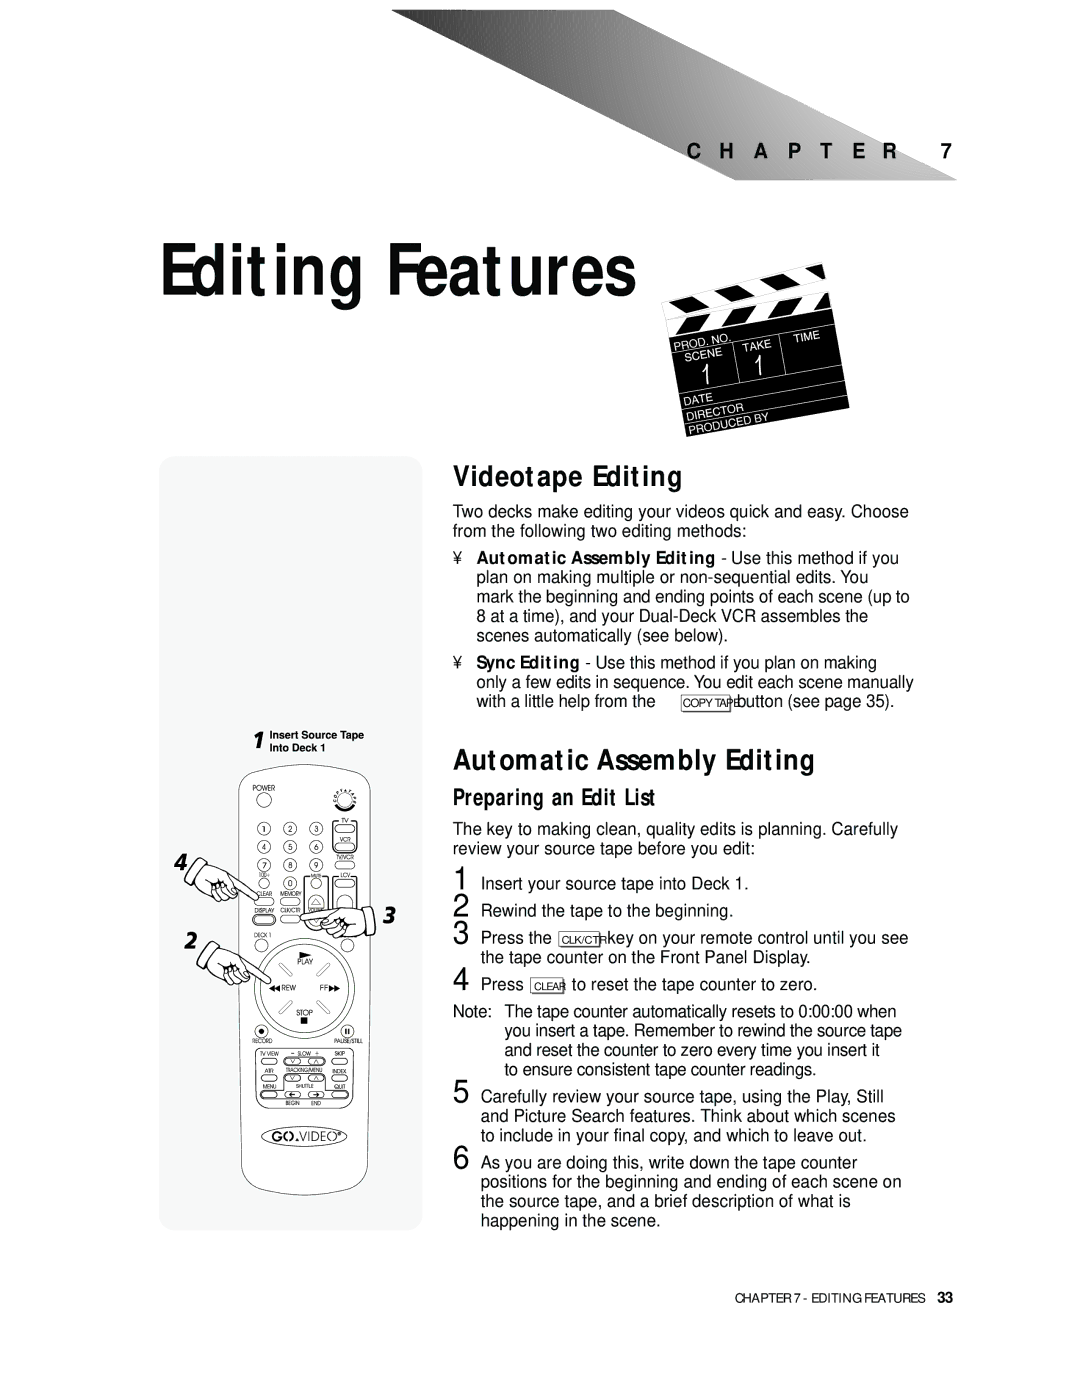
1 Insert your source tape into Deck 1.
2 Rewind the tape to the beginning.
3 Press the CLK/CTR key on your remote control until you see the tape counter on the Front Panel Display.
4 Press
CLEAR to reset the tape counter to zero.
Note: The tape counter automatically resets to 0:00:00 when you insert a tape. Remember to rewind the source tape and reset the counter to zero every time you insert it to ensure consistent tape counter readings.
5 Carefully review your source tape, using the Play, Still and Picture Search features. Think about which scenes to include in your final copy, and which to leave out.
6 As you are doing this, write down the tape counter positions for the beginning and ending of each scene on the source tape, and a brief description of what is happening in the scene.
CHAPTER 7 - EDITING FEATURES 33