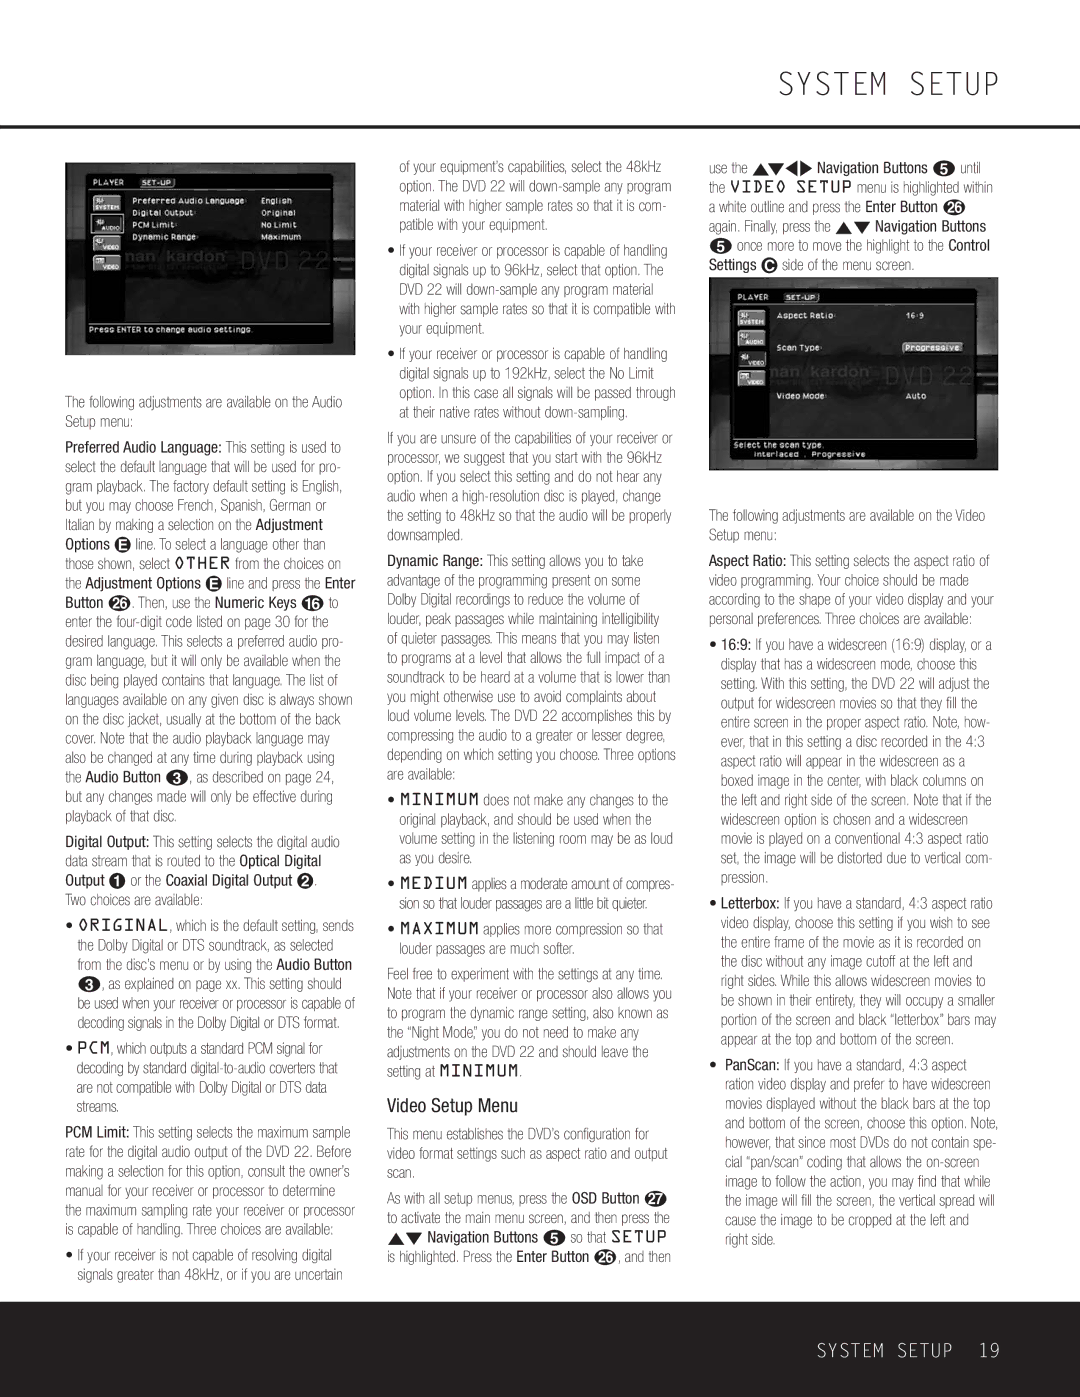
The following adjustments are available on the Audio Setup menu:
Preferred Audio Language: This setting is used to select the default language that will be used for pro- gram playback. The factory default setting is English, but you may choose French, Spanish, German or Italian by making a selection on the Adjustment Options É line. To select a language other than those shown, select OTHER from the choices on the Adjustment Options É line and press the Enter Button z. Then, use the Numeric Keys p to enter the
Digital Output: This setting selects the digital audio data stream that is routed to the Optical Digital Output ¡ or the Coaxial Digital Output ™. Two choices are available:
•ORIGINAL, which is the default setting, sends the Dolby Digital or DTS soundtrack, as selected from the disc’s menu or by using the Audio Button c, as explained on page xx. This setting should be used when your receiver or processor is capable of decoding signals in the Dolby Digital or DTS format.
•PCM, which outputs a standard PCM signal for decoding by standard
PCM Limit: This setting selects the maximum sample rate for the digital audio output of the DVD 22. Before making a selection for this option, consult the owner’s manual for your receiver or processor to determine the maximum sampling rate your receiver or processor is capable of handling. Three choices are available:
•If your receiver is not capable of resolving digital signals greater than 48kHz, or if you are uncertain
of your equipment’s capabilities, select the 48kHz option. The DVD 22 will
•If your receiver or processor is capable of handling digital signals up to 96kHz, select that option. The DVD 22 will
•If your receiver or processor is capable of handling digital signals up to 192kHz, select the No Limit option. In this case all signals will be passed through at their native rates without
If you are unsure of the capabilities of your receiver or processor, we suggest that you start with the 96kHz option. If you select this setting and do not hear any audio when a
Dynamic Range: This setting allows you to take advantage of the programming present on some Dolby Digital recordings to reduce the volume of louder, peak passages while maintaining intelligibility of quieter passages. This means that you may listen to programs at a level that allows the full impact of a soundtrack to be heard at a volume that is lower than you might otherwise use to avoid complaints about loud volume levels. The DVD 22 accomplishes this by compressing the audio to a greater or lesser degree, depending on which setting you choose. Three options are available:
•MINIMUM does not make any changes to the original playback, and should be used when the volume setting in the listening room may be as loud as you desire.
•MEDIUM applies a moderate amount of compres- sion so that louder passages are a little bit quieter.
•MAXIMUM applies more compression so that louder passages are much softer.
Feel free to experiment with the settings at any time. Note that if your receiver or processor also allows you to program the dynamic range setting, also known as the “Night Mode,” you do not need to make any adjustments on the DVD 22 and should leave the setting at MINIMUM.
Video Setup Menu
This menu establishes the DVD’s configuration for video format settings such as aspect ratio and output scan.
As with all setup menus, press the OSD Button ` to activate the main menu screen, and then press the ⁄¤ Navigation Buttons e so that SETUP is highlighted. Press the Enter Button z, and then
SYSTEM SETUP
use the ⁄¤‹› Navigation Buttons e until the VIDEO SETUP menu is highlighted within a white outline and press the Enter Button z again. Finally, press the ⁄¤ Navigation Buttons
eonce more to move the highlight to the Control Settings ç side of the menu screen.
The following adjustments are available on the Video Setup menu:
Aspect Ratio: This setting selects the aspect ratio of video programming. Your choice should be made according to the shape of your video display and your personal preferences. Three choices are available:
•16:9: If you have a widescreen (16:9) display, or a display that has a widescreen mode, choose this setting. With this setting, the DVD 22 will adjust the output for widescreen movies so that they fill the entire screen in the proper aspect ratio. Note, how- ever, that in this setting a disc recorded in the 4:3 aspect ratio will appear in the widescreen as a boxed image in the center, with black columns on the left and right side of the screen. Note that if the widescreen option is chosen and a widescreen movie is played on a conventional 4:3 aspect ratio set, the image will be distorted due to vertical com- pression.
•Letterbox: If you have a standard, 4:3 aspect ratio video display, choose this setting if you wish to see the entire frame of the movie as it is recorded on the disc without any image cutoff at the left and right sides. While this allows widescreen movies to be shown in their entirety, they will occupy a smaller portion of the screen and black “letterbox” bars may appear at the top and bottom of the screen.
•PanScan: If you have a standard, 4:3 aspect ration video display and prefer to have widescreen movies displayed without the black bars at the top and bottom of the screen, choose this option. Note, however, that since most DVDs do not contain spe- cial “pan/scan” coding that allows the
SYSTEM SETUP 19