Follow these steps to insert a new audio track, such as recorded music or narration, onto your target tape. The new audio can be recorded from the front or rear line inputs.
C O P
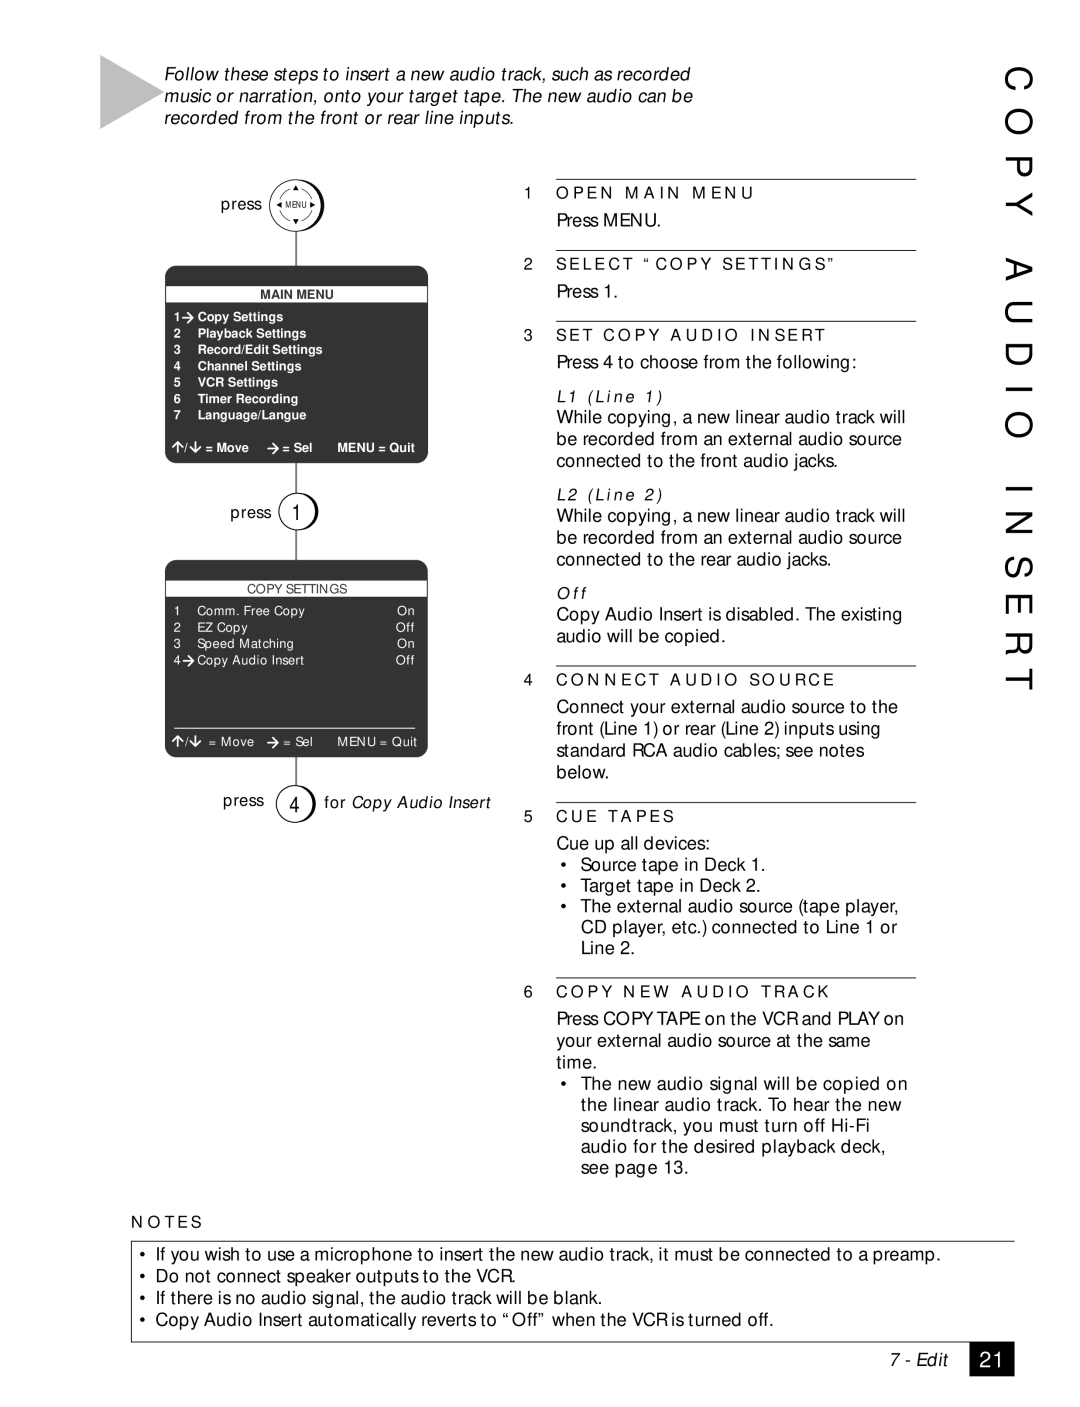
press  MENU
MENU 
MAIN MENU
1Copy Settings
2Playback Settings
3Record/Edit Settings
4Channel Settings
5VCR Settings
6Timer Recording
7Language/Langue
/ | = Move | = Sel | MENU = Quit |
| press | 1 |
|
| COPY SETTINGS | ||
1 | Comm. Free Copy | On | |
2 | EZ Copy |
| Off |
3 | Speed Matching | On | |
4 | Copy Audio Insert | Off | |
/ | = Move | = Sel | MENU = Quit |
| press | 4 | for Copy Audio Insert |
1O P E N M A I N M E N U
Press MENU.
2S E L E C T “ C O P Y S E T T I N G S ”
Press 1.
3S E T C O P Y A U D I O I N S E R T
Press 4 to choose from the following:
L 1 ( L i n e 1 )
While copying, a new linear audio track will be recorded from an external audio source connected to the front audio jacks.
L 2 ( L i n e 2 )
While copying, a new linear audio track will be recorded from an external audio source connected to the rear audio jacks.
O ff
Copy Audio Insert is disabled. The existing audio will be copied.
4C O N N E C T A U D I O S O U R C E
Connect your external audio source to the front (Line 1) or rear (Line 2) inputs using standard RCA audio cables; see notes below.
5C U E T A P E S
Cue up all devices:
•Source tape in Deck 1.
•Target tape in Deck 2.
•The external audio source (tape player, CD player, etc.) connected to Line 1 or Line 2.
6C O P Y N E W A U D I O T R A C K
Press COPY TAPE on the VCR and PLAY on your external audio source at the same time.
•The new audio signal will be copied on the linear audio track. To hear the new soundtrack, you must turn off
Y A U D I O I N S E R T
N O T E S
•If you wish to use a microphone to insert the new audio track, it must be connected to a preamp.
•Do not connect speaker outputs to the VCR.
•If there is no audio signal, the audio track will be blank.
•Copy Audio Insert automatically reverts to “Off” when the VCR is turned off.
7 - Edit
21