Setup
11.Engage piston safety lock. See page 13.
12.Perform Bleed Throat Seal Liquid Cartridge pro- cedure. See page 24.
13.Turn on proportioner. See proportioner manual.
14.Open fluid valves A and B.
TI14458a1
FIG. 8
15.Disengage piston safety lock. See page 13.
16.Perform a test pour into a waste container. Adjust pressure and temperature to get desired results, see proportioner manual. Also, see Adjust Ori- fices.
Adjust Orifices
In order to balance pressures between the A component and B component the needle in each orifice may need to be adjusted. Be sure that all necessary adjustments to the proportioner are made prior to adjusting the orifices, see proportioner manual.
If after adjusting pressures neither orifice can achieve the desired pressure both orifices should be replaced with a larger or smaller size. Note that a smaller orifice will provide higher pressure and a larger orifice will pro- vide lower pressure.
If after attempting to balance pressures the pressure dif- ference is over 500 psi one orifice should be replaced with a different size. If that is the case, adjust the needle in each orifice all the way open
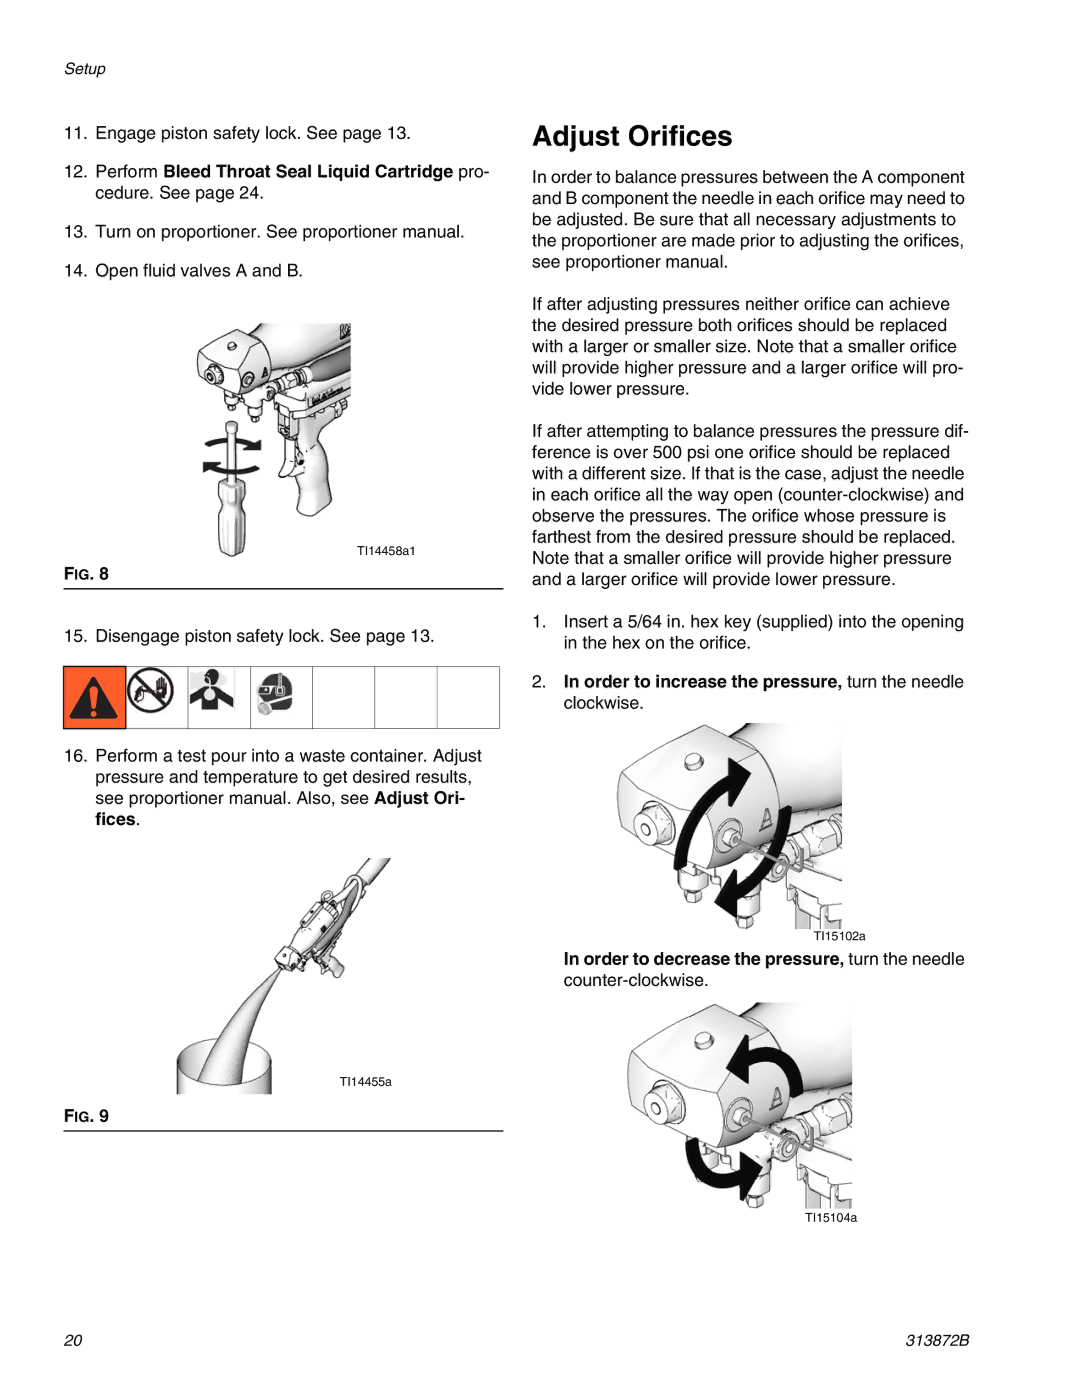
1.Insert a 5/64 in. hex key (supplied) into the opening in the hex on the orifice.
2.In order to increase the pressure, turn the needle clockwise.
TI15102a
In order to decrease the pressure, turn the needle
TI14455a
FIG. 9
TI15104a
20 | 313872B |
