Miter Gauge |
| Blade Guard |
|
|
|
|
|
|
Components and Hardware Needed: | Qty |
Miter Gauge Body | 1 |
Miter Bar | 1 |
Threaded Handle | 1 |
Flat Washer 5Ú16" | 1 |
To assemble the miter gauge: |
|
1.Insert the peg on the bottom of the miter gauge body into the unthreaded hole in the miter bar.
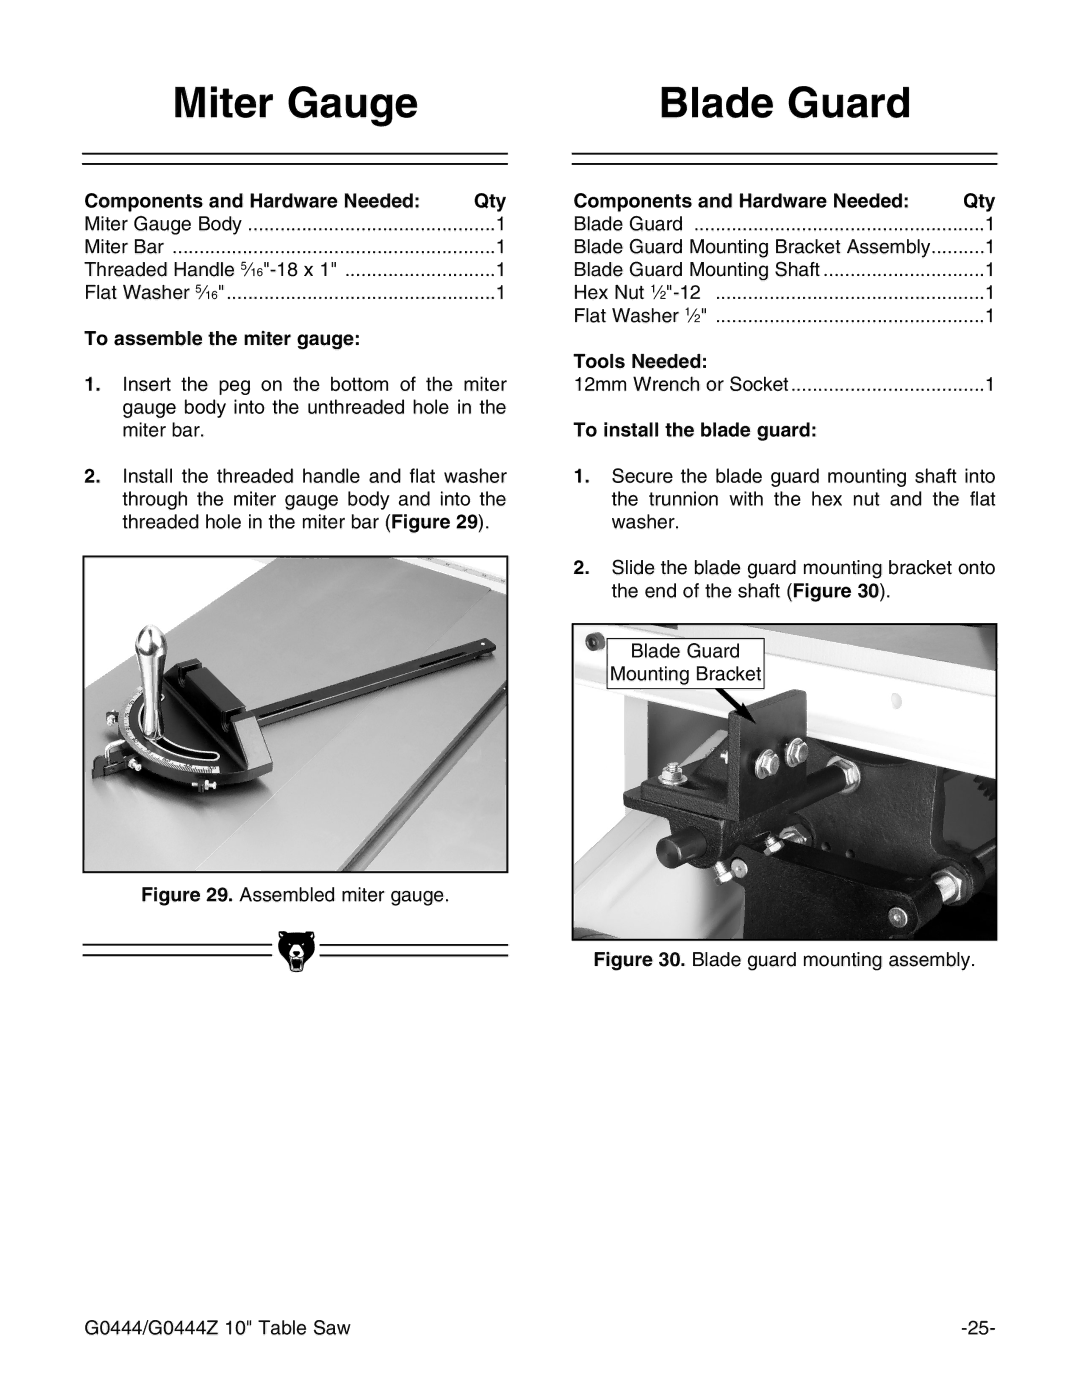
2.Install the threaded handle and flat washer through the miter gauge body and into the threaded hole in the miter bar (Figure 29).
Figure 29. Assembled miter gauge.
Components and Hardware Needed: | Qty |
Blade Guard | 1 |
Blade Guard Mounting Bracket Assembly | 1 |
Blade Guard Mounting Shaft | 1 |
Hex Nut | 1 |
Flat Washer 1Ú2" | 1 |
Tools Needed: |
|
12mm Wrench or Socket | 1 |
To install the blade guard: |
|
1.Secure the blade guard mounting shaft into the trunnion with the hex nut and the flat washer.
2.Slide the blade guard mounting bracket onto the end of the shaft (Figure 30).
Blade Guard
Mounting Bracket
Figure 30. Blade guard mounting assembly.
G0444/G0444Z 10" Table Saw |