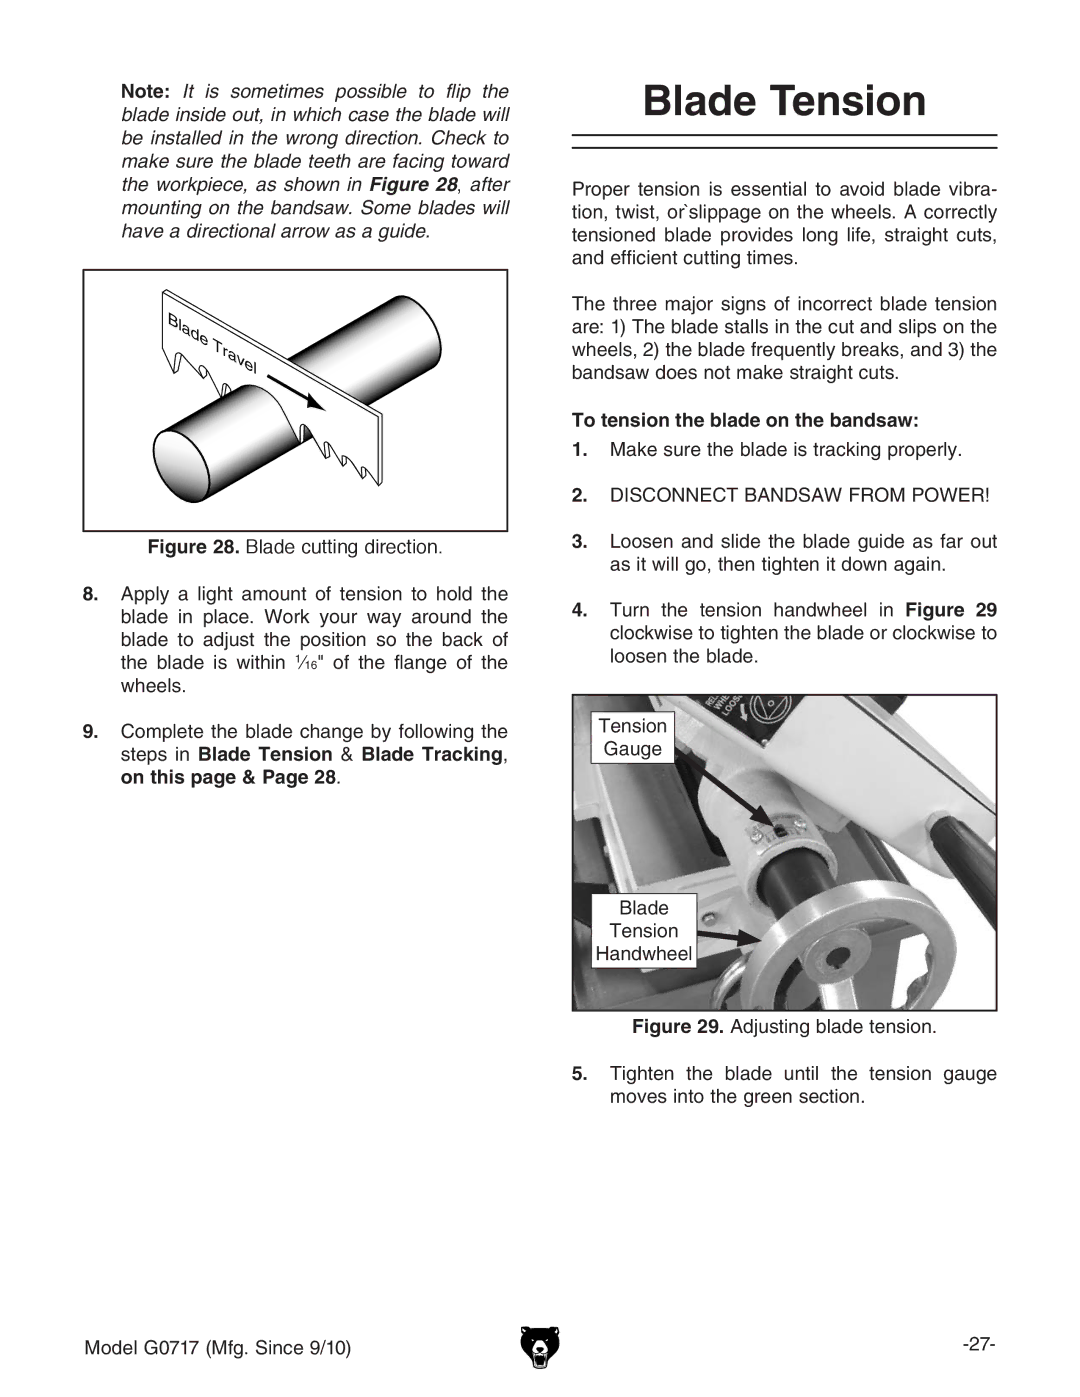
Note: It is sometimes possible to flip the blade inside out, in which case the blade will be installed in the wrong direction. Check to make sure the blade teeth are facing toward the workpiece, as shown in Figure 28, after mounting on the bandsaw. Some blades will have a directional arrow as a guide.
Figure 28. Blade cutting direction.
8.Apply a light amount of tension to hold the blade in place. Work your way around the blade to adjust the position so the back of the blade is within 1⁄16" of the flange of the wheels.
9.Complete the blade change by following the steps in Blade Tension & Blade Tracking, on this page & Page 28.
Blade Tension
Proper tension is essential to avoid blade vibra- tion, twist, or`slippage on the wheels. A correctly tensioned blade provides long life, straight cuts, and efficient cutting times.
The three major signs of incorrect blade tension are: 1) The blade stalls in the cut and slips on the wheels, 2) the blade frequently breaks, and 3) the bandsaw does not make straight cuts.
To tension the blade on the bandsaw:
1.Make sure the blade is tracking properly.
2.DISCONNECT BANDSAW FROM POWER!
3.Loosen and slide the blade guide as far out as it will go, then tighten it down again.
4.Turn the tension handwheel in Figure 29 clockwise to tighten the blade or clockwise to loosen the blade.
Tension
Gauge
Blade
Tension
Handwheel
Figure 29. Adjusting blade tension.
5.Tighten the blade until the tension gauge moves into the green section.
Model G0717 (Mfg. Since 9/10) |