INITIAL
10 Select »Secondary DNS« by using »A« or »S« and press »ENTER«.
Enter the Secondary DNS by using the number buttons.
Select »Ok« by using »S« and press »ENTER« to confirm,
or select »Cancel« by using »S« and press »ENTER« to cancel the setting.
11 Select »Apply« by using »S« and press »ENTER« to confirm the setting;
or
select »Cancel« by using »S« and press »ENTER« to cancel the setting.
12If the connection is successful, »Network Test« appears.
End setting by using »ENTER«.
Network settings by using wireless connection
The device must be connected to a wireless router with the WLAN Antenna.
Please see chapter "CONNECTION AND PREP- ARATION".
Note:
7The red led of the »WLAN Antenna« blinks when the antenna is active and the blue led blinks when the wireless connection is active.
1Press »SETUP« to open the main menu.
2 In the main menu select »Settings« by using »A« or »S« and press »ENTER« to confirm.
3 Select »Network« by using »A« or »S« and press »ENTER« to confirm.
![]()
![]()
![]() Language
Language
| Parental | Wireless |
|
| |
| System | Network List |
Settings | Network | Manual |
|
| |
| IP Settings | |
|
| |
| Display |
|
| Audio |
|
16 ENGLISH
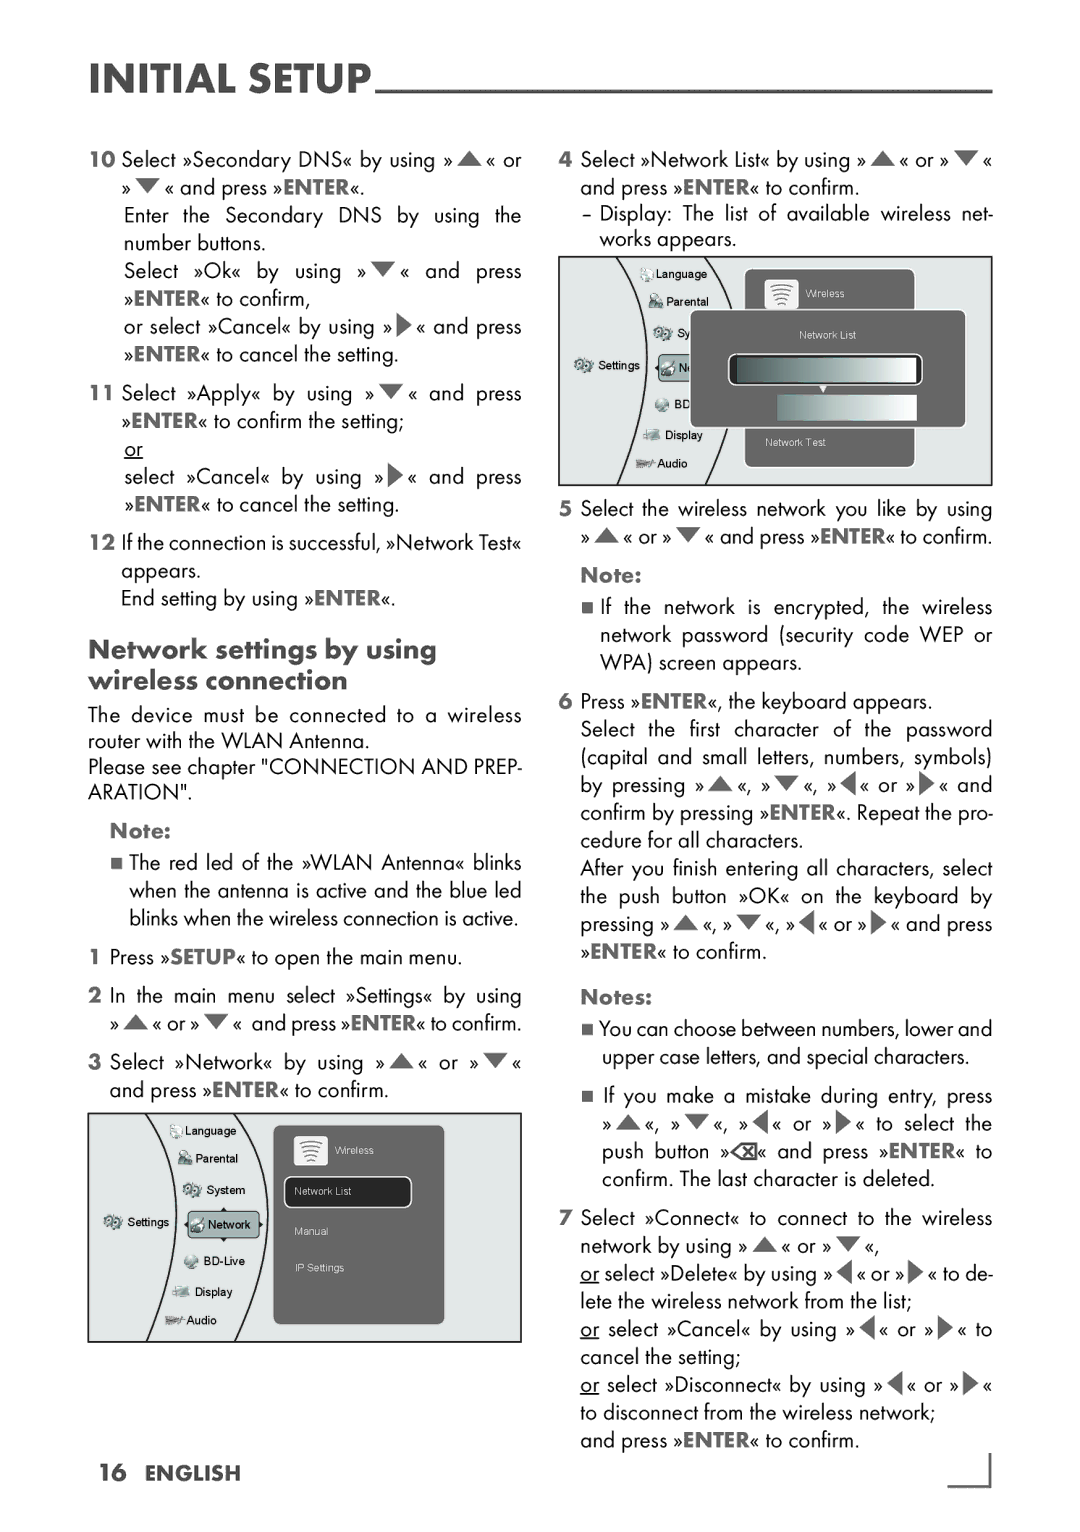
4Select »Network List« by using »A« or »S« and press »ENTER« to confirm.
–Display: The list of available wireless net- works appears.
| Language |
|
|
| Parental | Wireless | |
|
|
| |
| System | NetworkNetworkList | List |
Settings | Network | WiFi Protected Setup (WPS) | |
|
| ||
| Manual |
| |
|
|
| |
| Display | Network Test |
|
|
|
| |
| Audio |
|
|
5 Select the wireless network you like by using »A« or »S« and press »ENTER« to confirm.
Note:
7If the network is encrypted, the wireless network password (security code WEP or WPA) screen appears.
6Press »ENTER«, the keyboard appears. Select the first character of the password (capital and small letters, numbers, symbols) by pressing »A«, »S«, »A« or »S« and confirm by pressing »ENTER«. Repeat the pro- cedure for all characters.
After you finish entering all characters, select the push button »OK« on the keyboard by pressing »A«, »S«, »A« or »S« and press »ENTER« to confirm.
Notes:
7 You can choose between numbers, lower and
upper case letters, and special characters.
7 If you make a mistake during entry, press »A«, »S«, »A« or »S« to select the
push button »![]() « and press »ENTER« to confirm. The last character is deleted.
« and press »ENTER« to confirm. The last character is deleted.
7 Select »Connect« to connect to the wireless network by using »A« or »S«,
or select »Delete« by using »A« or »S« to de- lete the wireless network from the list;
or select »Cancel« by using »A« or »S« to cancel the setting;
or select »Disconnect« by using »A« or »S« to disconnect from the wireless network; and press »ENTER« to confirm.
