NetFusion
About NetFusion
7The device supports NetFusion. This allows you to combine media streaming with con- trolling a connected media receiver while streaming content to it from another PC on a network.
7You can easily access the Video, music and image files on the server through the NetFu- sion menu of your player.
7You can share your video, music and image files through devices such as PC, mobile phone or NAS (Network Attached Storage) that function as DMS (Digital Media Server) compatible with NetFusion.
7The player can also operate with DMS soft- ware that can be installed on a computer but, it is not guaranteed that it will run in full compatibility with software without a DMS certificate.
7If you use a computer running with Windows operating system, it can be configured as Windows Media Player (Version 11) Digital Media server.
Settings to be made depend on the relevant software.
In order not to encounter any problems with media sharing, check the firewall settings of your modem and computer.
Setting NetFusion function
1Switch on the
2Press »SETUP« on the remote control to open the main menu.
3 In the main menu select »Settings« by using »A« or »S« and press »ENTER« to con- firm.
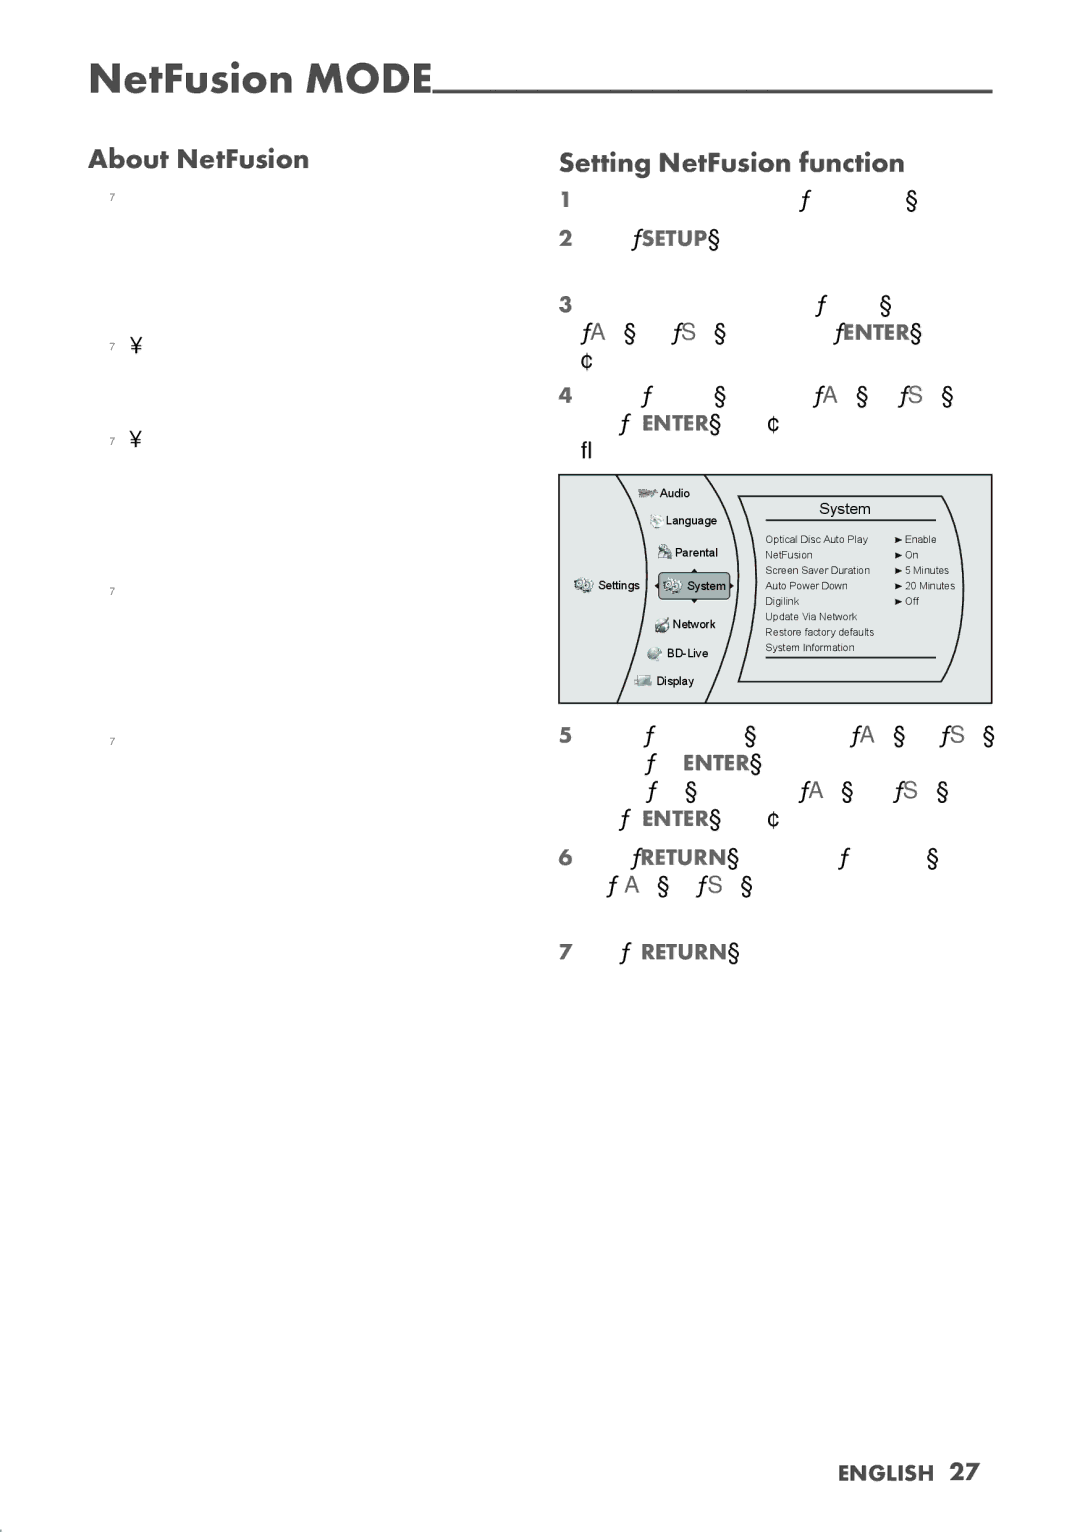
4Select »System« by using »A« or »S« and press »ENTER« to confirm.
– The System menu opens.
![]() Audio
Audio
| Language | System |
|
|
|
| |
| Parental | Optical Disc Auto Play | Enable |
| NetFusion | On | |
|
| Screen Saver Duration | 5 Minutes |
Settings | System | Auto Power Down | 20 Minutes |
|
| Digilink | Off |
| Network | Update Via Network |
|
| Restore factory defaults |
| |
|
|
| |
| System Information |
| |
|
|
|
![]() Display
Display
5 Select »NetFusion« by using »A« or »S« and press »ENTER« to activate.
Select »On« by using »A« or »S« and press »ENTER« to confirm.
6Press »RETURN« and select »Network« by us- ing »A« or »S«.
Check the network connection.
7Press »RETURN« to return to the main menu.
