Programming Guide
Changing the Settings
To change the settings press the [SET] button on the far right. The digit of the display starts flashing. If you want to change this number, press the up arrow [#] button to increase the number or the down arrow [$] button to decrease the number. To skip the number without changing, press the left arrow [!] button. When you reach the far left digit, pressing the left arrow [!] button will return you to the far right digit.
Note: If you press and hold either the up or down arrow [#] [$] button for more than 1 second, the flashing number will increase or decrease at ten counts per second.
When the number is correct, press the left arrow [!] button. The far right digit stops flashing and the next digit to the left starts flashing.
You can only change the flashing number. Continue changing numbers until you reach the desired setting. Press the [SET] button. The numbers stop flashing and the control accepts the new setting. After approximately 30 seconds, the control starts alternating the display between Time of Day and Capacity.
Note: If the new setting is not accepted because it was outside the allowable range, the old value will be displayed. Refer to the table guides for the correct settings. (Default settings can be found on Table 6, on page 15.)
Time of Day
Press the [SET] button. The display will show the Time of Day with the minutes digit blinking. If you want to change this number, press the up arrow [#] button to increase the number or the down arrow [$] button to decrease the number.
To skip the number without changing, press the left arrow [!] button. The first number stops flashing and the next number starts flashing. You can only change the flashing number. When you have reached the far left digit, pressing the left arrow [!] button returns you to the far right digit. Continue changing numbers until you reach the desired setting. Press the [SET] button again to enter the value.
Time of Regeneration
The next value displayed is the Time of Regeneration, which is similar to Time of Day programming. It has a default setting of 2:00 a.m. If 2:00 a.m. is acceptable, press the down arrow button [$].
If this is not acceptable, press the [SET] button and change the numbers. Press the [SET] button again to enter the value.
Water Hardness
The next setting displayed is the Water Hardness in grains per gallon(gpg). It is recommended that a water test be performed at the time of installation. This Hamilton Beach is designed to run on one water source. If multiple water sources are used, it will be necessary to change the water hardness settings to match the current water source.
The default setting is 15 grains per gallon of water hardness. If this is not accurate, press the [SET] button and enter a new value. U.S. settings allow any value between 3 and 250 grains per gallon. Metric settings allow any value between 30 and 2500 milligrams per liter. Press the [SET] button again to enter the new value.
Salt Amount
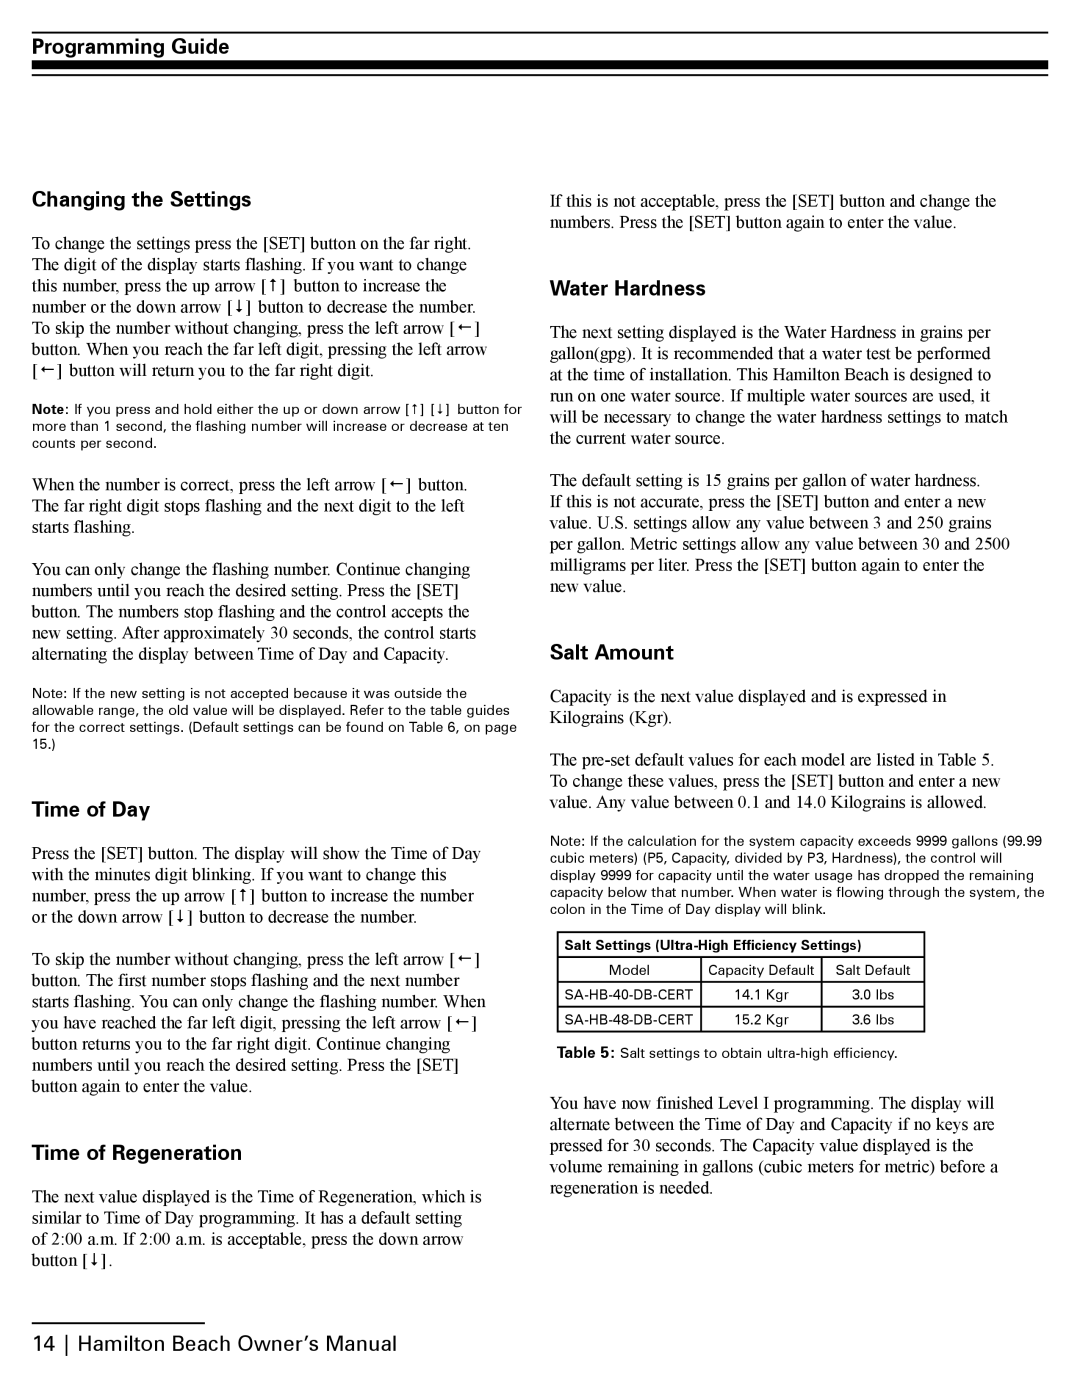
Capacity is the next value displayed and is expressed in Kilograins (Kgr).
The
Note: If the calculation for the system capacity exceeds 9999 gallons (99.99 cubic meters) (P5, Capacity, divided by P3, Hardness), the control will display 9999 for capacity until the water usage has dropped the remaining capacity below that number. When water is flowing through the system, the colon in the Time of Day display will blink.
Salt Settings (Ultra-High Efficiency Settings)
Model | Capacity Default | Salt Default |
|
|
|
14.1 Kgr | 3.0 lbs | |
|
|
|
15.2 Kgr | 3.6 lbs | |
|
|
|
Table 5: Salt settings to obtain
You have now finished Level I programming. The display will alternate between the Time of Day and Capacity if no keys are pressed for 30 seconds. The Capacity value displayed is the volume remaining in gallons (cubic meters for metric) before a regeneration is needed.
14 Hamilton Beach Owner’s Manual
