ADVANCED FUNCTIONS
•Sports: For sporting events.
•Nature: For programs shot outdoors, in a natural setting.
•Movie: For movies and many television broadcasts.
•Custom: Allows manual adjustment of the picture settings. The Brightness, Contrast, Color and Sharpness settings appear as sliders with values ranging from 0 to 100. The default setting for each adjust- ment is 50. Use the ‹ / › Buttons to change each setting’s value.
Picture Adjust: Changes the aspect ratio of the displayed image.
Widescreen (16:9) images are displayed on a
When displaying
Plasma and CRT monitors may suffer from
•Auto Fit: The AVR automatically adjusts the image as required to fit the display’s capabilities.
•Height Fit: Adjusts the image to eliminate any bars above or below it. Bars may remain at the sides.
•Width Fit: Adjusts the image to eliminate any bars on the sides. Bars may remain above and below the image.
•Zoom 1x: Displays the image as received from the source. If the image is in the 4:3 aspect ratio, on widescreen displays pillarbox format may be used. If the image is in the 16:9 aspect ratio, on full screen (4:3) displays letterbox format may be used.
•Zoom 2x: Stretches the image evenly to completely fill the screen. The outer portions of the image may be cropped.
Experiment with this setting until you find a pleasing display format for each program.
Advanced Video Settings: Press the › or OK Button to display the Advanced Video Modes submenu (see Figure 73).
Figure 73 – Advanced Video Modes Menu
Noise Reduction: Change this setting from the default Off to Low, Medium or High to filter out signal noise.
MPEG Noise Reduction: This setting is designed to address two specific types of video distortion, mosquito noise and blocking artifacts. If you see haziness or shimmering around the edges of objects or the scrolling credits in a film, or if the image appears to “pixellate” into blocks, change the MPEG Noise Reduction setting from its default of Off to Low, Medium or High.
Cross Color Suppressor: Turn this setting on to remove cross color artifacts, which can occur when
Film Mode Detect: Normally left off, turn this setting on to compensate for authoring errors in the conversion of film programs to video.
How to Adjust the Custom Picture Settings
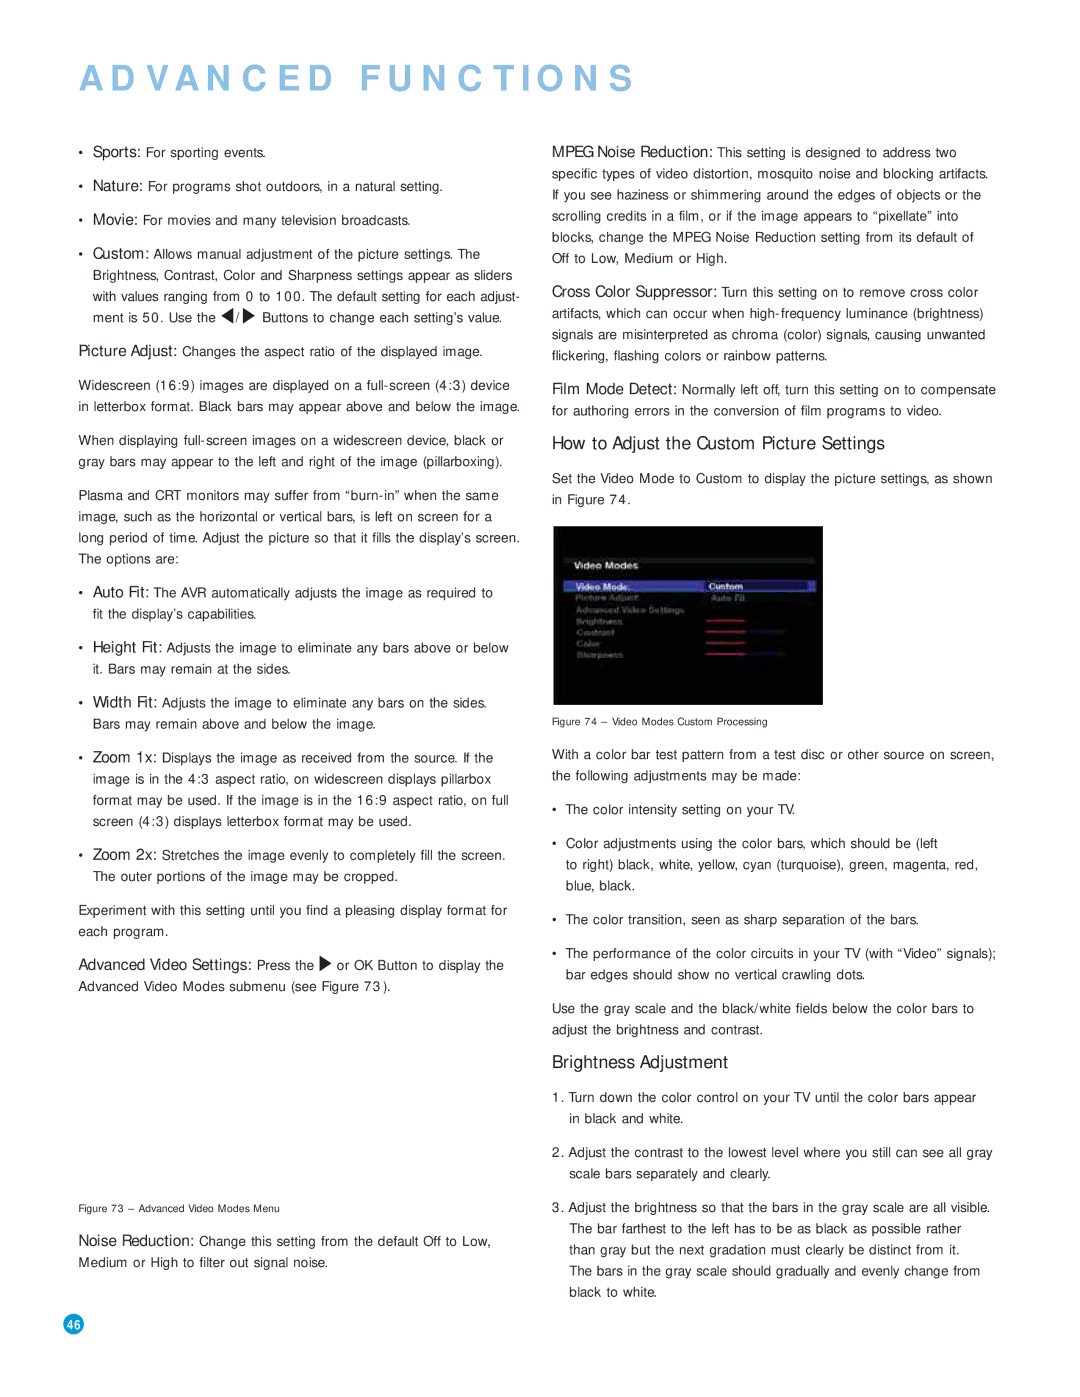
Set the Video Mode to Custom to display the picture settings, as shown in Figure 74.
Figure 74 – Video Modes Custom Processing
With a color bar test pattern from a test disc or other source on screen, the following adjustments may be made:
•The color intensity setting on your TV.
•Color adjustments using the color bars, which should be (left
to right) black, white, yellow, cyan (turquoise), green, magenta, red, blue, black.
•The color transition, seen as sharp separation of the bars.
•The performance of the color circuits in your TV (with “Video” signals); bar edges should show no vertical crawling dots.
Use the gray scale and the black/white fields below the color bars to adjust the brightness and contrast.
Brightness Adjustment
1.Turn down the color control on your TV until the color bars appear in black and white.
2.Adjust the contrast to the lowest level where you still can see all gray scale bars separately and clearly.
3.Adjust the brightness so that the bars in the gray scale are all visible. The bar farthest to the left has to be as black as possible rather than gray but the next gradation must clearly be distinct from it.
The bars in the gray scale should gradually and evenly change from black to white.
46 | 46 |